The Best Easy Pumpkin Pie: Velvety and Rich
- Time:45 minutes active + 4 hours cooling = Total 5 hours 40 mins
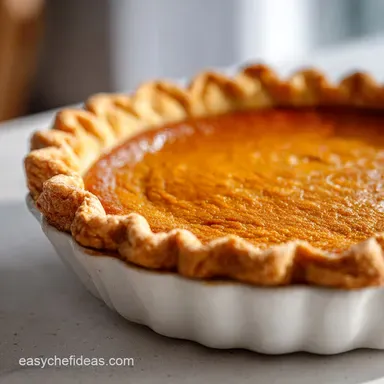
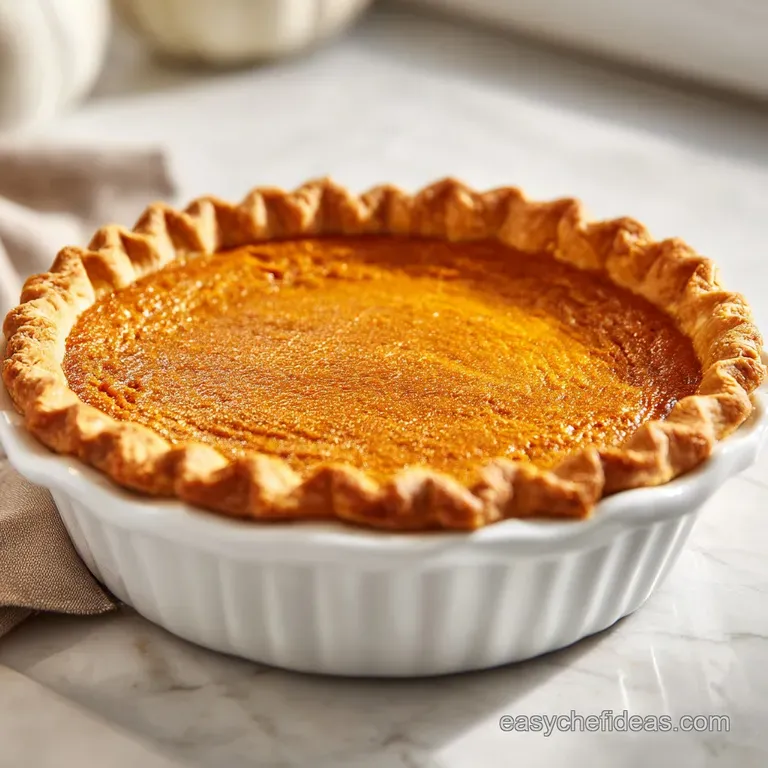
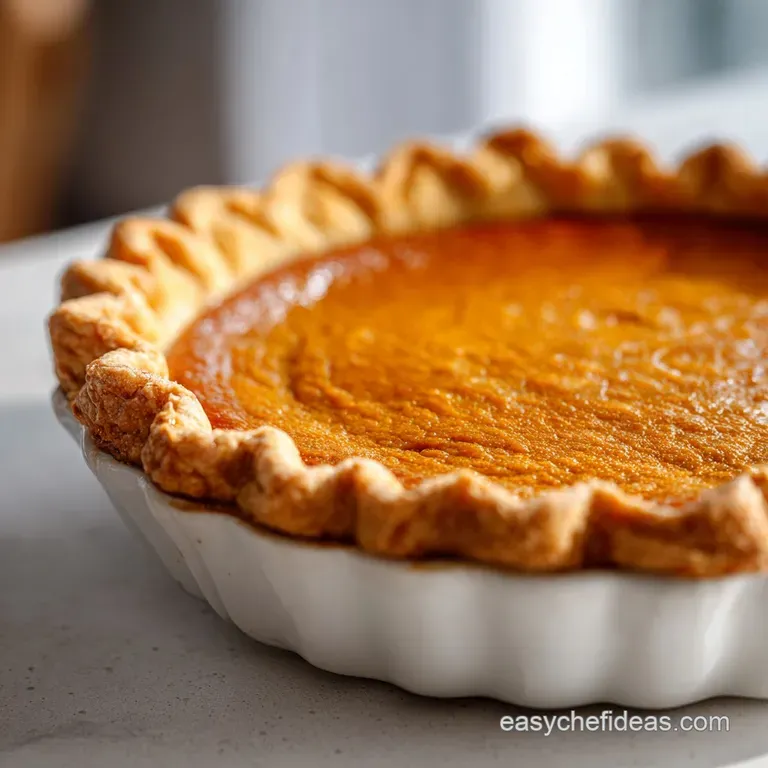
- Flavor/Texture Hook: Velvety, mahogany colored custard with a flaky, butter rich crust
- Perfect for: Holiday centerpieces and seasonal family gatherings
Secrets to a Silky pumpkin pie 3
The smell of cinnamon and toasted butter hitting the air is the exact moment my house officially enters autumn. I remember one November where the kitchen was a complete disaster, flour dusting the countertops and three different timers going off at once.
My grandmother was hovering, insisting that the secret was in the "feel" of the dough, and for a long time, I just nodded along without actually getting it. It took a few years of watching her carefully chill the butter and refusing to overwork the flour before I realized that baking isn't just about following a list, it's about temperature control.
That specific afternoon, the light was hitting the mahogany filling of the pie just right, and the crust had that pale gold glow that only comes from a proper blind bake. We didn't even make it to the table before someone tried to sneak a piece of the crust.
This pumpkin pie 3 isn't just a dessert, it's the anchor of the whole meal, the thing that makes everyone slow down and actually enjoy the season.
You can expect a filling that feels like silk on the tongue and a crust that actually holds its shape under the weight of the custard. We're moving away from those runny centers and soggy bottoms that plague so many holiday bakes.
Trust me on this, the waiting period is the hardest part, but the result is worth every single minute of that four hour cool down.
Quick Specs and Timings
Getting the timing right is where most people stumble. You can't rush a custard, and you certainly can't rush a butter crust. If you try to slice this too early, the internal structure hasn't set, and you'll end up with a beautiful puddle instead of a clean slice.
Right then, let's look at the hard numbers. We're looking at 45 minutes of active prep, which includes the dough work and filling mix. The bake is 55 minutes, but the real magic happens during the 4 hours of cooling on a wire rack.
Total time comes to 5 hours 40 minutes.
| Method | Time | Texture | Best For |
|---|---|---|---|
| Classic | 5 hours 40 mins | Velvety and shattering | Holiday feasts |
| Quick Set | 3 hours | Slightly grainier | Last minute guests |
The difference between the classic and a rushed version is primarily the cooling phase. The classic method allows the fats to stabilize, creating that clean, professional edge when you cut into it.
Gathering the Right Elements
For this pumpkin pie 3, the ingredients need to be specific. I've found that using the wrong type of pumpkin or skipping the chilled butter leads to a texture that's more like a pudding than a pie.
For the Crust:
- 1.25 cups all purpose flour Why this? Provides the necessary structure and gluten (Substitute: 1:1 GF Flour blend
- slightly more crumbly)
- 0.5 tsp salt Why this? Balances the richness of the butter (Substitute: Sea salt
- bolder flavor)
- 1 tbsp granulated sugar Why this? Helps the crust brown slightly (Substitute: Maple sugar
- deeper taste)
- 0.5 cup unsalted butter, chilled and cubed Why this? Creates steam pockets for flakiness (Substitute: Vegan butter sticks
- similar fat content)
- 4 tbsp ice water Why this? Binds dough without melting butter (Substitute: Ice cold vodka
- reduces gluten for more tenderness)
For the Filling:
- 15 oz canned pumpkin puree Why this? Consistent moisture and flavor (Substitute: Homemade puree
- thicker, more earthy)
- 12 oz sweetened condensed milk Why this? Adds velvety richness and sugar (Substitute: Evaporated milk + 0.5 cup sugar
- less creamy)
- 2 large eggs Why this? Provides the structural set (Substitute: 2 flax eggs
- denser, less lift)
- 0.75 cup brown sugar, packed Why this? Adds a molasses undertone (Substitute: Coconut sugar
- nuttier, less sweet)
- 1.5 tsp ground cinnamon Why this? The primary seasonal aroma (Substitute: Cassia cinnamon
- stronger punch)
- 0.5 tsp ground ginger Why this? Adds a subtle heat (Substitute: Fresh grated ginger
- sharper)
- 0.25 tsp ground cloves Why this? Deep, aromatic warmth (Substitute: Allspice
- milder)
- 0.5 tsp salt Why this? Enhances the spice profiles (Substitute: Kosher salt
- standard)
The Necessary Kitchen Gear
You don't need a professional studio, but a few specific tools make this pumpkin pie 3 much easier. I honestly don't even bother with a rolling pin if I have a smooth wine bottle, but a real one is better for consistent thickness.
First, you'll want a 9 inch pie dish. Ceramic or glass works best as they hold heat evenly. You'll also need a food processor or a mixer for the crust, though a pastry cutter is the old school way to go.
For the filling, a large mixing bowl and a whisk are your best friends. Don't forget the parchment paper and pie weights (or dried beans) for the blind bake. If you don't have weights, your crust will just slump down the sides of the dish, which is a heartbreak I don't want for you.
Finally, a wire rack is mandatory for the cooling phase to prevent the bottom from steaming and becoming soggy.
Crafting the Final Dish
Let's crack on with the actual process. The key here is patience, especially during the temperature shifts between the crust and the filling.
Phase 1: The Foundation
- Pulse flour, salt, and sugar in a mixer. Cut in chilled butter until the mixture resembles coarse crumbs. Note: Keep the butter cold to ensure those pockets of fat stay intact
- Add ice water one tablespoon at a time until the dough just holds together. Note: Don't overmix or the crust will be tough
- Wrap the dough in plastic and refrigerate for 30 minutes.
- Roll out the dough and fit it into a 9 inch pie dish. Line with parchment and pie weights. Bake at 425°F (218°C) for 10 minutes, remove weights, and bake for another 5 minutes until pale gold.
Phase 2: The Velvet Mix
- In a large bowl, whisk together the pumpkin puree and sweetened condensed milk until smooth.
- Beat in the eggs one at a time to ensure the filling is aerated and cohesive. Note: Adding eggs slowly prevents the mixture from breaking
- Fold in the brown sugar, cinnamon, ginger, cloves, and salt until the mixture is a uniform, mahogany colored custard.
Phase 3: The Final Bake
- Pour the filling into the warm, pre baked crust. This ensures the pumpkin pie 3 bonds well with the base.
- Lower oven temperature to 350°F (175°C) and bake for 45–55 minutes until edges are set but the center still has a slight jiggle.
- Cool completely on a wire rack for 4 hours before serving. Note: This is where the structure actually sets
Fixing Texture and Appearance
Even for the most seasoned cooks, a pumpkin pie 3 can sometimes act up. Most issues come down to heat management or over working the ingredients. If the top looks like a cracked desert floor, you've likely pushed the oven too hard.
Cracked pumpkin pie 3 Top
This usually happens when the eggs over coagulate due to excessive heat. If you bake it too long or at too high a temperature, the custard pulls away from the edges and splits. To avoid this, use the "jiggle test" - the center should move slightly like gelatin when you nudge the pan.
Soggy pumpkin pie 3 Bottom
A wet bottom is almost always the result of a failed blind bake or skipping the cooling rack. If the crust isn't sealed by that initial over high heat blast, the filling seeps in. Always bake the crust first and let the pie breathe on a rack while it cools.
Runny pumpkin pie 3 Center
If the pie feels like a soup after 4 hours of cooling, you might have used too much moisture or not enough eggs. However, usually, it's just a case of underbaking. Ensure the edges are puffed and set before removing from the oven.
| Problem | Root Cause | Solution |
|---|---|---|
| Surface Cracks | Overbaked / High Heat | Bake until center just jiggles |
| Soggy Base | No blind bake / No rack | Par bake crust and cool on wire |
| Runny Filling | Underbaked | Extend bake time by 5-10 mins |
Check these off before you start to save yourself some stress:
- ✓ Pat your butter cubes dry if they've started to sweat
- ✓ Use a thermometer to ensure oven is truly at 350°F (175°C)
- ✓ Don't over beat the eggs - whisk until combined, then stop
- ✓ Let the pie cool fully; resisting the urge to slice is key
Creative Twist and Flavors
While the classic version is king, I love playing with the flavor profile of a pumpkin pie 3 to suit the mood. If you want something a bit more sophisticated, try adding a tablespoon of maple syrup to the filling for a woodsy depth.
For those who like a bit of a contrast, I highly recommend serving this with a dollop of my spiced pumpkin butter on the side. The concentrated sweetness of the butter cuts through the creamy custard beautifully.
You could also try a "Pumpkin Pie with Fresh Pumpkin" approach by roasting your own sugar pumpkin and pureeing it. Just be careful, as fresh puree varies in moisture. You might need to simmer the puree in a pan for 10 minutes to reduce the water content before mixing it with the condensed milk.
For a lighter version, a crustless pumpkin pie works well if you increase the egg count to 3 to ensure it holds its shape.
Freshening and Waste Tips
Keeping a pumpkin pie 3 fresh is all about moisture control. Once cooled, cover it loosely with plastic wrap. It'll stay velvety in the fridge for about 3 to 5 days. If you're planning to freeze it, I suggest freezing the baked crust and filling separately, or freezing the whole thing for up to 2 months, though the crust can lose some of its shatter.
To reheat a slice, avoid the microwave, which can make the filling rubbery. Instead, let it come to room temperature on the counter for an hour.
Regarding zero waste, don't you dare throw away those pumpkin innards. Clean the stringy bits and the seeds, and toss them in the oven for some roasted pumpkin seeds. It's the best part of the process and ensures nothing from the squash goes to waste.
Garnish and Pairing Ideas
The visual appeal of a pumpkin pie 3 is all about color balance. Since the pie is a deep, monochromatic orange brown, you need high contrast accents to make it look professional. I focus on three specific color accents.
First, a stark white is essential. Whether it's a dollop of unsweetened whipped cream or a scoop of vanilla bean ice cream, that white pop makes the mahogany filling look richer. Add this just before serving so the cream doesn't melt into the pie.
Second, add a touch of green. A tiny sprig of fresh mint or even a small piece of rosemary can add a sophisticated, earthy look. This contrast of orange and green is a classic autumnal palette that feels very intentional.
Finally, a dusting of cinnamon or a sprinkle of nutmeg adds a textured, warm brown layer. I usually add this last, sifting it from a height to get an even, snowy coating. This combination of white, green, and spiced brown turns a simple home bake into something that looks like it came from a high end bakery.
Pair it with a hot cup of cider or a strong coffee to balance the sweetness of the condensed milk.
Recipe FAQs
Which pie is best for diabetics?
None of the traditional versions, including this one, are low-sugar. The combination of sweetened condensed milk and brown sugar creates a high glycemic load unsuitable for strict diabetic diets.
What makes a pumpkin pie the "best" in terms of texture?
A velvety, silk like custard paired with a shattering crust. This recipe achieves that mahogany colored finish by whisking sweetened condensed milk with pumpkin puree and performing a precise blind bake.
Does pumpkin puree help with IBS?
It depends on the individual. While pure pumpkin is often gentle, the added sugars and concentrated spices in a pie can trigger symptoms for those with sensitive digestive systems.
Is it better to make pumpkin pie the day before?
Yes, this allows the custard to set fully. Since the recipe requires a 4-hour cool down, preparing it in advance ensures the filling is stable and easier to slice.
How to tell when the pumpkin pie is finished baking?
Bake at 350°F until the edges are set but the center still has a slight jiggle. Removing the pie at this stage prevents the custard from cracking as it cools.
Is it true that I can skip the blind bake without affecting the crust?
No, this is a common misconception. Skipping the blind bake usually leads to a soggy bottom because the moisture from the filling penetrates the raw crust.
Can I use this spice profile for other autumn treats?
Yes, these warm spices work perfectly in beverages. If you enjoyed this flavor balance, see how the same principles apply to our pumpkin spice latte.
Pumpkin Pie 3 Recipe