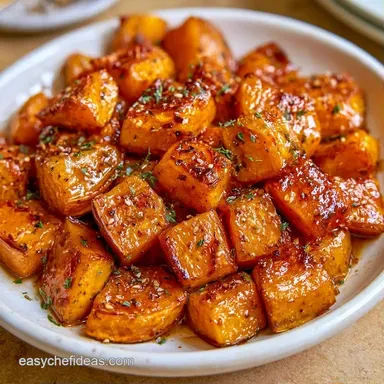
Maple Roasted Kabocha Squash in 35 Minutes
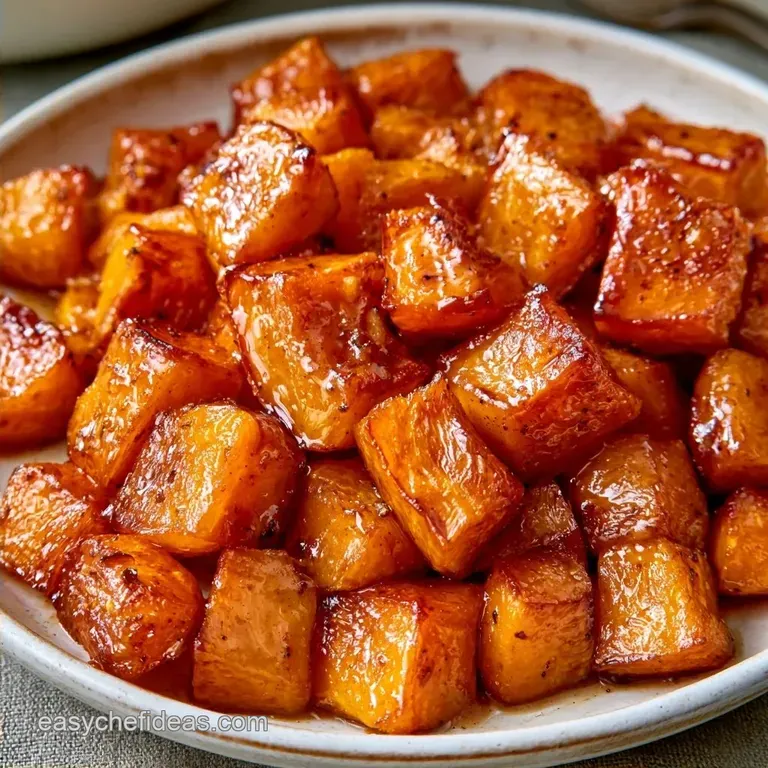
- Time: 10 min active + 25 min roasting
- Flavor/Texture Hook: Sticky mahogany crust with a chestnut like center
- Perfect for: A cozy plant based side for holiday dinners or meal prep
That sound of a knife hitting the rock hard skin of a kabocha is enough to make anyone want to order takeout. Most of us try to peel it like a butternut squash, but that's a mistake.
You'll end up with sore wrists and a kitchen full of orange shreds, and honestly, the squash often turns into a soggy mess because you've stripped away its structural support.
I used to fight with the skin until I realized it's actually edible. Once you stop peeling, the whole process changes. You get these distinct, charred edges that hold up against the glaze instead of collapsing into a puree.
This Maple Roasted Kabocha Squash is about timing. By adding the syrup in the final minutes, we get a sticky, bubbling coat without the sugar burning into a bitter charcoal. It's a simple shift that makes a huge difference in the final bite.
Getting the Roast Right
- The Skin: Leaving the peel on acts like a protective wall. It keeps the cubes from turning into mush while they roast at high heat.
- Two Stage Heat: Roasting plain first dries the surface. This means the maple glaze sticks to the squash rather than sliding off into a puddle on the pan.
- High Temp: 400°F creates a fast sear. This gives you a charred exterior while the inside stays tender.
Quick Recipe Specs
When you're planning your prep, it helps to know exactly how this fits into the flow. This is a fast moving dish, but the pan space is the biggest bottleneck.
| Method | Texture | Time | Effort |
|---|---|---|---|
| Oven Roast | Charred & Sticky | 35 mins | Low |
| Stovetop | Soft & Sautéed | 20 mins | Medium |
If you're doing this for a crowd, don't try to cram everything onto one tray. Use two pans to keep the pieces separated.
The Essential Ingredients
The ingredient list is minimal, using just a few components to balance the squash's natural sweetness.
| Ingredient | Role | If You Don't Have It |
|---|---|---|
| Kabocha Squash | The hearty base | Butternut (will be softer) |
| Maple Syrup | Caramelization | Honey or Brown Rice Syrup |
| Unsalted Butter | Richness/Gloss | Coconut oil or Vegan butter |
| Cinnamon | Warmth | Nutmeg or Allspice |
Choosing your squash
Select a kabocha with a substantial weight. The exterior should be a dark, matte green with no soft areas. Those with a slightly thinner skin tend to be even more tender.
The maple factor
Pure maple syrup is the best choice here due to its higher smoke point compared to honey. It browns perfectly without the taste of burnt candy.
Gathering Your Essentials
- 2 lb Kabocha squash, seeded and cut into 1 inch cubes Why? It maintains its structure better than other winter varieties
- 2 tbsp extra virgin olive oil Why? Stable at high roasting temperatures
- ½ tsp kosher salt Why? Offsets the glaze's sweetness
- ¼ tsp freshly cracked black pepper Why? Provides a hint of spice
- 3 tbsp pure maple syrup Why? Gives it that characteristic tacky glaze
- 1 tbsp unsalted butter, melted Why? Produces a luxurious, shiny coating
- ¼ tsp ground cinnamon Why? Complements the maple syrup
- Pinch of cayenne pepper Why? Balances the sugary notes
| Original Ingredient | Substitute | Why It Works |
|---|---|---|
| Unsalted Butter (1 tbsp) | Coconut Oil (1 tbsp) | Matches the fat profile. Note: May add a subtle coconut taste |
| Maple Syrup (3 tbsp) | Honey (3 tbsp) | Similar level of sweetness. Note: Caramelizes more quickly; monitor closely |
| Kabocha (2 lb) | Honeynut Squash (2-3) | Comparable taste. Note: Smaller size, roast for 5 fewer mins |
Ensure your oven has reached the target temperature before sliding in the tray. Adding pans to an underheated oven is the quickest way to end up with pale, steamed squash.
Tools You'll Need
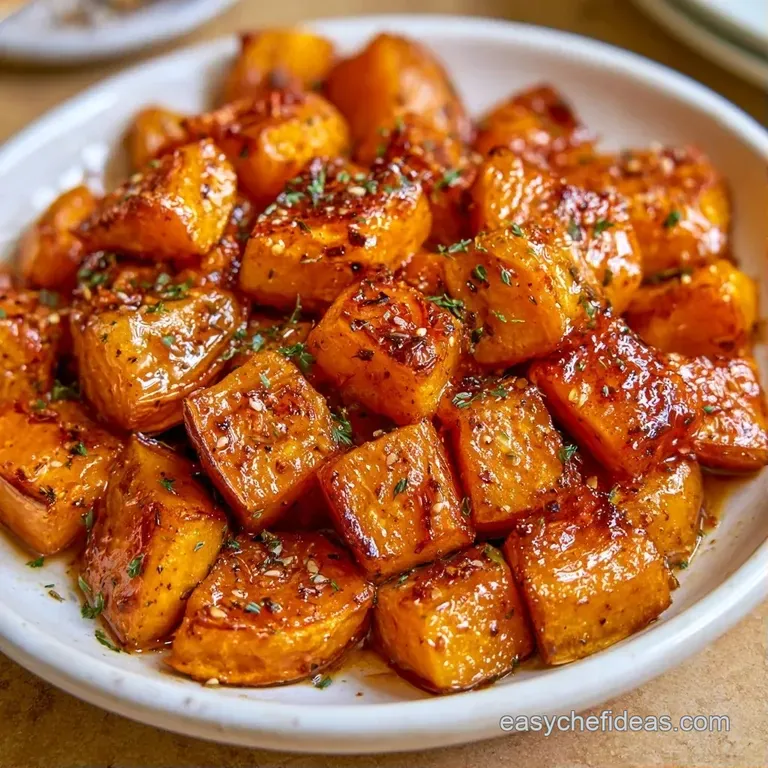
Stick to the basics. No specialized equipment is required just a few standard kitchen tools to get things moving.
- Large rimmed baking sheet
- Parchment paper (essential to prevent the glaze from sticking the squash to the pan)
- Large mixing bowl
- Small whisk or fork
- Spatula for tossing
Step-by-step Cooking
Time to get started. I've divided the steps into stages to ensure the glaze is applied at just the right moment.
Phase 1: Prepping the Squash
- Get your oven heated to 400°F (200°C) and line a baking tray with parchment.
- Place the cubed Kabocha squash into a large mixing bowl.
- Stir in olive oil, salt, and black pepper until each piece is well coated. Note: Ensure the oil gets into all the nooks and crannies of the squash.
- Arrange the squash in a single layer on the tray, leaving space between the pieces.
Phase 2: The First Roast
- Bake for 15–20 minutes until the edges turn a deep golden brown and a fork slides easily into the flesh.
- While the squash roasts, combine the maple syrup, melted butter, cinnamon, and cayenne pepper in a small bowl and whisk.
Phase 3: The Maple Finish
- Take the pan out of the oven and pour the maple glaze over the roasting squash.
- Use a spatula to gently toss the pieces until they are fully coated.
- Put them back in the oven for 5–10 minutes until the glaze begins to bubble and the squash develops a sticky, mahogany crust.
Chef's Note: For an added punch, stir a pinch of smoked paprika into the glaze. It gives the Maple Roasted Kabocha Squash a smoky, wood fired quality that pairs wonderfully with savory main dishes.
Fixing Common Issues
The most frequent complaint I hear is that the squash feels "mushy." This almost always comes down to the pan. If you crowd the tray, the squash releases moisture that has nowhere to go, so it steams instead of roasting.
Another issue is the glaze burning. Since maple syrup has a lot of sugar, it can go from "caramelized" to "burnt" in about 90 seconds. Keep a close eye on the pan during the final 5 minutes.
Handling Mushy Cubes
Use two baking sheets if you're doubling the recipe. Air needs to circulate around each cube to dry out the surface.
Managing Burnt Glaze
If the edges start to look black instead of brown, pull the pan out immediately. You can always put it back in for a minute, but you can't undo a burn.
Tough Skin Texture
If the skin feels too woody, you might have a very old squash. Try slicing the cubes slightly thinner to help them soften faster.
| Problem | Root Cause | Solution |
|---|---|---|
| Squash is steaming | Pan is too crowded | Use a second baking sheet |
| Glaze is too thin | Not roasted long enough at end | Roast 2-3 mins more until bubbling |
| Burnt sugar smell | Oven temp too high or left too long | Pull pan out at first sign of deep brown |
Ways to Switch it Up
For a savory twist instead of something sweet, replace the maple syrup with a blend of toasted sesame oil and soy sauce to create a Japanese inspired side dish. For added crunch, stir in some pumpkin seeds or toasted pecans during the last 2 minutes in the oven.
Alternatively, slice the squash into 1/2 inch moons for a faster roast and a beautiful presentation. For another high heat root vegetable option, I recommend my Crispy Roasted Sweet Potatoes recipe.
| Goal | What to change |
|---|---|
| Vegan Version | Swap butter for coconut oil |
| More Heat | Double the cayenne pepper |
| Nutty Flavor | Add 1 tbsp toasted sesame seeds |
Saving and Reheating
Store this in an airtight dish in the fridge for about 4 days. The glaze will continue to penetrate the squash, making the flavor even more intense.
When reheating, try to avoid the microwave, as it often makes the squash soggy and ruins the crust. Instead, place the pieces back in a 350°F oven for 5-10 minutes to restore the sticky texture.
To reduce waste, don't throw away the seeds. Wash and dry them, then roast with a bit of oil and salt at 325°F for 15 minutes for a nutritious snack.
Best Side Pairings
This Maple Roasted Kabocha Squash works best when paired with something salty or acidic to balance the sugar. It's a fantastic partner for roasted pork loin or a grilled tofu steak.
If you're looking for a more filling meal, serve it alongside Gnocchi with Grilled Chicken. The creaminess of the gnocchi sauce plays off the caramelized sweetness of the squash perfectly.
For a light dinner, toss the roasted cubes into a bed of arugula with some goat cheese and a squeeze of lemon. The bitterness of the greens cuts through the rich maple glaze, making the whole plate feel fresh and balanced.
Recipe FAQs
How to roast kabocha squash for the best texture?
Roast at 400°F (200°C) on parchment paper in a single layer.
Tip: Leave space between the cubes to ensure they brown instead of steaming.
Can you eat the skin of kabocha squash?
The skin is completely edible and becomes tender and flavorful when roasted.
Tip: Scrub the exterior well before cubing to remove any residue.
Is it true that kabocha squash spikes blood sugar?
Not true. It typically has a lower glycemic index than many other starchy vegetables.
Tip: Pair it with a healthy protein to keep your energy levels stable.
Which is healthier, kabocha squash or sweet potato?
Kabocha generally provides fewer calories and more fiber per serving.
Tip: If you enjoyed the roasting technique here, see how the same principle works in our creamy pumpkin soup.
Maple Roasted Kabocha Squash