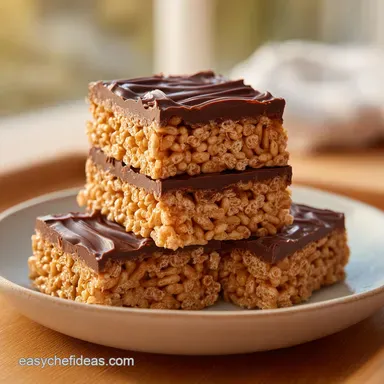
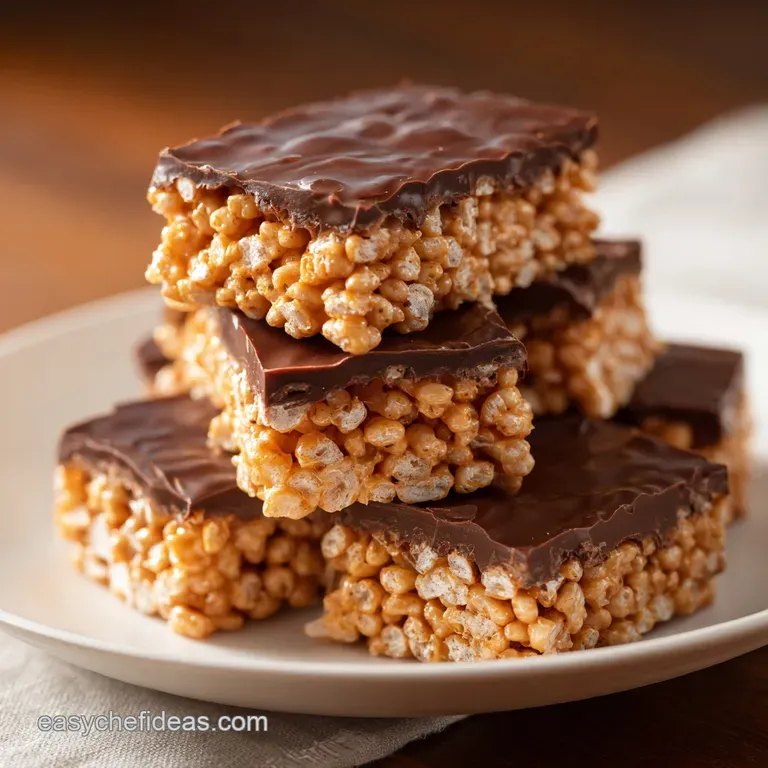
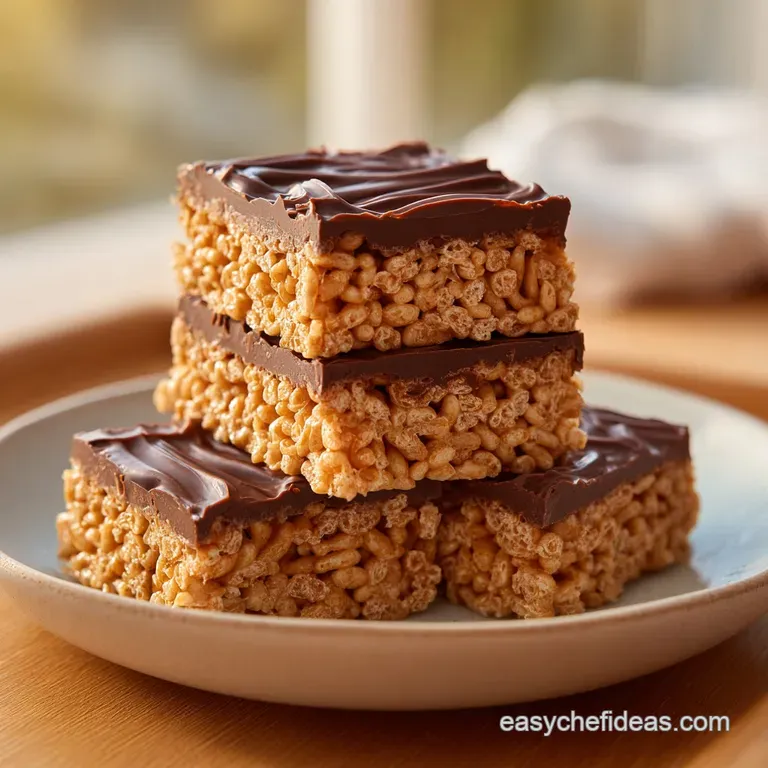
Chocolate Peanut Butter Crunch Bars: Vegan & Guilt-Free
- Time:15 minutes active + 1 hour chilling = Total 1 hours 20 mins
- Flavor/Texture Hook: Velvety chocolate shell with a shatter crisp puffed grain center
- Perfect for: Quick energy snacks, budget-friendly dessert prep, or vegan treat boxes
That first snap when you bite into a chilled chocolate bar is a sensory trigger like no other. I remember the first time I tried to make a plant based version of those classic childhood crunch bars.
I wanted that specific nostalgia, that combination of salty peanut butter and a crisp, airy center, but without the processed fillers. My first few attempts were either too gooey to hold their shape or so hard they felt like eating a brick of frozen fudge.
The "crunch bar" concept really took off in the mid-20th century as a way to combine textures, and for many of us, it's the ultimate comfort food. Moving this into a vegan, gluten-free space means we have to rely on the natural chemistry of fats.
This is the only Healthy No Bake Chocolate Peanut Butter Crunch Bar Vegan gluten free recipe you'll ever need because it balances the richness of peanut butter with a lightness that doesn't weigh you down.
You can expect a treat that feels indulgent but uses wholesome ingredients. We're keeping the costs low by using pantry staples, proving that plant based eating doesn't have to be expensive.
Whether you're making these for a school snack or a late night craving, the result is a professional looking bar with a homemade heart.
Why These Bars Work
Right then, let's talk about what's happening in the bowl. Since we aren't using heat to set a structure (like baking a cake), we're relying on temperature and fat ratios to do the heavy lifting.
- Fat Stabilization: Peanut butter and coconut oil are solid at cool temperatures, which means they act as the "glue" that holds the puffed grains in place once they hit the fridge.
- Sugar Viscosity: Maple syrup provides a sticky, tacky texture that binds the nut butter, preventing the bars from crumbling into a pile of sand when you cut them.
- Air Trapping: The puffed rice or quinoa creates tiny air pockets, which ensures the bars have a light, shatter like quality instead of being a dense block of fudge.
- Emulsion Control: Adding a small amount of coconut oil to the dark chocolate prevents it from becoming too brittle or "chalky" once chilled, keeping the top layer velvety.
| Premium Choice | Budget Alternative | Impact on Result | Savings |
|---|---|---|---|
| Maple Syrup | Brown Rice Syrup | Slightly less floral, more "sticky" chew | Moderate |
| Puffed Quinoa | Puffed Rice | Less nutty, more traditional "crunch" | Low |
| Organic Cacao | Dark Chocolate Chips | Sweeter, easier to melt | Moderate |
The Ingredient Breakdown
I like to think of these ingredients as a construction crew. Each one has a specific job to do to make sure the bar doesn't collapse or melt the second it touches your fingers.
| Ingredient | Science Role | Pro Secret |
|---|---|---|
| Peanut Butter | Structural Base | Use "drippy" natural PB for easier mixing |
| Maple Syrup | Binder & Sweetener | Room temp syrup prevents "clumping" |
| Coconut Oil | Texture Modifier | Ensures the chocolate doesn't crack too harshly |
| Puffed Rice | Aeration | Toss in a dry pan for 2 mins to extra crisp |
Simple Ingredients and Swaps
Trust me on this, the quality of your peanut butter makes or breaks this recipe. I always go for the natural stuff where the only ingredients are peanuts and salt. If you use the highly processed brands with palm oil, the bars can sometimes feel a bit too "waxy" in the mouth.
The Lineup: 3/4 cup (190g) natural peanut butter Why this? Provides the primary structure and salty depth 1/3 cup (80ml) maple syrup Why this? Vegan binder that adds a caramel like note 2 cups (30g) puffed rice or puffed quinoa
Why this? Adds the essential airy crunch 1/4 tsp (1.5g) sea salt Why this? Cuts through the richness of the fats 1 tsp (5ml) vanilla extract Why this? Rounds out the flavor profile 1 cup (170g) vegan dark chocolate chips
Why this? Creates a rich, snap worthy shell 2 tbsp (30ml) coconut oil Why this? Keeps the chocolate smooth and glossy 1 pinch flaky sea salt Why this? Visual appeal and a pop of flavor
| Original Ingredient | Substitute | Why It Works |
|---|---|---|
| Peanut Butter (3/4 cup) | Almond Butter (3/4 cup) | Similar fat content. Note: Milder flavor, slightly softer set |
| Maple Syrup (1/3 cup) | Agave Nectar (1/3 cup) | Liquid sweetener. Note: Slightly sweeter, less complex flavor |
| Puffed Rice (2 cups) | Puffed Amaranth (2 cups) | Same aeration. Note: Smaller grains, denser crunch |
| Dark Chocolate (1 cup) | Semi Sweet Vegan Chips (1 cup) | Similar melting point. Note: Much sweeter outcome |
If you're looking for something with a different vibe, you might enjoy my no bake cookie dough bars, which use a similar chilling method but with a more "cookie like" base.
Tools You'll Need
You don't need a fancy kitchen for this. Honestly, a few basic bowls and a spatula will do the trick. I prefer using a silicone spatula because it gets every last bit of that chocolate out of the bowl, and let's be real, nobody wants to waste chocolate.
- Medium mixing bowl: For the peanut butter base.
- Microwave safe bowl: For melting the chocolate glaze.
- 8x8 inch baking pan: The standard size for these squares.
- Parchment paper: Absolutely mandatory. If you don't line the pan, you'll be fighting the bars for an hour.
- Spatula: For folding in the grains and spreading the chocolate.
Step by step Method
Let's crack on. The key here is to work relatively quickly with the chocolate so it doesn't set before it's perfectly smooth.
- Mix the base. In a medium bowl, combine the peanut butter, maple syrup, vanilla, and salt. Stir until the mixture is smooth and glossy. Note: If your PB is too stiff, microwave it for 15 seconds first.
- Fold in the crunch. Gently fold in the puffed rice or puffed quinoa with a spatula until every grain is evenly coated. Stir for about 2 minutes until no dry patches remain.
- Prep the pan. Line an 8x8 inch baking pan with parchment paper, leaving an overhang on the sides. This makes lifting the whole block out much easier later.
- Press the base. Press the peanut butter mixture firmly into the bottom of the pan using the back of a spoon. Ensure a flat, compact surface so the chocolate layer stays even.
- Melt the chocolate. Melt the vegan chocolate chips and coconut oil together in a microwave safe bowl in 30 second intervals, stirring in between, until velvety smooth.
- Apply the glaze. Pour the melted chocolate over the peanut butter base, spreading it evenly to the edges.
- Add the finish. Immediately sprinkle with flaky sea salt. Note: Do this while the chocolate is wet, or it won't stick.
- Chill to set. Place the pan in the refrigerator for at least 1 hour. Check that the chocolate is firm to the touch before attempting to lift the parchment.
Chef's Tip: To get perfectly clean edges, dip your knife in hot water and wipe it dry between every single cut. This prevents the chocolate from dragging into the peanut butter layer.
Fixing Common Problems
Even the best of us hit a snag. Usually, it comes down to the temperature of the ingredients or how hard you pressed the base.
Troubleshooting Common Issues
| Issue | Solution |
|---|---|
| Why are my bars too soft | This usually happens if the peanut butter was too runny or if the bars didn't chill long enough. Natural peanut butters vary in oil content, which affects the set. According to guidelines on Cake for 13 Servings recipe. |
Common Snack Myths
Let's clear a few things up. You'll often hear that "no bake" means "unhealthy" or that vegan chocolate doesn't "set" the same way as dairy chocolate.
First, the idea that no bake treats are just sugar bombs is wrong. By using natural peanut butter and maple syrup, we're getting healthy fats and minerals that you don't find in traditional processed candy bars.
Second, some people think you need "tempered" chocolate for a snap. While professional chocolatiers do that, adding a bit of coconut oil to vegan chips provides enough stability for a home chilled treat to feel velvety and crisp without the 4 hour tempering process.
Recipe FAQs
Can I use puffed quinoa instead of puffed rice?
Yes, both work perfectly. Puffed quinoa adds a nuttier flavor and slightly more protein while maintaining the same crunch. If you enjoyed mastering this texture, see how similar puffed grains work in these low fat treats.
Why are my bars too soft?
Chill them longer. This usually happens if the bars didn't stay in the refrigerator for the full hour or if your natural peanut butter has a higher oil content.
How to melt the chocolate without burning it?
Microwave in 30-second intervals. Stir the vegan chocolate chips and coconut oil between each interval to ensure the mixture becomes velvety smooth without overheating.
Is it true these bars need to be baked to set?
No, this is a common misconception. These are strictly no-bake bars that rely on the refrigeration process to firm up the peanut butter and chocolate layers.
How to store these bars to keep them crunchy?
Keep them in an airtight container in the refrigerator. Cold temperatures prevent the coconut oil and peanut butter from softening, which preserves the crispness of the puffed rice.
How to get clean cuts when slicing the bars?
Use a sharp knife dipped in hot water. Wipe the blade clean between each cut to prevent the chocolate from smearing into the peanut butter base.
Can I slice the bars before the one-hour mark?
No, wait the full hour. Cutting too early will cause the layers to squish and the chocolate topping to crack rather than snapping cleanly.
No Bake Peanut Butter Bars