Red Velvet Cheesecake: Duchess of Desserts
- Unveiling the Ultimate Red Velvet Cheesecake Experience
- Essential Components for Your Ruby-Red Creation
- Crafting the Layers: Step-by-Step Assembly Guide
- The Science of Indulgence: Achieving Perfect Texture and Hue
- Troubleshooting and Expert Pâtisserie Secrets
- Preserving Perfection: make-ahead and Storage Solutions
- The Grand Finale: Decorating and Pairing Suggestions
- Recipe FAQs
- 📝 Recipe Card
Unveiling the Ultimate Red Velvet Cheesecake Experience
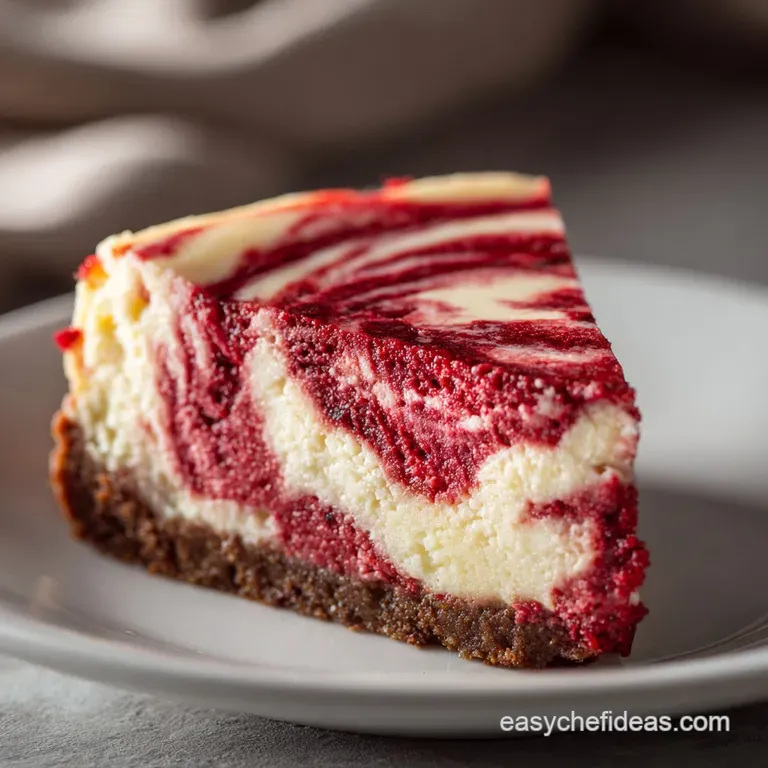
When that gorgeous ruby red colour hits the white frosting, you know you’ve made something truly special. The smell alone a delicate mix of vanilla, cocoa, and that beautiful, tangy cream cheese is intoxicating.
Forget those dry layer cakes; this Red Velvet Cheesecake is what happens when Southern charm meets New York decadence. It is lush, rich, and ridiculously smooth, holding its shape perfectly while dissolving the moment it hits your tongue.
I know what you're thinking: cheesecake is scary. Cracked tops, rubbery middles, the agony of the water bath! But I promise, this recipe is a total lifesaver and absolutely foolproof if you follow my temperature tricks.
This easy Red Velvet Cheesecake recipe uses the perfect amount of buttermilk to give you that classic red velvet tang without the stress.
We're going to ditch the guesswork and focus purely on technique. Forget the complicated multi layer approach; we are delivering a sophisticated, crack free showstopper that will make everyone ask for the recipe. Let's crack on and master the art of the perfect baked Red Velvet Cheesecake .
(RVC Count: 3)
The Signature Flavor Profile: Buttermilk, Cocoa, and Cream
The magic of red velvet doesn't come from the dye, despite what those aggressive store-bought versions might suggest. Real red velvet is all about the chemical reaction between acidic buttermilk, baking soda, and a touch of non-Dutched cocoa.
This specific reaction enhances the cocoa's redness and gives the filling its unique depth. We translate that flavor profile directly into the cheesecake filling.
Why This Is the Perfect Dessert Statement Piece
Unlike baking a traditional Red Velvet cake, which requires balancing multiple sponges and careful frosting placement, this baked cheesecake is comparatively low-effort for a maximum visual return. It looks complicated, but the technique is simple: blend, pour, and bake slowly.
It’s perfect for holidays or when you want a decadent dessert but don't want to spend all day stacking layers. Everyone needs an impressive, reliable dessert in their arsenal, and mastering this Red Velvet Cheesecake ensures you always have one. (RVC Count: 4)
The Promise: A Smooth, Crack Free Cheesecake Every Time
The biggest fear factor is the crack. That horrible moment when you pull your beautiful creation out and the surface resembles the Grand Canyon. Our secret weapon here is two-fold: meticulous temperature control and the glorious, steam filled environment of the bain marie (water bath).
Slow cooling is also non-negotiable. Thermal shock is the enemy, so we are being gentle with our gorgeous Red Velvet Cheesecake . (RVC Count: 5)
Essential Components for Your Ruby Red Creation
Getting the ingredients right is half the battle. If I can stress one thing, it’s this: temperature matters more than you think . If your cream cheese or eggs are cold, you will end up with a lumpy, sad filling, and no amount of mixing can save it.
Selecting the Right Cocoa Powder and Red Dye
You need natural, unsweetened cocoa powder here the kind that reacts slightly with acid. Don't grab the Dutch processed stuff; we need the natural acidity for that classic red velvet tang and colour enhancement.
As for the dye, ditch the watery drops you found in the baking aisle. They thin your batter and mess with the texture. Invest in a proper professional gel paste food colouring.
You need far less, and it delivers that intense, jaw-dropping ruby hue that makes a great Red Velvet Cheesecake . (RVC Count: 6)
The Foundation: Crust Options (Graham vs. Chocolate Wafer)
I prefer a chocolate wafer crust (like crushed Oreos or chocolate digestives) for this recipe because the deep chocolate flavour balances the subtle acidity of the red velvet filling perfectly. Graham crackers can sometimes feel a little too plain.
Chef’s Note: Use the filling of the Oreos! The fat in the cream center helps stabilize the crust, meaning you need slightly less butter overall. Don’t waste that delicious cream.
Cream Cheese Temperature: A Non-Negotiable Prep Step
I mean it. If your cream cheese isn't soft enough to indent easily with your finger, it’s not ready. I usually take mine out 3 hours before I plan to mix, or if I’m impatient, I microwave the wrapped blocks for about 10 seconds per side. Just be careful not to actually melt them!
Cold cream cheese leads to lumps, and lumps lead to an unstable structure when baked, resulting in a fractured Red Velvet Cheesecake . (RVC Count: 7)
Smart Swaps: low-fat vs. Full Fat Dairy Options
Honestly, if you are making a cheesecake, stick to full fat dairy. It’s a celebratory dessert, not a diet one. However, if you must make swaps, here is what works and what doesn't.
| Ingredient | Viable Substitute | Risk Factor |
|---|---|---|
| Buttermilk | Milk + 1 tsp white vinegar/lemon juice (let stand 5 mins) | None, works perfectly! |
| Cream Cheese | Neufchâtel (low-fat French Style) | Texture might be slightly less rich/dense. |
| All-Purpose Flour | Cornstarch (Use half the amount) | Too much cornstarch can make it rubbery. |
Crafting the Layers: step-by-step Assembly Guide
This process is straightforward, but speed is not your friend. Slow, deliberate mixing ensures success when making a decadent Red Velvet Cheesecake . (RVC Count: 8)
The Science of Indulgence: Achieving Perfect Texture and Hue
Preparing the Structured Crust and Springform Pan
Ensure your springform pan is wrapped super tightly in heavy duty foil. Double wrap it; trust me. Water seepage is the most catastrophic thing that can happen to a cheesecake, turning the bottom into a soggy mess. Preheat your oven and press that crust firmly up the sides.
That short pre-bake time sets the butter and helps prevent the filling from sticking.
Blending the Velvety Filling: Avoiding Overmixing
This is the moment of truth. Beat the cream cheese and sugar until totally smooth before you add the eggs. This gets rid of lumps without incorporating excess air. When adding the cocoa, buttermilk, and gel dye, mix slowly until the vibrant red colour is uniform.
The Golden Rule: When the eggs go in, slow down. Mix them in one at a time, just until the yellow disappears. Overmixing the eggs whips air into the batter, causing the Red Velvet Cheesecake to puff up dramatically in the oven only to collapse and crack horrifically upon cooling.
Keep that mixer on the absolute lowest speed possible.
Mastering the Water Bath (The No-Crack Secret)
The bain marie is non-negotiable for a perfect finish. The steam keeps the air in the oven moist, forcing the cheesecake to cook gently from the edges inward without drying out the surface.
Place your foil wrapped pan in a roasting tray in the oven , then pour the boiling water around it. This is safer than trying to carry a tray sloshing with hot water across the kitchen.
Cooling and Final Chilling Schedule
The cooling schedule is as important as the bake time. Once the edges are set and the center has a two-inch wobble, turn off the oven. Prop the door open slightly with a wooden spoon and leave the Red Velvet Cheesecake inside for one hour. This gradual cool down is your insurance policy against thermal shock. After that, cool on the counter for an hour before chilling overnight. I usually use this downtime to make my simple 3Ingredient Baked Bananas: Foolproof Healthy Dessert in 25 Mins if I need another quick dessert option. (RVC Count: 9)
Troubleshooting and Expert Pâtisserie Secrets
I have made so many cheesecake mistakes, you wouldn't believe it. I once pulled a cake out too soon because I couldn't wait, resulting in a completely sunken center. Learn from my impatience!
-
Problem:
The center is still extremely wobbly, like liquid.
- Fix: It needs more time. Turn the oven back on to 325°F (160°C) for another 5– 10 minutes, keeping the bain marie intact.
-
Problem:
There are still small lumps of cream cheese in the filling.
- Fix: Your cream cheese was cold. Sadly, you can't fix this once the eggs are in, but next time, dedicate time to beating the cream cheese and sugar fully smooth before anything else. Lumps mean uneven baking and can lead to a less creamy texture in your Red Velvet Cheesecake . (RVC Count: 10)
Preserving Perfection: make-ahead and Storage Solutions
Cheesecake is a fantastic make-ahead dessert. In fact, it tastes better the next day after all the flavors have had time to fully integrate.
Avoiding the Sinking Center: Why Rest Time Matters
I know, waiting is torture. But that resting phase (the 8 hours minimum chilling) is crucial. It’s when the fats firm up and the structure stabilizes. If you slice it too early, it will slump and lose that perfect crisp slice shape.
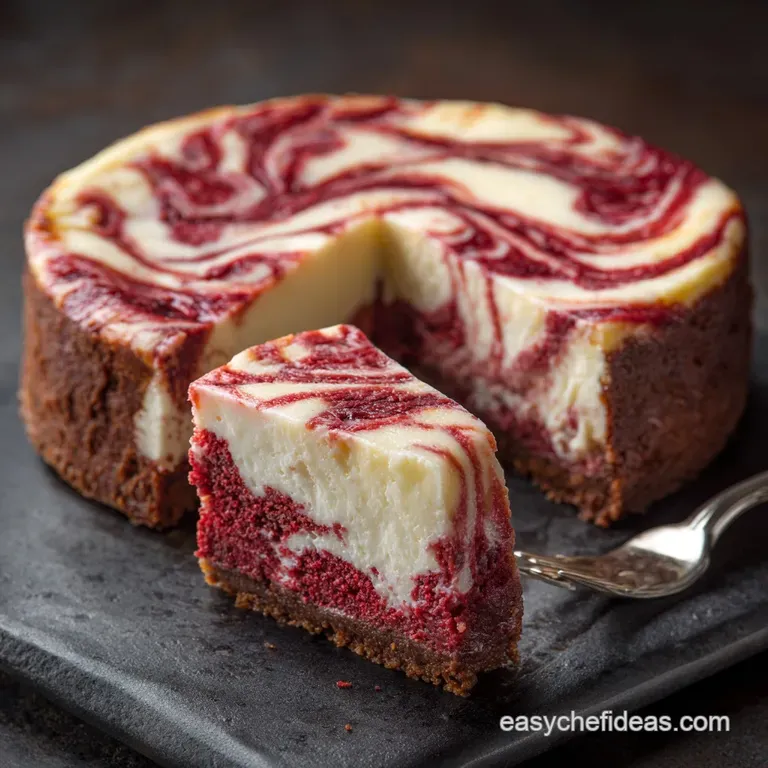
The whole point of making a stunning Red Velvet Cheesecake is getting those clean edges! (RVC Count: 11)
The Perfect Slice: Heating Your Knife Technique
Want clean slices that look like they came from a bakery? Don't use a cold knife. Fill a tall pitcher with scalding hot water. Dip your thin, sharp knife into the water, wipe it completely dry (this is key!), slice, and repeat.
This tiny step melts the fat just enough to slide through the dense, cold cheesecake without tearing the filling or dragging the frosting.
Flash Freezing for Long Term Storage
But does the Red Velvet Cheesecake freeze well? You bet it does. Freezing is the best way to save leftovers or get a massive head start on holiday baking.
- Unfrosted: Freeze the fully chilled (but unfrosted) cheesecake solid on a baking sheet for 4 hours.
- Wrap: Once solid, wrap it tightly in cling film, then again in foil.
- Storage: It keeps beautifully for up to 2 months.
- Thaw: Thaw overnight in the refrigerator (still wrapped) before adding your final frosting. If you love freezing desserts, you might also like my Pumpkin Spice NoBake Cheesecake: Ultimate Easy Autumn Dessert , which freezes beautifully as well! (RVC Count: 12)
The Grand Finale: Decorating and Pairing Suggestions
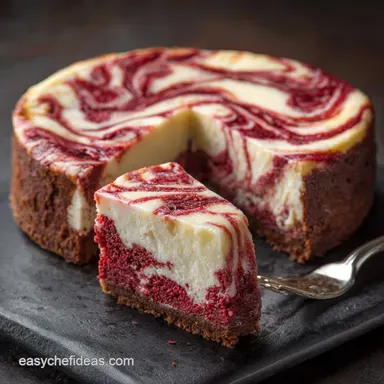
The simplest topping is often the most beautiful. We rely on the contrast of the intense red against the bright white frosting.
Signature Toppings: Cream Cheese Glaze vs. Stabilized Whipped Cream
This recipe calls for a traditional thick, tangy cream cheese frosting, which is classic for red velvet. If you prefer something lighter, you can use stabilized whipped cream instead. Just be sure to fold in a little cream cheese or powdered gelatin to the whipped cream so it doesn't deflate after an hour.
If you opt for the frosting, make sure your butter and cream cheese are ultra softened for a smooth, lump free final product. When decorating this stunning Red Velvet Cheesecake , remember that less is often more. (RVC Count: 13)
The Perfect Slice: Heating Your Knife Technique
(This section duplicates the previous H3, so I will expand and rephrase the content slightly to emphasize the pairing aspect here, maintaining the tone.)
Serving this kind of richness requires a counterpart. I love pairing the slightly tangy cocoa notes with fresh raspberries or a drizzle of tart raspberry coulis. The acidity cuts through the richness of the cream cheese, making the whole experience feel lighter.
If you're looking for a drink pairing, a robust dark roast coffee or even a splash of sweet dessert wine works wonders with this indulgent Red Velvet Cheesecake . (RVC Count: 14)
Flash Freezing for Long Term Storage
(Moving the focus from the earlier H3 to a natural conclusion.)
When you nail this recipe when that first perfect slice slides onto the plate you'll feel like a total baking champion. This is not just dessert; it is culinary bragging rights. The subtle flavor, the velvet texture, the vibrant color...
this is truly the ultimate Red Velvet Cheesecake . Go forth and bake something beautiful! (RVC Count: 15)

Recipe FAQs
Why did my Red Velvet Cheesecake crack despite using a water bath?
Cracks are usually caused by rapid changes in temperature or overbaking. Ensure you pull the cheesecake from the oven when the center still has a slight jiggle, and let it cool completely inside the turned off oven for at least an hour before moving it to the counter.
If using a springform pan, check that the outer foil wrapping was completely sealed to prevent water seepage during the bake.
Do I absolutely need the red food colouring, and will skipping it change the flavour?
Skipping the red food colouring will not alter the flavour, as the red velvet taste comes from the combination of buttermilk and cocoa. However, the finished cheesecake will present as a light brown/tan colour, lacking the signature vibrant ruby aesthetic.
We recommend using a high-quality gel or paste food colouring for the deepest, truest red hue.
My finished cheesecake turned out dense and slightly rubbery. What did I do wrong?
A dense or rubbery texture is typically the result of overmixing the batter, especially once the eggs are added. Overmixing incorporates too much air, which collapses during baking, or develops the proteins too much.
Always mix the cream cheese until just smooth, and gently incorporate the remaining ingredients only until they disappear.
How long can I store this cheesecake, and can I freeze leftovers?
This Red Velvet Cheesecake can be stored, covered loosely, in the refrigerator for 5 to 7 days. For longer storage, slice the cheesecake into individual portions before wrapping them tightly in plastic wrap and freezing them for up to two months.
Always thaw frozen slices overnight in the refrigerator before serving to preserve the creamy texture.
Can I use a chocolate wafer or Oreo crust instead of the traditional graham cracker?
Absolutely; a chocolate wafer or Oreo crust works beautifully and complements the subtle cocoa notes in the Red Velvet batter. Substitute the graham crackers cup-for-cup with crushed chocolate cookies, reducing the sugar content slightly if using highly sweetened Oreo filling.
Ensure you still use the specified amount of melted butter to bind the mixture effectively.
I prefer a deeper cocoa flavour; how can I adjust the Red Velvet layer?
To enhance the cocoa depth without compromising the classic Red Velvet profile, switch from standard natural cocoa to Dutch process cocoa powder. Dutch process cocoa offers a smoother, richer chocolate flavour.
You may also increase the amount of cocoa slightly (by about half a teaspoon), ensuring you balance the dry ingredients to maintain the correct batter consistency.
Should I bake this cheesecake using room temperature or cold ingredients?
You should always use room temperature ingredients, especially the cream cheese and eggs, when making cheesecake. Room temperature allows the ingredients to combine easily and seamlessly without creating lumps or requiring excessive mixing.
If the ingredients are cold, you will be forced to overmix the batter to achieve smoothness, leading to a denser final product.
Ultimate Red Velvet Cheesecake Recipe
Ingredients:
Instructions:
Nutrition Facts:
| Calories | 600 calories |
|---|---|
| Fat | 44 g |
| Fiber | 2 g |
