Sugar Free Condensed Milk: Silky and Rich
- Time: 5 min active + 15 min simmer = 20 min total
- Flavor/Texture Hook: Glossy, silky, and rich
- Perfect for: Keto baking, coffee creamers, and diabetic friendly treats
- How to Make Sugar Free Condensed Milk
- Quick Recipe Specifications
- Component Analysis
- Ingredients and Substitutes
- Required Kitchen Gear
- Step by Step Instructions
- Solving Texture Problems
- Troubleshooting Common Issues
- Flavor Twists and Swaps
- Preservation and Storage
- Ways to Serve It
- Recipe FAQs
- 📝 Recipe Card
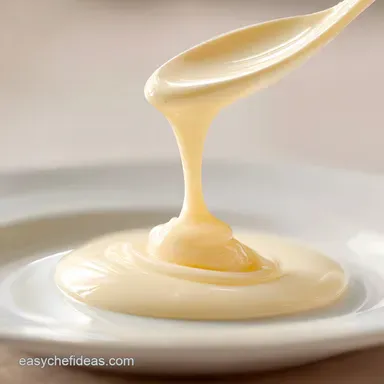
The air in my kitchen always changes when I start this. It begins with the heavy, neutral scent of cream, but as the heat climbs, it shifts into this warm, buttery aroma that feels like a hug. There is something deeply comforting about watching a liquid transform into a thick, glossy syrup right before your eyes.
I remember a disastrous attempt a few years back where I tried to use a liquid stevia blend. It was a nightmare. The mixture stayed watery, and the aftertaste was metallic, ruining a batch of coconut macaroons that ended up tasting like medicine.
I realized then that you can't just "swap" sugar; you have to mimic its physical behavior.
That is where this version comes in. By using allulose, we get the actual thickness and mouthfeel of the real thing. This sugar free Condensed Milk isn't just a substitute, it's a tool that lets you make fudgy treats and creamy sauces without the sugar crash.
How to Make sugar free Condensed Milk
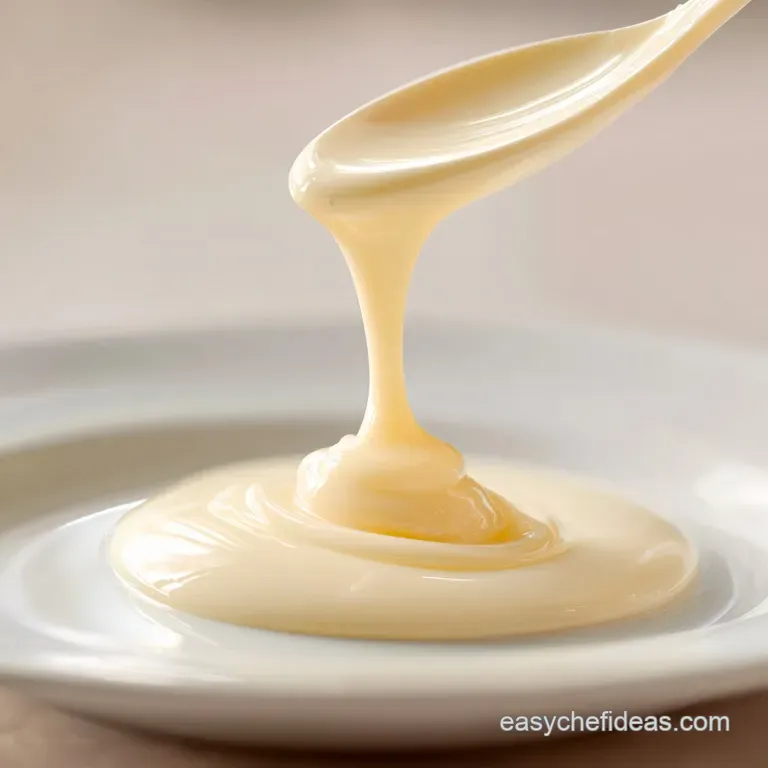
Getting the texture right is all about the reduction. If you rush it, you end up with a soup; if you overheat it, you get grainy clumps. The goal is a velvety consistency that coats a spoon without breaking.
Since we aren't using traditional sugar to create that sticky structure, we rely on the fat from the heavy cream and butter. According to USDA FoodData, the high lipid content in heavy cream is what allows the mixture to emulsify and thicken as the water evaporates during the simmering process.
Trust me, don't be tempted to crank the heat. A slow, steady simmer is the only way to ensure the allulose integrates fully. If you see big bubbles, turn it down immediately.
Quick Recipe Specifications
Before we dive in, let's look at the logic. Most traditional condensed milks take hours of simmering milk and sugar to reduce. This version is a shortcut that uses higher fat components to reach that same density in a fraction of the time.
| Method | Time | Texture | Best For |
|---|---|---|---|
| Fast (This Recipe) | 20 mins | Glossy/Velvety | Keto treats & Coffee |
| Classic (Traditional) | 3-4 hours | Syrupy/Sticky | Traditional confectionery |
The fast method works because we start with a more concentrated fat base. This means we don't have to boil away gallons of water to get the thickness we want.
Component Analysis
Understanding how these parts interact helps you avoid the common pitfalls of sugar-free cooking. It is all about balancing fat and sweetness.
| Ingredient | Science Role | Pro Secret |
|---|---|---|
| Allulose | Bulking Agent | Doesn't crystallize like erythritol |
| Heavy Cream | Emulsion Base | Provides the velvety mouthfeel |
| Unsalted Butter | Stability | Prevents the sauce from separating |
| Sea Salt | Flavor Contrast | Cuts through the richness of the fats |
This combination ensures the end product doesn't have that "thin" feeling often found in low carb alternatives.
Ingredients and Substitutes
Use a heavy bottomed pan to prevent scorching. I honestly don't bother with low-fat alternatives here, as they won't emulsify properly.
- 1 cup heavy cream Why this? Essential for the fatty base and thickness (Substitute: Full fat coconut cream for a nutty, dairy-free version)
- 1/4 cup unsalted butter Why this? Adds richness and prevents separation (Substitute: Ghee for a deeper, toasted flavor)
- 1/2 cup allulose Why this? Mimics sugar's viscosity without the calories (Substitute: Monk fruit blend, though it may be less glossy)
- 1/4 tsp fine sea salt Why this? Balances the sweetness (Substitute: Kosher salt)
- 1 tsp pure vanilla extract Why this? Adds the classic aromatic finish (Substitute: Vanilla bean paste for those little black specks)
Required Kitchen Gear
You don't need a professional setup, but a few specific tools make this much easier.
- Small heavy bottomed saucepan: This distributes heat evenly and stops the bottom from burning.
- Whisk: Essential for keeping the butter and cream emulsified.
- Silicone spatula: Great for scraping the sides to ensure all the allulose dissolves.
- Airtight glass jar: Glass prevents the milk from picking up plastic smells in the fridge.
Step by step Instructions
Follow these steps closely. The visual cues are more important than the timer.
- Place the heavy cream and butter in your saucepan over medium low heat.
- Whisk gently until the butter has completely melted and merged with the cream.
- Slowly stir in the allulose and salt.
- Maintain a very low simmer, stirring continuously for 10-15 minutes.
- Watch for the liquid to reduce slightly until it coats the back of a spoon (the "nappe" stage).
- Check the aroma; it should smell like warm, sweet cream, not toasted milk.
- Remove the pan from heat immediately once the mixture looks glossy.
- Stir in the vanilla extract. Note: Adding vanilla at the end preserves the aroma
- Pour into a jar and let it cool.
- Wait for it to reach room temperature until it thickens significantly.
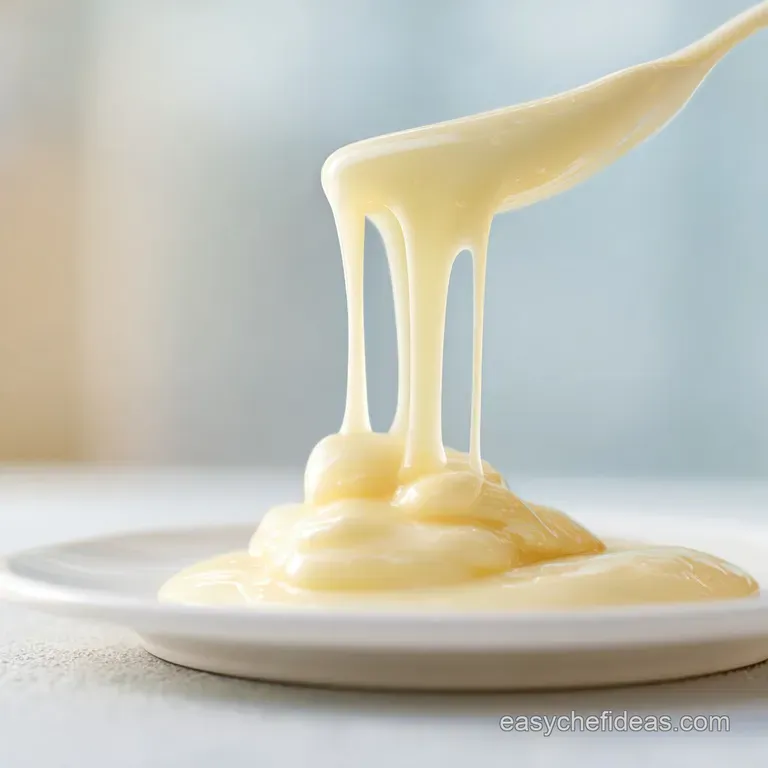
Solving Texture Problems
Most issues with this recipe happen because of heat management. If you go too fast, the emulsion breaks.
Troubleshooting Common Issues
| Issue | Solution |
|---|---|
| Why Your Milk Is Grainy | This usually happens if the allulose isn't fully dissolved or if the mixture reached a rolling boil. High heat can cause the fats to separate from the sweetener. |
| Why Your Milk Is Too Thin | If it's runny, you simply didn't reduce it enough. Put it back on the lowest heat for another 3-5 minutes. |
| Why Your Milk Separated | This is often caused by "thermal shock" or boiling. If you see oil droplets on top, whisk vigorously while adding a teaspoon of cold cream to bring it back together. |
- ✓ Keep heat medium low or lower
- ✓ Stir constantly to prevent scorching
- ✓ Use a heavy pan for heat distribution
- ✓ Let it cool completely before judging thickness
Flavor Twists and Swaps
Once you have the base down, you can get creative. This sugar free Condensed Milk is a blank canvas for other flavors.
For those who love a deeper profile, try adding a pinch of cinnamon or a drop of almond extract. If you're feeling adventurous, you can use this base to make a dark chocolate fudge sauce by whisking in cocoa powder and dark chocolate.
If you want a coconut version, swap the heavy cream and butter for coconut cream and coconut oil. It stays velvety but adds a tropical note that is incredible in key lime pie fillings.
Preservation and Storage
Since this contains high amounts of dairy and no preservatives, you have to be careful with how you store it.
Store the mixture in an airtight glass jar in the fridge for up to 1 week. If you need it to last longer, it freezes surprisingly well. Pour it into silicone molds or a freezer safe container for up to 1 month.
When reheating, do not microwave it on high. Instead, warm it gently on the stove or use short 10 second bursts in the microwave, stirring in between. If you have a small amount left that is too thick to use in a recipe, stir it into your morning coffee as a homemade coffee creamer.
To avoid waste, you can also use the leftover residue in the pan by deglazing it with a splash of milk and stirring it into a keto pudding.
Ways to Serve It
This is where the fun starts. You can use it exactly like the canned stuff, but without the sugar guilt.
Drizzle it over fresh berries for a simple dessert, or stir it into a bowl of chia pudding. It's also a fantastic binder for low carb fudge or "magic" bars. Because it's so rich, a little goes a long way. If you're using it for a cake filling, make sure the milk is completely chilled so it holds its shape when sliced.
Recipe FAQs
Is there a condensed milk that is sugar free?
Yes, you can make a sugar-free version at home. By simmering heavy cream and butter with allulose, you achieve the signature thickness without the added sugar.
What is a diabetic substitute for condensed milk?
A homemade allulose based reduction is the best choice. This provides the creamy consistency needed for desserts like velvety banana pudding without causing a significant glucose spike.
Can lactose intolerant people have condensed milk?
No, not this specific version. This recipe uses heavy cream and butter, both of which contain lactose.
How to make sugar-free sweetened condensed milk?
Simmer heavy cream, butter, allulose, and salt over medium low heat. Stir continuously for 10 15 minutes until the liquid reduces and coats the back of a spoon.
Is it true that sugar-free condensed milk must be boiled to thicken?
No, this is a common misconception. You should maintain a very low simmer; a rolling boil can cause the fats to separate and create a grainy texture.
Why is my sugar-free condensed milk grainy?
The heat was likely too high or the allulose didn't dissolve. When the mixture reaches a boil, the fats can separate from the sweetener, ruining the smooth emulsion.
How to store homemade sugar-free condensed milk?
Transfer the cooled mixture into an airtight glass jar. Store it in the refrigerator, where it will continue to thicken as it reaches a cold temperature.
sugar free Condensed Milk