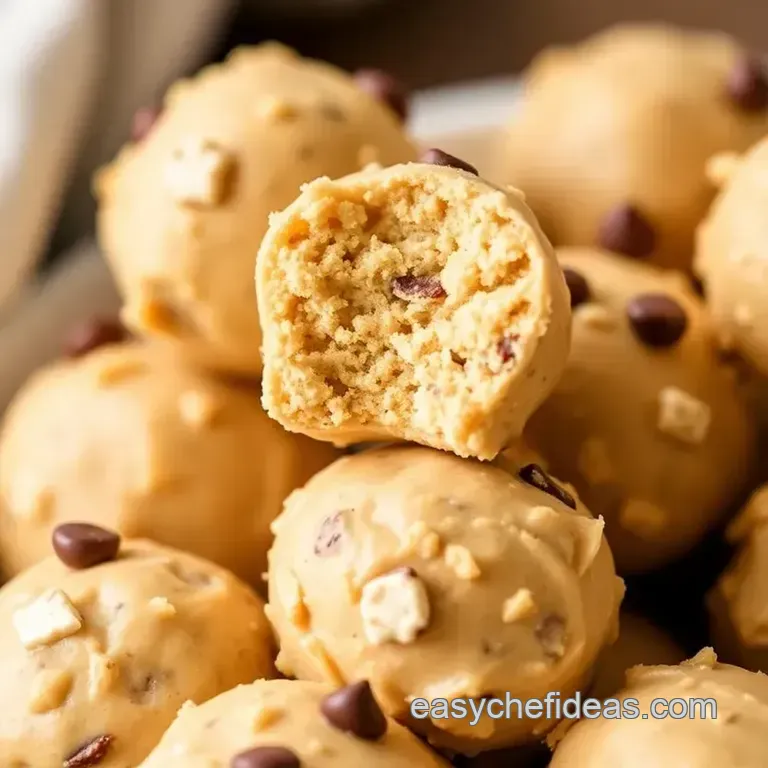
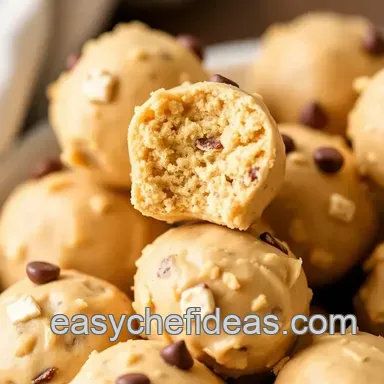
Butterfinger Balls Recipe
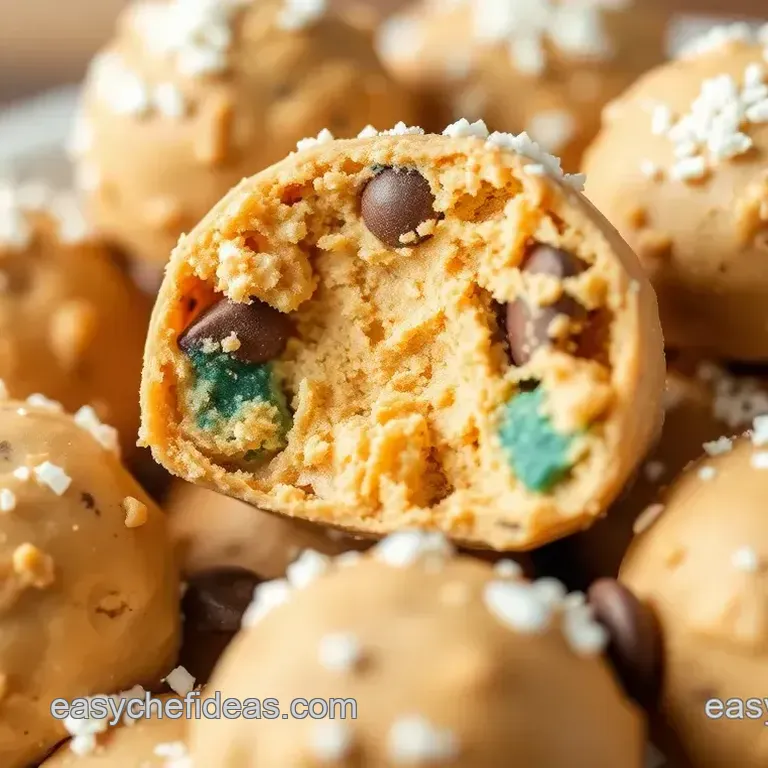
Decadent Butterfinger Balls: The Perfect No-Bake Treat
Have you ever wondered how a simple candy bar can morph into an indulgent dessert? You know, that delightful moment when you bite into a Butterfinger and feel that crunchy, peanut buttery goodness combining with rich chocolate? What if I told you that you can recreate that same joy in just about 45 minutes?
Oh my gosh, buckle up, because this Butterfinger Balls recipe is about to take your dessert game to a whole new level!
What makes this recipe truly special isn’t just that it’s an easy dessert recipe to whip up there’s no baking involved! it’s the glorious crunch of butterfinger candy bars, the creamy texture of peanut butter, and the luscious chocolate coating that will have everyone coming back for seconds.
And trust me, even novice cooks will find these irresistible treats a breeze to make!
Historical Background
Now, before we dive right into making these tantalizing balls of joy, let’s chat a bit about where this all comes from.
The term no-bake dessert has been around since everyone discovered the magic of chilled treats and quick recipes. traditionally, butterfinger was introduced back in 1923, and it has since become a beloved treat in many households hence the popularity of various butterfinger dessert ideas that have popped up over the years.
And let’s be real, who doesn’t love a sweet treat for parties or gatherings?
The Secrets Behind Perfect Butterfinger Balls
Ah, the rich culinary heritage of american candies! the butterfinger itself is famous for that crunchy, peanut buttery filling. imagine the first time someone thought, “hey, let’s roll that into a ball and dip it all in chocolate!” it’s like a culinary epiphany, right?
the cultural significance doesn’t just stop there; these sweet snacks are often part of fun dessert recipes shared during holidays and celebrations.
In modern day kitchens, these heavenly bites are trending like hot cakes, celebrating the bliss of chocolate covered snacks with a playful twist.
Why This Recipe Will Amaze You
Okay, let’s talk about why you absolutely need to try this butterfinger balls recipe. have you tasted that magical peanut butter chocolate combination ? it’s a flavor explosion in every bite! the best part? this method is expert tested and foolproof.
Even my last minute decision to throw these together for a gathering turned into a crowd pleasing hit!
I’m all about time saving tips , and the quick mixing and chilling make this treat something you can pull off while half watching your favorite show.
Plus, no oven means no worries! you can easily substitute ingredients based on what you have at home, making it one of the most adaptable dessert recipes out there!
Health and Nutrition Highlights
Now, i know what you're thinking: “this sounds fantastic, but is it actually decent for me?” well, let’s break it down.
On the upside, that creamy peanut butter not only satisfies your sweet tooth but also brings in some protein and healthy fats.
The sugar content is definitely there, but hey, we’re living a balanced life, right? it’s all about moderation! just keep in mind your dietary considerations while indulging in these delightful balls.
Recipe at a Glance
- Total Preparation Time: Approximately 45 minutes (15 minutes active prep + 30 minutes chilling)
- Skill Level Required: Easy
- Serving Size Details: Yields about 24 Butterfinger Balls
- Cost Efficiency: You can whip up these satisfying treats without breaking the bank!
So, are you ready to dive into the fun part? up next, we’ll cover the ingredients section for these delectable butterfinger balls.
I’ll walk you through each item you’ll need to create this stunning treat, so grab your mixing bowl and let’s get started on making sweet memories together!
Perfect Ingredients Selection
When it comes to whipping up a batch of decadent butterfinger balls, the magic truly happens at the ingredient selection stage.
No matter if you’re a novice cook or a kitchen veteran, knowing how to pick the perfect ingredients can make all the difference, especially when you're diving into something as indulgent as this no-bake dessert .
Let's break this down!
Premium Core Ingredients
You wouldn't believe how much the quality of your ingredients matters. For our Butterfinger Balls, you'll need:
- 10 Butterfinger candy bars (approx. 300 g) : Look for bars that aren't too old freshness brings that irresistible crunch.
- 1 cup (240 g) creamy peanut butter : Go for the smooth stuff because it mixes better. Natural peanut butter works too, but check that it’s creamy for texture.
- 1 cup (120 g) powdered sugar : Make sure it’s not lumpy! Nobody wants clumps in their delicious filling.
- 1 tsp (5 mL) vanilla extract : Use real vanilla if you can. It’s amazing what a difference it makes in flavor!
Storage Guidance : Keep leftovers in an airtight container in the fridge. Want them tasting fresh? Use them up within a week!
Signature Seasoning Blend
Now, while this dessert leans heavily on its rich flavors, you can still elevate them! Here are some thoughts:
- The filling is sweet enough on its own, but feel free to experiment. A hint of sea salt can create a lovely contrast and bring out the sweet flavors.
- As for flavors , you might consider adding a splash of maple syrup instead of vanilla, just to mix things up.
Smart Substitutions
Let’s say you’re in a bit of a jam or just want to get creative! Here are some great swaps:
- No Butterfinger? Crush up some toffee or even Oreos if you're feeling adventurous. You’ll still get that sweet crunch.
- Peanut allergy? Try almond butter or sunflower seed butter instead. Trust me, your dessert will still be delightful!
- Chocolate Coating Dilemma? If you're out of semi sweet chocolate chips, feel free to dive into some milk chocolate or even white chocolate for a unique twist.
Kitchen Equipment Essentials
Now that you’ve got your ingredients lined up, let’s talk equipment. You might think all you need is a mixing bowl, but let me tell you, a few essentials will make your life so much easier:
- Baking sheet : A little standard, but oh-so necessary for chilling your treats.
- Parchment paper or wax paper : Forget the mess; this will save you from craziness when it comes to cleanup.
- Microwave safe bowl : Perfect for melting that chocolate just make sure you stir every thirty seconds!
- Silicone spatula : It’s like the ultimate tool for mixing and scraping down the sides of your bowl.
Pro Ingredient Tips
Want some pro tips? I got your back!
- Think freshness. The best time to buy your ingredients is when they’re on sale, but not days away from expiration, you know?
- Quality markers for chocolate: Look for chocolate with a high cocoa percentage (preferably above 60%) for that rich, indulgent coating.
- Storage solutions for peanut butter: Keep it in a cool, dark place. If it’s natural and separates, just give it a good stir before each use!
And remember, making indulgent sweets like these butterfinger balls is all about enjoying the journey. use these tips to pick the best ingredients, and you’ll be well on your way to crafting treats that will impress everybody at your next gathering.
Now that we’ve got all that sorted, let’s get down to the fun part the instructions section! trust me, you'll be sliding the butterfinger balls into the fridge and dreaming of that sweet, peanut butter chocolate combination before you know it.
Happy cooking!
Professional Cooking Guide
Oh my gosh, let me share with you one of my all-time favorite no-bake desserts ! it’s the decadent butterfinger balls recipe, and trust me, once you try making these, they’ll become a staple for every gathering and celebration.
You know how it is when you need an easy dessert recipe that will impress everyone? this is it! 🎉 i’ll guide you through professional cooking techniques, essential steps, and some expert tips to help you whip up these irresistible treats .
Ready? let’s dive in!
Essential Preparation Steps
Before we even think about mixing ingredients, we need to talk about mise en place . this fancy french term just means getting everything organized before you start cooking.
Grab all your ingredients: 10 butterfinger bars, peanut butter, powdered sugar, and vanilla extract, along with some semi sweet chocolate chips for coating.
It sounds easy, right? and it really is!
Don’t forget about the prep techniques. you’ll want to crush those butterfingers first. i’ve made the mistake of skipping this step, and let me tell you, getting those big chunks out later is a real pain.
So, put them in a zip-top bag and smash away with a rolling pin it’s fun!
Next up is time management . this recipe will take about 45 minutes total 15 minutes to prep, and then you’ll let the balls chill for about 30 minutes.
If you're multitasking, use that chill time to clean up the kitchen. you’re going to feel like a pro!
And let’s talk organization. you’ll need a baking sheet lined with parchment paper, a mixing bowl, and a microwave safe dish for melting chocolate.
Keeping everything close by and ready to go will make this process smooth as butter.
Professional Cooking Method
Now onto the step-by-step process . Follow these instructions, and you’ll have perfectly uniform Butterfinger balls that’ll make everyone swoon!
Prepare the Baking Sheet: Line it with parchment or wax paper.
Make the filling: in a mixing bowl, combine the crushed butterfinger bars with 1 cup of creamy peanut butter, 1 cup of powdered sugar, and 1 teaspoon of vanilla extract.
Mix until you have a thick, dough like consistency .
Shape the Balls: Roll the mixture into 1 inch balls. I like to use a small cookie scoop to keep them uniform.
Chill the Balls: Cover your baking sheet and pop it into the fridge for about 30 minutes. This will help them hold their shape.
Melt the chocolate: in a microwave safe bowl, melt your chocolate chips in 30-second intervals , stirring in between until it’s smooth and glossy.
I often add a spoonful of vegetable oil for that silky texture.
Coat the Balls: Dip each chilled ball into the melted chocolate, covering it completely. Work quickly, the chocolate can set fast!
Chill Again: Back to the fridge for another 10-15 minutes to set.
Serve: Once they look all shiny and beautiful, dig in! Store any leftovers in an airtight container.
Expert Techniques
Let’s talk about a few critical steps and precision points . remember to crush your butterfingers evenly this helps the texture of the filling.
If your hands get sticky while rolling the balls, just a light spritz of cool water will make your life so much easier.
And seriously, use quality chocolate! it makes all the difference in flavor and texture.
Quality checks are super important too. When you coat the balls, make sure every inch is covered, or you’ll find awkward “bare spots”. We want these treats to be perfect!
Success Strategies
Now, what happens if something goes wrong? i mean, it happens to all of us, right? here are some troubleshooting tips .
If your balls are too soft after chilling, pop them back in the fridge for a bit longer. if the chocolate isn’t smooth, just microwave it for a few more seconds.
For quality assurance , taste test a ball before serving! It’s your duty as the chef, haha. Finally, to achieve perfectly round balls every time, keep practicing those rolling techniques!
Now that you’re all prepped with these steps, let’s move on over to some insane variations of these butterfinger treats.
Trust me, you won’t want to miss out on dressing these options up for special occasions or stimulating casual get-togethers.
Expert Kitchen Wisdom
Oh my gosh, let me tell you there’s something magical about whipping up a no-bake dessert, especially when it comes to these delightful butterfinger balls ! take it from me; you don't need to be a maestro in the kitchen to succeed.
These no-fuss treats call for just a handful of ingredients and are as simple as mixing and rolling. professional insight tells us that the key techniques here are all about combining textures and flavors.
When you're working with chocolate coatings , have your chocolate chips handy and don't rush the melting process! take it slow and stir every thirty seconds; you'll be rewarded with that luscious glossy texture we all crave in our chocolate covered snacks.
And honestly, experiment away! a sprinkle of sea salt atop the chocolate dip can elevate your treats to a whole new level of satisfaction.
Perfect Presentation
Now, let’s talk about making these goodies look as scrumptious as they taste. i learned a few cool plating techniques that can really jazz up your butterfinger dessert ideas .
Try placing your chilled balls on a beautiful platter, maybe even on some fun decorative paper (you know, to give it that “wow” factor at parties).
For garnishes , crushed pretzels or even some sprinkles can add a pop of color and crunch. anyone can do this! when thinking visual appeal, i often go for a mix of textures smooth, crunchy, and creamy all on one plate? count me in! trust me, it makes the presentation all the more irresistible .
Storage and make-ahead
Speaking of making it ahead of time, these sweet treats for parties can be prepped in advance, which is a lifesaver! just keep them in an airtight container in the fridge once fully chilled.
They'll last about a week, but good luck keeping them around that long they're simply too good!
When it comes to preservation methods , remember to avoid stacking them directly on top of each other unless you’ve got a layer of parchment paper in between.
No one wants their beautiful chocolate covered snacks to meld together. for serving, just pull them out and let the party begin! reheat? no way we're keeping these chilled and delicious!
Creative Variations
If you’re feeling a bit adventurous (and who isn’t?), there are tons of fun variations you can make. feeling seasonal? add some pumpkin spice to the filling in the fall for a nice twist, or try incorporating peppermint extract in the winter for sweet holiday vibes.
And hey, if you’re looking for something a little healthier, you can swap out the peanut butter treats for almond or sunflower butter it’s a game changer! go wild with flavors; it’s all about those peanut butter chocolate combinations that get us craving more.
Complete Nutrition Guide
Now for the health nuts among us you might be wondering about the nutrition side of things. these decadent treats are an indulgence for sure, but they're not too crazy when it comes to calories.
One butterfinger ball has roughly 150 calories, which isn’t too bad for a satisfying treat ! they pack a punch of flavor without wrecking your diet.
Just be mindful of those portions, because let’s be real... it’s hard to stop at just one!
Expert FAQ Solutions
Here's where i turn into your personal culinary support! many folks worry about whether the chocolate will crack when setting or if the filling will hold its shape.
The secret? chill, chill, and chill again! making sure the mixture is well combined and chilled before coating works wonders.
If things get sticky, just wet your hands a bit easy peasy!
Oh, and if your chocolate isn’t melting well, a touch of vegetable oil can help smooth it out. Don't worry, you’ve got this!
In conclusion, the butterfinger balls recipe is a fantastic way to dazzle friends and family with minimal effort. it embodies the spirit of casual sharing, bringing a warm feeling of nostalgia with that crunchy, sweet treat we all love.
So gather your ingredients, channel your inner chef, and enjoy every bite of these indulgent sweets . happy snacking!
Butterfinger Balls Recipe
Ingredients:
Instructions:
Nutrition Facts:
| Calories | 150 |
|---|---|
| Protein | 3 g |
| Fat | 9 g |
| Carbs | 17 g |
| Fiber | 1 g |
| Sugar | 9 g |
| Sodium | 50 mg |
