The Proper Bit of Kit Rich and Smooth Homemade Chocolate Syrup the Ultimate Drizzle
Elevate Your Drizzle Game: The Case for Homemade Excellence
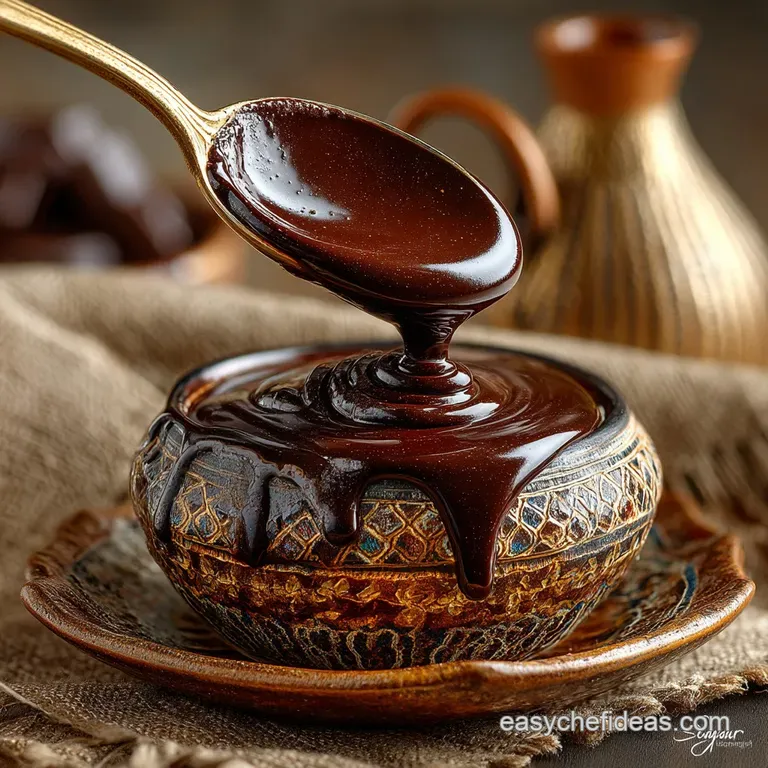
The moment you realize that crafting a profoundly flavorful, rich, and elegant chocolate syrup is a task achievable in mere minutes, you’ll never look at the store-bought bottles the same way again.
This is not just a standard dessert topping; this is the definitive Homemade Chocolate Syrup , a concentrated flavor bomb designed to elevate every treat it touches.
By taking control of the ingredients, particularly the quality of the cocoa powder, we move past the watery, overly sweet solutions found on supermarket shelves and step into true chocolate luxury.
Beyond Watery Rubbish: The Flavor Difference
Commercial syrups often rely heavily on high fructose corn syrup and artificial stabilizers, resulting in a product that tastes primarily of sugar with a hint of processed chocolate.
Our approach, utilizing high-quality Dutch process cocoa powder, unlocks a deep, sophisticated cocoa flavour that is far smoother and less acidic. Through the crucial simmering stage, we concentrate the flavor and dissolve every sugar crystal, resulting in a syrup that is intensely chocolatey, dense, and genuinely velvety.
It tastes, quite frankly, a million quid, making it the perfect base whether you are crafting a simple glass of Homemade chocolate syrup for chocolate milk or preparing a masterful dessert.
Is This Chocolate Syrup Worth the Minimal Effort?
Absolutely. The initial investment of time required for this Homemade Chocolate Syrup Recipe is astonishingly small when weighed against the spectacular results and longevity.
We are talking about only 5 minutes of prep time for weighing and combining the ingredients, followed by a quick 10-minute active cook time on the hob. While the necessary chill time extends the overall process to just over two hours, this is largely inactive time, allowing you to walk away while the magic happens.
A single batch yields approximately 350 ml to 400 ml, providing a generous 20 standard dessert servings, meaning you have superior chocolate syrup ready in your fridge for weeks. If you’ve ever wondered How To Make Chocolate Syrup that genuinely impresses, the minimal effort here delivers maximum impact.
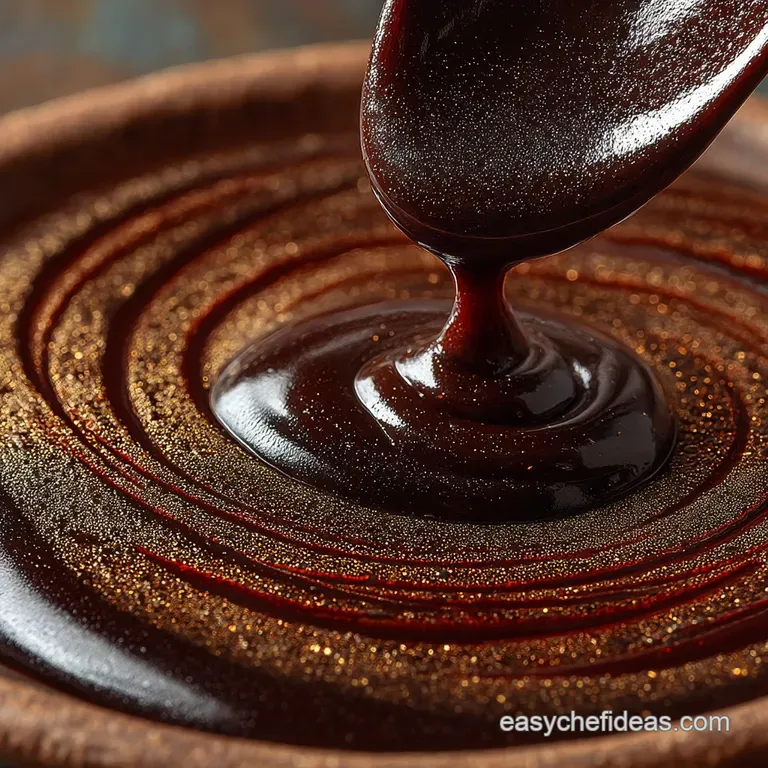
Understanding the Viscosity: Achieving That Perfect Velvety Flow
One of the most common surprises when first attempting this recipe is how deceptively thin the mixture appears when hot it resembles hot water, not a luxurious syrup. This is because the sugar is fully dissolved and the mixture has not yet set.
Achieving that signature, perfect velvety flow depends entirely on the cooling and chilling process. Once the syrup is removed from the heat and allowed to cool at room temperature before being transferred to the refrigerator for a minimum of two hours, the solution thickens substantially.
This patience during the cooling stage is essential for developing the rich, luscious texture that makes this syrup ideal for drizzling over sundaes or stirring into hot beverages.
Essential Components for the Best Homemade Chocolate Syrup
Crafting the ultimate syrup starts with sourcing the right raw materials. Unlike many recipes that rely on melted bars or chocolate syrup with chocolate chips , this version uses concentrated powder for the deepest flavor saturation.
The Power Duo: Sugar Ratios and Cocoa Quality
The foundation of this superb syrup relies on the ratio of granulated sugar to unsweetened cocoa powder 1 cup of sugar to 1/2 cup of cocoa. For the best result, we strongly recommend using Dutch process cocoa powder.
This cocoa has been treated to reduce acidity, giving the syrup a darker, richer colour and a notably smoother flavour profile, perfect for a high end topping. Crucially, don’t skip the half teaspoon of fine sea salt.
While seemingly small, salt is a flavour enhancer that cuts through the sweetness and elevates the depth of the chocolate, ensuring the syrup tastes intensely chocolatey, not just sugary. This balance is key when making Homemade chocolate syrup with cocoa powder .
Must Have Tools for the Quickest Syrup Prep
You don't need highly specialized equipment to execute this recipe flawlessly. A heavy bottomed medium saucepan is ideal, as it ensures even heat distribution and prevents scorching, particularly critical during the boil and simmer stages.
A wire whisk is mandatory for the initial mixing and constant stirring during cooking to ensure the syrup remains perfectly smooth and clump free. Finally, since this is a preservative free homemade delight, plan to store the finished product in a clean, sterilized airtight glass jar or bottle to maintain peak freshness.
Swapping Sweeteners: Tips for Low-Sugar Versions
While the recipe calls for granulated sugar to achieve the best crystalline structure and resulting viscosity, substitutions are possible. You can successfully use the same volume of alternative sweeteners like coconut sugar or granulated sugar replacements (such as Xylitol or Erythritol).
However, be aware that these swaps may result in a slightly thinner final product or may require a longer simmering time to achieve the desired concentration. A word of caution: avoid using liquid sweeteners like honey or maple syrup entirely, as they radically alter both the intended flavour profile and the final velvety texture of the syrup.
Related Recipes Worth Trying
- Best Chocolate Sauce Recipe Rich Silky and Ready in 15 Minutes — Skip the tin This simple chocolate sauce combines cocoa powder and dark chocolate chips for the ultimate thick glossy texture Perfect for ice cream
- The Best Homemade Chocolate Sauce Recipe Ready in 10 Minutes — Forget the jar This rich glossy quick and easy chocolate sauce uses cocoa powder for a deep fudgy flavour Perfect for ice cream coffee or sticky toffee pudding
- The Best Germans Chocolate Cake Recipe Authentic Custard Frosting — The ultimate Homemade German Chocolate Cake Get deeply moist dark layers and the classic silky Coconut Pecan Frosting Recipe A proper baking challenge for a...
The Art of the Simmer: Perfecting Your Homemade Chocolate Syrup Technique
The active cooking process is straightforward, but two key stages demand careful attention to ensure absolute perfection.
Combining Dry Elements for Clump Free Success
The secret to a perfectly smooth syrup begins before any heat is applied. In the saucepan, vigorously whisk together the granulated sugar, cocoa powder, and fine sea salt. This dedicated step ensures that the cocoa powder is thoroughly incorporated with the sugar crystals, breaking up any potential lumps before the liquid is introduced.
This preventative measure eliminates the need to strain the syrup later, providing a completely smooth start to your Homemade Chocolate Syrup Recipe . Once combined, pour in the measured water and continue whisking slowly until the mixture forms a uniform, thin slurry.
Achieving the Rolling Boil Threshold Safely
Place the saucepan over medium high heat. It is essential to whisk constantly during this stage, making sure you scrape the bottom and corners of the pan. This motion prevents the sugar and cocoa solids from settling and scorching a quick way to ruin the entire batch.
Continue heating and stirring until the mixture reaches a rolling boil a boil that continues bubbling even after you stop stirring. Immediately reduce the heat to medium low, allowing the syrup to settle into a gentle simmer for 5 to 8 minutes.
This simmering duration is crucial, dissolving any remaining sugar crystals and slightly reducing the liquid, concentrating that marvelous chocolate flavour.
The Crucial Cooling Stage: Watching the Thickening Magic
Once the simmering time is complete, remove the pan from the heat and stir in the high-quality vanilla extract. The syrup will still appear watery at this stage, but trust the chemistry!
If you are aiming for absolute flawlessness, you can pass the hot mixture through a fine mesh sieve, though thorough initial whisking usually makes this unnecessary. Allow the syrup to cool at room temperature for about 30 minutes before covering it and transferring it to the refrigerator.
The significant thickening occurs during the minimum two-hour chill time (overnight is ideal), transforming the thin liquid into the luscious, rich consistency we are after.
Maximizing Your Chocolate Syrup Investment
Once you have crafted this rich chocolate sauce, knowing how to store it and how to adapt it ensures every drop is enjoyed.
Storage Secrets: How Long Does This Chocolate Sauce Last?
Since this recipe is entirely homemade and contains no commercial preservatives, proper storage is vital for longevity. Always transfer the fully chilled syrup into a clean, sterilized glass jar or airtight bottle.
Stored correctly in the refrigerator, your rich chocolate sauce will maintain peak freshness and quality for three to four weeks. While some enthusiasts might inquire about Canning Chocolate Syrup , this particular recipe is not formulated for safe long term, shelf stable canning, making the fridge the definitive storage location.
Flavor Upgrades: Introducing Peanut Butter or Raspberry Notes
The base recipe is superb on its own, but it serves as a wonderful canvas for flavour exploration. For a deeper, more sophisticated profile perfect for Homemade chocolate syrup for coffee , substitute half of the water with strong brewed espresso or coffee to create a rich mocha hit.
Alternatively, for a subtle warmth, incorporate 1/4 teaspoon of ground cinnamon and a pinch of cayenne pepper into the dry ingredients for a complex, spicy Aztec twist. While our core recipe uses water for the cleanest taste, substituting a quarter cup of the water with heavy cream or evaporated milk will result in a richer, slightly heavier syrup excellent for dipping fruit.
Troubleshooting Common Consistency Issues (Too Thin or Too Thick)
If, after the full chilling period, your syrup seems too thin, it likely needed slightly longer on the simmer. Simply return it to the saucepan and gently simmer for another 2 to 3 minutes, then re-chill.
Conversely, if your syrup is too thick directly out of the fridge, whisk in a tablespoon of hot water or milk at a time until the perfect pourable consistency is achieved. Remember, the true thickness is entirely temperature dependent, so always assess the consistency when fully cold.
Beyond Dessert: Creative Uses for Your Rich Chocolate Sauce
This versatile, intensely flavored sauce is useful far beyond the standard Homemade chocolate syrup for ice cream . Stir two to three tablespoons into cold milk (dairy or non-dairy) for a glass of superior Homemade chocolate syrup for chocolate milk that puts store-bought options to shame.
Use it liberally as a drizzle over fluffy American pancakes or waffles for a sophisticated breakfast treat. It’s also an exceptional addition to adult beverages; stir it into hot coffee for a decadent morning treat, or use it as a base for classic cocktails like a Chocolate Old Fashioned.

Recipe FAQs
My syrup looks a bit watery on the hob; have I gone wrong?
Not at all! This is the most common sticking point, so don't have a wobble. When hot, the syrup appears deceptively thin almost like chocolate water. The magic happens during the chilling phase; as the mixture cools, the dissolved sugar molecules settle and the liquid thickens substantially, giving you that proper velvety texture.
Trust the process, dear!
How long is this luxurious treat going to last in the fridge?
Because this recipe is the proper bit of kit and contains no added preservatives, its shelf life is about 3 to 4 weeks when stored correctly. Make sure you decant the finished product into a clean, sterilised glass jar or airtight bottle right after cooling.
Keeping it completely airtight and chilled is key to maintaining freshness.
I want that proper deep, dark chocolate flavour any tips for dialling up the richness?
For a truly intense flavour, ensure you are using high-quality Dutch process cocoa powder, as it’s less acidic and deeper in colour than the natural stuff. Crucially, don't skip the salt; that tiny pinch cuts through the sweetness and enhances the chocolate notes beautifully.
For a sophisticated mocha hit, substitute half of the water with strong brewed espresso.
Help! I’ve got a few pesky lumps in my finished Homemade Chocolate Syrup. What gives?
Lumps usually happen when the cocoa powder hasn't been completely dispersed before the liquid is heated. The crucial preventive step is whisking the sugar, cocoa, and salt together vigorously while they are still dry!
If you’ve already made the syrup and it's a bit bitty, simply pour the warm liquid through a fine mesh sieve or muslin cloth before chilling it will catch any undissolved solids.
Can I use less sugar or swap ingredients when making this Homemade Chocolate Syrup?
You can certainly experiment, but bear in mind that sugar is essential not just for sweetness but also for the structure and thickness of a syrup. You can swap granulated sugar for alternatives like coconut sugar or a modern granulated sweetener, though the resulting consistency might be slightly thinner.
However, avoid liquid sweeteners like maple syrup or honey, as they contain too much water and will radically change the final, desired texture.
Velvety Homemade Chocolate Syrup

Ingredients:
Instructions:
Nutrition Facts:
| Calories | 45 kcal |
|---|---|
| Protein | 0.9 g |
| Fat | 0.7 g |
| Carbs | 8.5 g |
| Fiber | 1.5 g |
| Sodium | 2001 mg |
