The Ultimate Silky Smooth Pumpkin Pie with Flaky Allbutter Crust
- Achieving the Perfect Slice: Say Goodbye to Soggy Bottoms and Cracks
- Sourcing the Essentials for an Exceptional Dessert
- Constructing the Foundation: A Step-by-Step Flaky Crust
- Baking and Cooling Protocol: Guaranteed Crack-Free Results
- Expert Tips and Troubleshooting Your Ultimate Pumpkin Pie
- Beyond the Classic: Variations and Scaling the Recipe
- Recipe FAQs
- 📝 Recipe Card
Achieving the Perfect Slice: Say Goodbye to Soggy Bottoms and Cracks
For many bakers, the autumnal promise of a Perfect Pumpkin Pie is often spoiled by a sunken filling or, worse, that universally dreaded soggy bottom. This specific pumpkin pie recipe , refined over years, addresses these common challenges head-on, guaranteeing a stunning result that is both structurally sound and luxuriously flavorful.
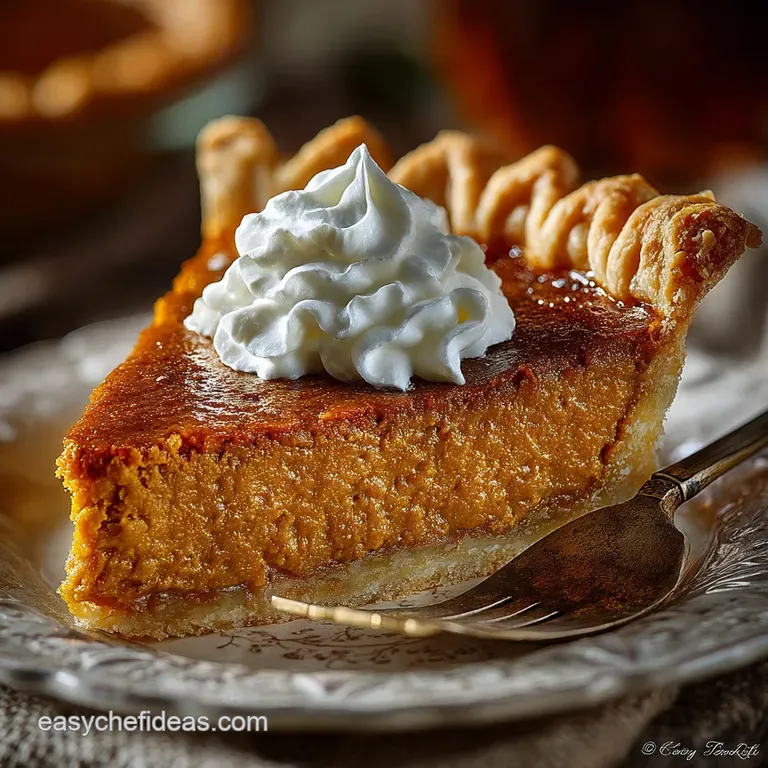
We are aiming for a quintessential holiday centerpiece a pie where the filling is remarkably smooth, and the crust offers the satisfying shattering flakiness only achieved by baking a pumpkin pie from scratch .
The Culinary Science Behind Our Silky Smooth Filling
The secret to preventing a gritty texture or a cracked surface lies in managing aeration and moisture. Our method utilizes evaporated milk (a 12 oz/354 ml can), which provides a high concentration of milk solids and fat, resulting in a dense, rich custard that bakes up beautifully without curdling.
We combine the pumpkin purée and milk with just two lightly beaten eggs. Crucially, the wet ingredients are combined gently before incorporating the dry spice mixture. Over whisking incorporates too much air, which can cause the filling to puff dramatically and then collapse, leading to unsightly cracks.
By minimizing air exposure, we create a stable, velvety pumpkin pie filling recipe that sets up perfectly.
Why a Chill is Critical: Mastering the All-Butter Crust
A truly great Pumpkin Pie requires a stellar foundation. Our method for the Flaky Crust is based entirely on cold technique. We use 1 stick (113g) of very cold, cubed butter cut into the dry mix (1 ¼ cups + 2 Tbsp / 180g of flour).
The goal is to leave visible, pea-sized pockets of butter in the dough. When the cold dough hits the hot oven, these fat pockets instantly steam, separating the layers of flour and creating that marvelous, shattering texture.
On top of that,, chilling the dough twice first for at least 1 hour after mixing and second, a 30-minute freezer blast after shaping prevents the butter from melting prematurely and stops gluten development, guaranteeing zero shrinkage during the blind bake.
Elevating the Spices: The Secret to Deep Autumnal Flavor
While the filling needs to be physically perfect, the flavor profile is driven by the precise blend of warming aromatics, often called pumpkin pie spice . We move beyond a pre-mixed tin and utilize specific measurements to achieve depth: 2 teaspoons of cinnamon, 1 teaspoon of ground ginger, and a half teaspoon of nutmeg, amplified by a mere quarter teaspoon of ground clove.
This measured approach ensures the stronger spices, like clove, enhance the pumpkin rather than overpower it. For the Best Pumpkin Pie flavor, grating or grinding the spices immediately before baking unlocks essential volatile oils that powdered, aged spices simply cannot match.
Sourcing the Essentials for an Exceptional Dessert
Starting with high-quality ingredients is non-negotiable when attempting a complex bake like this. Knowing which ingredients to prioritize ensures the final product lives up to its promise.
Canned vs. Fresh: Selecting the Best Pumpkin Purée
For consistency and superior results in this pumpkin pie recipe , we strongly recommend using one standard 15 oz (425g) can of 100% pumpkin purée. It is vital to confirm the label clearly states "pure pumpkin" and not "pumpkin pie filling," which already contains sweeteners and spices and will throw off the carefully calculated flavor balance of our Best Pumpkin Pie .
If you insist on using fresh roasted pumpkin, be sure to cook it until extremely soft and then drain it overnight in cheesecloth to remove excess moisture, which would otherwise sabotage the custard's setting ability.
The Importance of Freshly Ground Spices (And the Evaporated Milk Difference)
Beyond the spices, the sweetness and richness agents require precision. The pumpkin pie filling recipe combines two sugars: a half cup (100g) of packed dark brown sugar for its deep, molasses note, complemented by a quarter cup (50g) of granulated sugar for sweetness.
As discussed, the 12 oz (354ml) can of evaporated milk provides structural density unlike standard whole milk or even heavy cream; it concentrates the dairy flavor, allowing the spices and pumpkin to shine without becoming watery. We also include a teaspoon of vanilla extract to round out the flavor profile.
Equipment Checklist: Tools for Trouble Free Baking
While not extensive, having the right equipment ensures a smooth process. You will need a 9 inch (23 cm) deep dish pie plate glass or ceramic conducts heat nicely a rolling pin, and a good whisk. Critically, utilize pie weights, dried beans, or rice for the blind bake.
We also recommend placing the pie plate on a heavy duty baking sheet before filling and baking. This provides stability, makes moving the filled pie easier, and ensures even heat distribution to the bottom crust, further preventing a soggy outcome.
Constructing the Foundation: A step-by-step Flaky Crust
Mastering the Flaky Crust is the first step toward the ultimate Pumpkin Pie . Start by whisking the cold flour, 1 teaspoon of sugar, and half teaspoon of salt. Introduce the chilled butter cubes and cut them in, ensuring some pieces remain visible.
Once the flour mixture resembles coarse breadcrumbs, gradually drizzle in the ice water, starting with four tablespoons. Only add the remaining water, one tablespoon at a time, until the dough holds together when gently squeezed.
Form the mixture quickly into a one-inch thick disk, wrap it tightly, and refrigerate it for a minimum of one hour. This mandatory rest allows the flour to hydrate and the gluten strands to relax, which is essential for rolling out the dough without tearing.
Related Recipes Worth Trying
- The Best OldFashioned Cherry Crumble Pie Recipe — Forget fussy lattices This OldFashioned Cherry Dish features a flaky crust and a crisp oat topping Taste pure nostalgia today
- The Best Flaky Pastry Apple Pie Recipe for Home Cooks — Master the quintessential Apple Pie This stepbystep recipe guarantees a flaky buttery crust and a perfectly spiced fillingno soggy bottoms here
- Foolproof NoRoll Pie Crust Recipe PressIn Pastry — Ditch the rolling pin This easy NoRoll Pie Crust uses a pressin method for a perfectly tender flaky base for quiches or desserts Get the recipe
Baking and Cooling Protocol: Guaranteed Crack Free Results
The transition from raw dough and liquid filling to a perfectly set custard requires precise heat management and timing.
Blind Baking Mastery: Preventing the Dreaded Soggy Crust
Once the dough has chilled, roll it out into a 12 inch circle and fit it into the pie plate. Trim the excess dough, folding the overhang under to form a sturdy edge, and crimp decoratively. Place the shell immediately into the freezer for 30 minutes this step locks the shape.
Preheat your oven to 400°F (200°C). Line the frozen shell with parchment paper, fill it completely with your chosen weights, and bake for 15 minutes. This first bake sets the structure.
Remove the weights and parchment, and bake for an additional 5– 7 minutes until the bottom appears dry and lightly golden. This rigorous treatment is the only way to achieve a truly crisp foundation before the oven temperature is reduced to 350°F (175°C) for the custard bake.
Whisking to Perfection: Preparing the Velvety Pumpkin Filling
While the crust cools slightly, prepare your pumpkin pie filling recipe . In one bowl, gently whisk the eggs, evaporated milk, vanilla, and pumpkin purée until homogenous. In a separate bowl, combine both sugars, salt, and the blend of cinnamon, ginger, nutmeg, and clove.
Adding the dry ingredients to the wet mixture gradually minimizes lumps. Whisk only until just combined the goal is smoothness, not aeration. The mixture should be poured immediately into the warm, blind baked shell.
The Baking Timeline: Heat Management for a Smooth Finish
Place the filled pie on the baking sheet and transfer it to the 350°F (175°C) oven. The total cook time is typically 40 to 50 minutes. It is common for the edges of the Flaky Crust to brown quickly; mitigate this by placing a pie shield or thin strips of aluminum foil around the perimeter halfway through the baking time.
Consistent, moderate heat prevents the outer edges of the filling from overcooking before the center is done.
Cooling Strategy: Achieving the Ultimate Set (No Jiggle Allowed)
The pie is finished when the edges are set and slightly puffed, but the very center (about one inch wide) retains a slight, soft wobble like firm gelatin. Do not wait for the center to look completely solid, as carryover cooking will complete the setting process and prevent cracking.
Immediately remove the pie from the oven and transfer it to a wire rack to cool completely at room temperature. A minimum of three hours is required for the custard to achieve its dense, perfect set before attempting to slice this beautiful Perfect Pumpkin Pie .
Expert Tips and Troubleshooting Your Ultimate Pumpkin Pie
The most crucial advice when crafting a pumpkin pie from scratch is simple: utilize the cold. Always ensure your butter is ice-cold, your water is iced, and your crust undergoes both initial and pre-bake chills.
If you find your pie still struggles with micro cracks, consider using a bain marie (water bath). To do this, wrap the base of the pie plate in foil, place it on the baking sheet, and pour boiling water around it until the water reaches about half the height of the pie plate.
The gentle, moist heat from the water bath will guarantee the silkiest texture imaginable. Remember, the primary cause of cracks is over baking; if the pie is firm when it leaves the oven, it will contract and split as it cools. Trust the wobble test!
Beyond the Classic: Variations and Scaling the Recipe
Once you have mastered this classic pumpkin pie recipe , it is easy to customize it for seasonal celebrations or dietary needs.
Decoding the Doneness Test: Is Your Pie Fully Baked?
As mentioned, the wobble test is definitive. If you feel compelled to use a thermometer, the interior temperature should reach 175°F (80°C). If you insert a thin knife or skewer near the center, it should come out with moist crumbs attached, but not pure liquid.
If it comes out clean, you have officially ventured into dry, cracked territory.
Storage Solutions: Keeping Your Pumpkin Pie Fresh for Days
Due to the dairy and egg content in the pumpkin pie filling recipe , the finished pie must be stored in the refrigerator once fully cooled. Cover it lightly with cling film or foil once it is completely chilled. It will maintain its wonderful texture and flavor for up to four days.
If you need to prepare it far in advance, the unbaked crust can be frozen for up to two months, or the baked, cooled pie can be frozen whole (un-sliced) for up to one month, though freezing may slightly compromise the Flaky Crust texture.
Presentation Power: Garnish Ideas for a Stunning Centerpiece
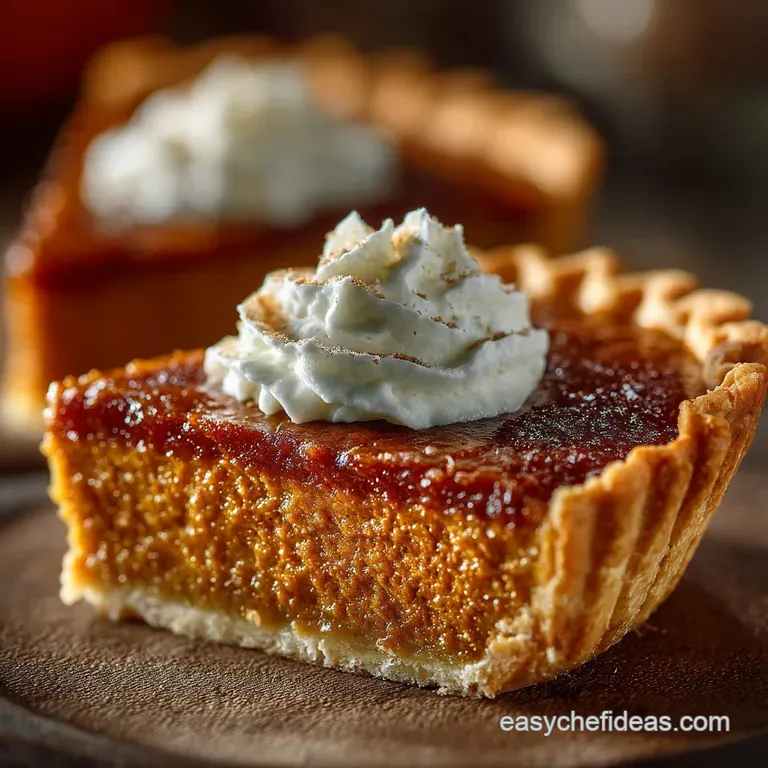
To elevate this classic dessert, consider garnishing the Best Pumpkin Pie just before serving. A generous dollop of freshly whipped cream, sweetened lightly with powdered sugar and vanilla, is timeless.
For a modern twist, add a drizzle of homemade salted caramel sauce or sprinkle a delicate dusting of cocoa powder or extra pumpkin pie spice over the surface of the filling using a fine mesh sieve.
Alternative Crust Ideas (gluten-free and Graham Cracker Options)
While our Flaky Crust is worth the effort, those with gluten sensitivities can easily substitute a quality pre-made gluten-free pastry shell. Alternatively, a simple press-in graham cracker or gingersnap crumb crust offers a delicious textural contrast, requiring less active preparation time for a speedy pumpkin pie from scratch .
Adjusting Sweetness: Tips for Reduced Sugar Pumpkin Pie
If you prefer your desserts less sweet, you can reduce the combined sugar amount by up to 25% without drastically affecting the structure of the custard. Be aware that sugar contributes to browning and setting, so reducing it further may necessitate a longer bake time to achieve the desired firmness in your Perfect Pumpkin Pie .
Pairing Perfection: What to Serve Alongside this Dessert
The warm, intense spices of this dessert pair beautifully with a variety of beverages. For coffee lovers, a robust cold brew or dark roast works well. Non-alcoholic options include a comforting spiced chai latte or a simple, strong cup of Earl Grey tea.
If serving as a sophisticated evening dessert, consider a chilled, slightly off-dry sherry or an amber rum, which will complement the molasses notes of the dark brown sugar.

Recipe FAQs
My filling has a huge crack down the middle! What went wrong with my Silky Smooth Pumpkin Pie?
Oh dear, a cracking shame! That usually happens because the pie was slightly overbaked, or it cooled down too fast. Remember the classic wobble test it should look like set jelly in the very centre when you take it out, as it will continue to cook slightly while cooling on the rack.
If you're feeling ambitious and want guaranteed smoothness next time, try using the water bath (bain marie) method described in the tips; it’s the professional baker's secret weapon for flawless custard tops.
Can I get ahead of the game and bake this whole pie a day or two early for a big gathering?
Absolutely, you are a clever clogs for planning ahead! This ultimate Pumpkin Pie is actually excellent when made 1 to 2 days in advance, as chilling time allows the spices to mingle beautifully, making it taste even better the next day.
Just cover it loosely once it has fully cooled to room temperature, and chill it immediately remember, condensation is the enemy of a crisp crust.
Help! My pie base is soggy. How can I ensure a lovely crisp bottom crust?
That's a classic baking disaster, and trust me, we've all been there! The key to avoiding a soggy bottom lies in an aggressive blind bake. Make sure the crust is baked until the bottom looks genuinely dry and slightly golden before adding the filling and reducing the oven temperature.
For extra insurance, use a preheated, hot baking sheet placed underneath the pie plate; this acts like a heat shield, transferring heat quickly to the base and helping to set the pastry instantly.
I’ve got some leftover fresh roasted squash. Can I use fresh pumpkin instead of tinned puree?
You certainly can, and it yields an incredibly deep, autumnal flavour a real game changer if you’ve got the time! Just be a stickler for consistency: fresh puree often contains more water than canned, so you must thoroughly drain and dry the puree until it is very thick.
If the puree is too watery, the ratio will be off, which could stop your luxurious filling from setting correctly.
How long will this pie keep once it’s cooked, and should I stick it in the fridge?
Yes, because this pie is a custard based dessert made with eggs and dairy, it needs to live in the fridge once it's fully cooled. Cover it lightly with foil or a loose container to protect the surface from drying out.
Properly stored, it will keep beautifully for 3 to 4 days, making it perfect for Thanksgiving or Christmas leftovers.
Silky Smooth Pumpkin Pie With Flaky Crust
Ingredients:
Instructions:
Nutrition Facts:
| Calories | 963 kcal |
|---|---|
| Protein | 7.0 g |
| Fat | 19.0 g |
| Carbs | 87.2 g |
| Fiber | 14.7 g |
| Sodium | 10079 mg |
