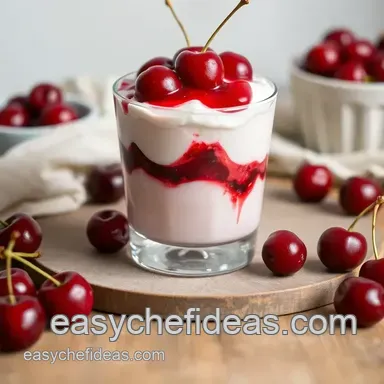
No Bake Cherry Fluff Dessert Delight with Cream Cheese
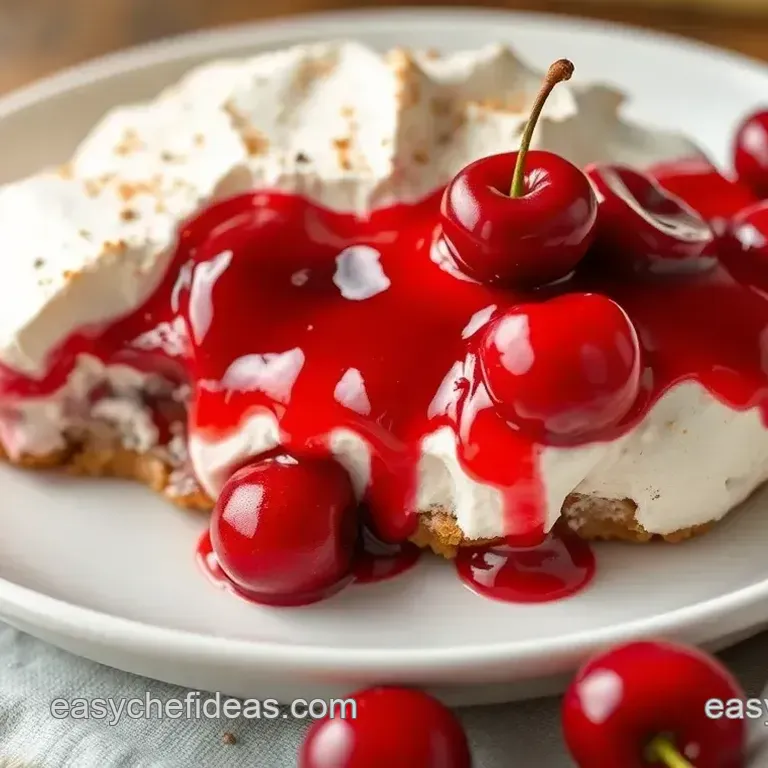
- Time: 15 min active + 4 hours chilling
- Flavor/Texture Hook: Tart cherries over a creamy, airy filling
- Perfect for: Family reunions and summer potlucks
No Bake Cherry Fluff Dessert Delight
Whenever I smell cherries, I'm immediately transported back to my aunt's July backyard parties. I can still picture the red and white checkered linens and the summer heat haze over the pavement. There was always one particular dish that vanished in seconds a vibrant, creamy treat that felt like a sweet cloud.
It’s the kind of sweet that leaves guests wondering how something so airy can taste so indulgent. There is a unique pleasure in placing a 9x13 pan on the buffet and watching it disappear. It's ideal for those moments when you want to impress without spending your entire day trapped in a stifling kitchen.
This chilled cherry dessert is a favorite because it hits all the right marks. You get the snap of a buttery crust, the tanginess of cream cheese, and the bright burst of cherries. It’s a nostalgic classic that feels brand new every time it's served.
Quick Dessert Specs
This recipe is all about efficiency and visual impact. Since there's no baking involved, you can focus on the assembly and the presentation. It yields 20 slices, making it easy to feed a large group without needing to make multiple batches.
The preparation takes only 15 minutes, but the wait is the hardest part. You need a full 4 hours for the layers to bond. This resting period allows the flavors to meld and the structure to firm up, ensuring your slices stay sharp and clean.
| Method | Time | Texture | Best For |
|---|---|---|---|
| Fast (Short Chill) | 2 hours | Softer, scoopable | Casual family night |
| Classic (Full Chill) | 4 hours | Stable, sliceable | Parties and potlucks |
Why the Filling Sets
Pudding Bond: The starches in the instant pudding mix bind with the milk and cream cheese, creating a network that traps air. This prevents the filling from weeping or separating over time.
Fat Stability: Using full fat cream cheese provides a solid foundation. The fat acts as a stabilizer for the whipped topping, keeping the "fluff" from deflating.
According to the USDA FoodData Central, cherries are rich in natural sugars and acids, which helps cut through the richness of the cream cheese layer.
Gathering the Ingredients
To avoid lumps, I recommend using room temperature cream cheese; if it's too cold, you'll spend much longer beating it until smooth. A standard cherry pie filling works perfectly, just be sure to stir it well before adding it to the pan.
For the Buttery Base
- 1.5 cups (150g) graham cracker crumbs Why this? Offers a salty, crunchy contrast
- 1/3 cup (75g) unsalted butter, melted Why this? Binds the crumbs into a firm crust
- 2 tbsp (25g) granulated sugar Why this? Adds a touch of sweetness to the base
For the Cloud Filling
- 8 oz (225g) cream cheese, room temperature Why this? Provides stability and a tangy flavor
- 1 package (85g) instant vanilla pudding mix Why this? Quickly thickens the mixture
- 1 cup (240ml) cold whole milk Why this? Necessary to activate the pudding mix
- 1 container (250g) whipped topping Why this? Gives the filling an airy, fluffy texture
- 1 tsp (5ml) vanilla extract Why this? Enhances the rich, creamy taste
For the Fruit Topping
- 1 can (21 oz / 595g) cherry pie filling Why this? Ensures consistent sweetness and fruit distribution
| Original Ingredient | Substitute | Why It Works |
|---|---|---|
| Graham Crumbs | Digestive Biscuits | Similar texture. Note: Has a slightly more malty flavor |
| Whipped Topping | Stiffly beaten heavy cream | Natural fat. Note: Slightly less stable over 24 hours |
| Cherry Filling | Fresh cherries + cornstarch slurry | Fresh fruit. Note: Needs to be simmered on the stove first |
Tools You'll Need
While you don't need professional equipment, a few specific items can make the process much easier. I always rely on a rubber spatula for the folding stages. Avoid using a whisk or a spoon, as they can deflate the whipped topping and ruin that signature fluffiness.
A 9x13 inch baking pan is the standard choice. If you opt for a deeper dish, the slices will be taller, though you may need to slightly increase the crust ingredients to ensure the bottom is fully covered. I also suggest using a flat bottomed measuring cup to press the crust.
Step by step Assembly
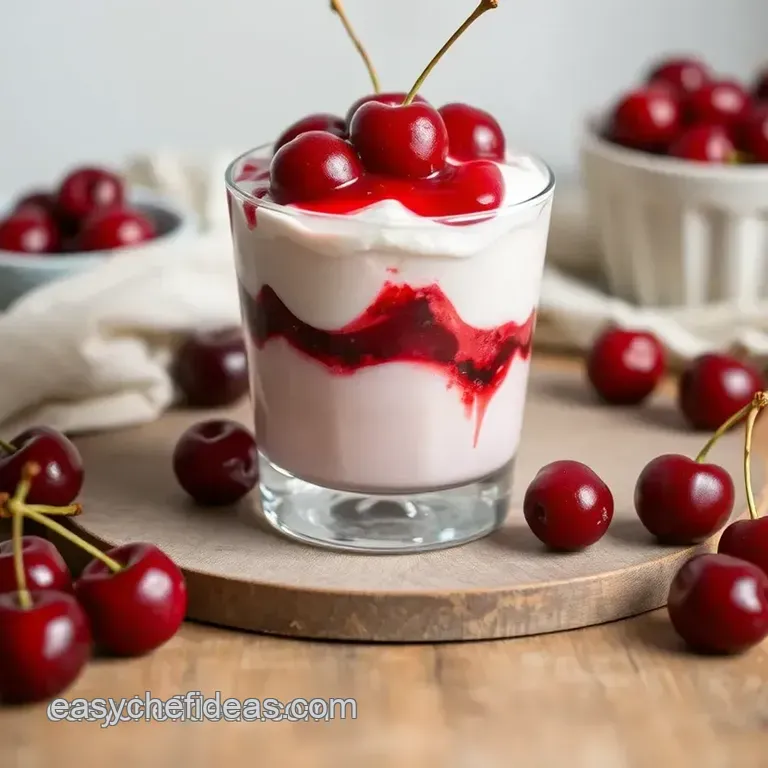
Patience with the chilling process is essential. If you bypass the freezer step for the base, the filling may force the crumbs up the sides of the pan.
- In a bowl, stir together graham cracker crumbs, melted butter, and sugar until the texture resembles wet sand.
- Pack the crumbs into the base of a 9x13 inch pan, using a measuring cup to create a flat, dense layer. Freeze for 10 minutes to set.
- Beat the softened cream cheese and vanilla extract in a large bowl until the mixture is smooth and velvety.
- In a separate bowl, whisk the pudding mix and cold milk for 2 minutes until thickened and glossy.
- Use a spatula to fold the pudding mixture into the cream cheese.
- Carefully fold in the whipped topping with a rubber spatula until the mixture is light, airy, and no longer streaked.
- Evenly spread the creamy filling across the chilled crust and smooth the top with a spatula.
- Spoon the cherry pie filling over the top and spread it evenly. Refrigerate for 4 hours before serving.
Chef's Tip: For sharper slices, rinse your knife in hot water and dry it off after each cut. This keeps the cherry topping from bleeding into the cream layer.
Fixing Texture Issues
Most problems with this recipe happen during the mixing phase. If you overbeat the filling, you'll lose the air, and it will feel more like a dense cheesecake than a fluff.
Fixing a Runny Filling
This usually happens if the cream cheese wasn't fully incorporated or if the pudding wasn't whisked long enough to set. If it feels too soft before you add the cherries, let the filling sit in the fridge for 30 minutes before spreading it on the crust.
Preventing a Soggy Crust
If the crust feels mushy, it's often because the butter wasn't fully melted or the crumbs weren't pressed hard enough. Ensure you use the measuring cup method to pack the crumbs tightly.
Handling Lumpy Cream Cheese
If you see small white beads of cream cheese in your fluff, don't panic. You can gently whisk them out, but in the future, make sure the cheese is truly softened.
| Problem | Fix |
|---|---|
| Filling is too soft | Chill filling 30 mins before layering |
| Crust is crumbly | Press harder with a flat bottomed cup |
| Lumpy mixture | Beat cream cheese longer before adding pudding |
Customizing Your Treat
Although cherries are the traditional choice, you can easily switch up the fruit. Raspberry or blueberry pie fillings are equally delicious. To achieve a brighter, tarter flavor, stir a tablespoon of lemon juice into the cream cheese mixture.
For a richer, denser option, my cookie dough bars are a fantastic choice for your dessert table. If you prefer a lighter version, a sugar-free pudding mix works, although it may result in a slightly softer texture.
| Goal | What to change |
|---|---|
| Tarter taste | Add 1 tbsp lemon juice |
| Tighter base | Increase crumbs by 2 tbsp |
| Lower sugar | Use sugar-free pudding mix |
Storage and Waste Tips
Store this dessert in a closed glass jar in the fridge. It will hold up well for 3 days; beyond that, the graham cracker crust may soak up moisture from the filling and lose its snap.
Freezing is not recommended for this specific dish. The cream cheese and whipped topping can change consistency during the freezing and thawing process, leading to a grainy texture. If you have extra cherries left over, they are a great addition to morning oatmeal or Greek yogurt. For a baked alternative, try this fast cherry pie for your next gathering.
Ways to Plate It
Depending on the occasion, you can change how you present this No Bake Cherry Fluff Dessert Delight. Since the colors are so vibrant, the visual appeal is already high.
For a casual family night, just scoop it into small glass bowls. This feels homey and doesn't require any precise cutting. For a picnic or potluck, cut the dessert into neat 2 inch squares and top each with a single fresh mint leaf for a pop of green.
If you're serving this at a dinner party, go for a restaurant style plating. Use a spoon to create a quenelle of the cream filling on a white plate, then drape the cherry filling over the top. Finish it with a sprinkle of toasted almond slivers for a bit of crunch.
| Level | Tweak | Vibe |
|---|---|---|
| Simple | Scooped into glass bowls | Homey |
| Polished | Sliced squares with mint | Picnic |
| Restaurant | Quenelle with almond slivers | Fancy |
Common Dessert Myths
Many people think you need to use a stand mixer for "fluff" recipes. That's not true. A hand mixer or even a strong arm with a whisk works fine, as long as you fold the whipped topping in gently.
Another myth is that using low-fat cream cheese will produce the same result. It won't. low-fat versions have more water and fewer stabilizers, which often results in a runny filling that won't hold its shape. Stick to the full fat version for the best structure.
Recipe FAQs
Do I need condensed milk for this recipe?
This recipe uses instant vanilla pudding and cream cheese instead of condensed milk.
Tip: The pudding mix provides the structural stability needed for clean slices.
Does this dessert use cream cheese?
Yes, softened cream cheese is beaten with vanilla to create a velvety base.
Tip: Ensure the cheese is fully softened to avoid lumps in the filling.
How to keep the crust from crumbling?
Press the crumb mixture firmly into the pan using the bottom of a measuring cup.
Tip: Chill the crust in the freezer for 10 minutes before adding the filling.
Is it true that this dessert must be frozen to set?
Surprisingly, no. Refrigerate the finished dessert for 4 hours to reach the ideal consistency.
Tip: Avoid freezing this specific recipe to prevent a grainy mouthfeel.
Can I prepare this as a classic cherry delight?
This version follows the classic style by layering cherry pie filling over a creamy pudding base.
Tip: Use a rubber spatula to smooth the top for a professional look.
What makes the cherry whip filling so light?
Folding in whipped topping gently ensures the mixture remains airy and fluffy.
Tip: If you loved the sweet tart balance here, see how we use similar flavor logic in our cherry lime ice pops.
Cherry Fluff Dessert Delight: Party Ready