How to Cook Rice: a Step-By-Step Guide
- Time: Active 5 minutes, Passive 28 minutes, Total 33 minutes
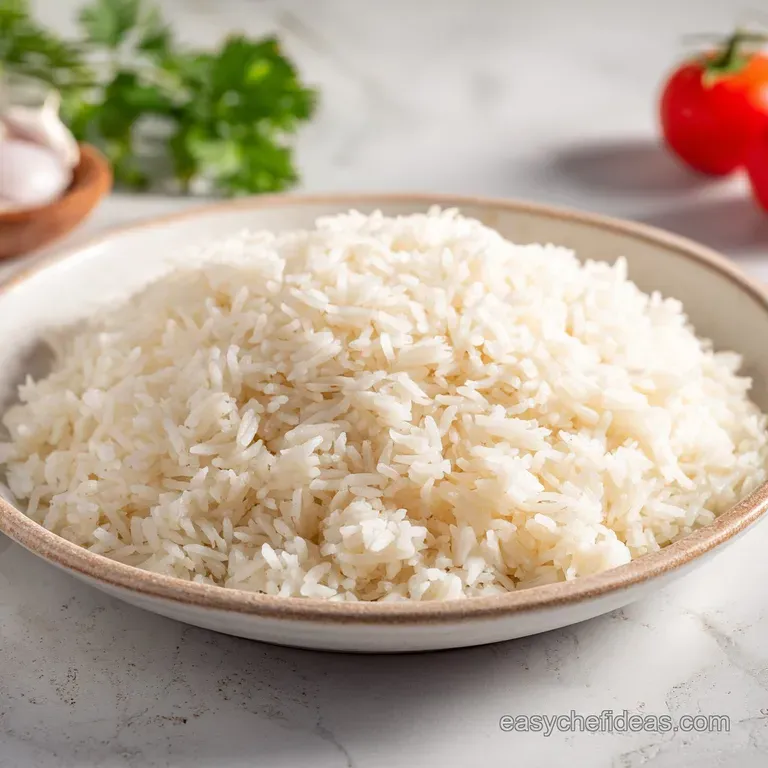
- Flavor/Texture Hook: Light, individual grains with a clean, nutty aroma and a tender bite.
- Perfect for: Nourishing family dinners, meal prep foundations, and beginners seeking consistent results.
- How to Cook Rice for Fluffy Grains
- The Secret to Individual Grains
- Critical Time and Ratio Guide
- Understanding Your Core Elements
- Must Have Tools for Consistency
- The Step-by-Step Methodology
- Solving Your Cooking Hurdles
- Creative Ways to Serve
- Scaling the Recipe
- Dispelling Kitchen Myths
- Storage and Reducing Waste
- Global Traditions and Pairings
- Recipe FAQs
- 📝 Recipe Card
How to Cook Rice for Fluffy Grains
The rhythmic rattling of a heavy lid against a pot is the soundtrack of my childhood. In my grandmother’s kitchen, rice wasn't just a side dish; it was a sacred ritual that signaled the start of a communal meal.
I remember watching the steam billow out in a thick, fragrant cloud, carrying the scent of toasted earth and comfort. She never used a timer, but she knew exactly when the grains had transitioned from brittle to velvety just by the sound of the simmer.
We often overlook how much culture and identity are packed into a single bowl of white rice. From the scorched, crispy bottom of a Persian tahdig to the sticky, jasmine scented piles in a Thai kitchen, this grain nourishes billions. It represents a universal language of hospitality.
When I finally learned to respect the ratio and the rest period, my kitchen felt complete. It’s about more than just filling a plate; it’s about mastering a fundamental skill that connects us to kitchens all over the globe.
The Secret to Individual Grains
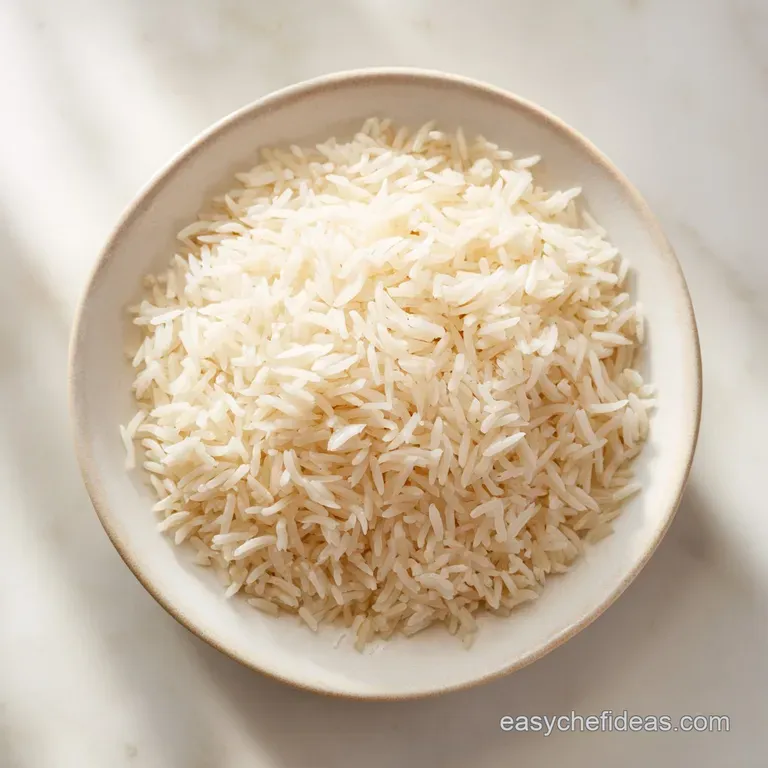
Understanding the behavior of starch is the difference between a gummy mass and a pile of distinct, elegant grains. When we talk about rice, we are really talking about two types of starch: amylose and amylopectin. Long grain rice is higher in amylose, which keeps the grains firm and separate.
If we don't manage the surface starch, however, it dissolves into the water and creates a sticky paste that glues everything together.
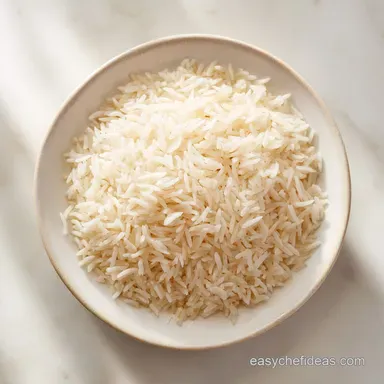
Starch Management: Rinsing the grains under cold water physically strips away excess surface starch that would otherwise turn the cooking liquid into a thick slurry. This ensures each grain remains independent after the steam sets.
Hydration Control: Using a precise water to grain ratio prevents the rice from over expanding. Too much water causes the cell walls of the grain to rupture, leading to a mushy, unattractive texture.
Steam Redistribution: The 10 minute rest period allows the residual heat to move from the center of the pot to the surface. This ensures the top layer is just as tender as the bottom without needing extra boiling time.
Fat Barrier: Adding a small amount of oil or grass fed butter coats the grains slightly. This acts as a lubricant, further preventing them from sticking to each other during the vigorous boiling phase.
| Method | Time | Texture | Best For |
|---|---|---|---|
| Stovetop | 33 minutes | Fluffy & distinct | Daily meals and versatility |
| Rice Cooker | 40 minutes | Consistently tender | Hands off convenience |
| Microwave | 25 minutes | Slightly firmer | Dorm rooms or quick fixes |
Choosing your method depends entirely on your lifestyle and the equipment you have on hand. While a rice cooker is a staple in many households for its "set and forget" nature, the stovetop method gives you much more control over the final texture and allows you to build a better flavor profile with aromatics. If you are looking for a deeper dive into specific grains, you might find my guide on perfectly fluffy basmati rice helpful for your next Indian inspired feast.
Critical Time and Ratio Guide
Accuracy in measurement is the backbone of this recipe. Because we are using the absorption method, the water we put into the pot is exactly what the rice will take in. There is no draining involved, so if your measurements are off by even a few tablespoons, the texture will suffer.
Using a heavy bottomed saucepan is also vital because thin metal pans create hot spots that scorch the bottom before the top has a chance to steam.
| Ingredient | Science Role | Pro Secret |
|---|---|---|
| Long grain Rice | Structural base | Older rice absorbs water more predictably than "new" crops. |
| Filtered Water | Hydration medium | Using filtered water prevents chlorine smells from tainting the delicate aroma. |
| Sea Salt | Flavor enhancer | Salt strengthens the grain's cell walls, preventing them from bursting. |
| Grass fed Butter | Emollient | The fats help carry fat soluble aromas from any spices you might add later. |
The relationship between the heat source and the pot is also a factor. If your burner runs particularly hot, you might need a slightly heavier lid to ensure the steam doesn't escape. A tight seal is non negotiable.
If you feel steam escaping from the sides, you can place a clean kitchen towel between the pot and the lid (just be careful of the flames) to create a more effective gasket.
Understanding Your Core Elements
Every ingredient in this recipe serves a specific purpose in the architecture of the final dish. We aren't just boiling seeds; we are hydrating them to the point of structural transformation. Choosing high-quality components will result in a dish that tastes intentional rather than like an afterthought.
- 1 cup (185g) long grain white rice: This provides the structure. Long grain varieties like Basmati or Jasmine are ideal here.
- Substitute:Basmati rice works beautifully for a nuttier finish. Why this? Higher amylose content ensures grains stay separate.
- 1.5 cups (355ml) filtered water: The lifeblood of the grain.
- Substitute: Low sodium chicken or vegetable broth. Why this? Broth adds a savory depth and richness.
- 0.5 tsp sea salt: Not just for taste, but for chemistry.
- Substitute: Kosher salt (use slightly more). Why this? Enhances the natural sweetness of the rice.
- 1 tsp neutral oil or grass fed butter: Adds a subtle sheen and prevents foaming.
- Substitute: Coconut oil. Why this? Coconut oil adds a tropical fragrance and velvety mouthfeel.
When you are working with rice, remember that it is a sponge for flavor. If you use tap water that has a heavy mineral taste, your rice will reflect that. This is why I always reach for filtered water. It allows the subtle, floral notes of the rice to shine through without competition. For those who enjoy a bit more tradition in their kitchen, exploring sticky sweet rice can be a wonderful way to see how different grain types behave with similar steaming techniques.
Must Have Tools for Consistency
You don't need a kitchen full of gadgets, but a few specific items will make your life much easier. A fine mesh strainer is the most important tool for the rinsing phase. If the holes are too large, you'll lose half your grains down the drain.
If they are too small, the water won't flow through effectively to wash away the starch.
A heavy bottomed saucepan, such as one made by All Clad or Le Creuset, is my go to. The thick base distributes heat evenly, which is crucial when you drop the temperature to its lowest setting. If you use a thin, cheap pot, the rice at the bottom will likely burn while the rice at the top remains crunchy.
Finally,, a simple fork or a bamboo rice paddle is all you need to fluff the grains. Avoid using a heavy spoon, which can mash the tender grains and turn them into a paste.
The step-by-step Methodology
- Rinse the rice. Place the 185g of dry rice in a fine mesh strainer and run cold water over it. Swirl the grains with your fingers for 1–2 minutes until the water runs completely clear. Note: This removes the excess starch that causes gumminess.
- Combine ingredients. Add the rinsed rice, 355ml of water, 0.5 tsp sea salt, and 1 tsp oil to your saucepan.
- Boil vigorously. Bring the mixture to a rolling boil over medium high heat until large bubbles break the surface.
- Stir once. Use a fork to stir the rice once to ensure nothing is stuck to the bottom.
- Simmer low. Immediately turn the heat to the lowest possible setting.
- Cover the pot. Place a tight fitting lid on the pot and cook for exactly 18 minutes without lifting the lid. Note: Lifting the lid lets out the steam needed to finish the cooking.
- Rest the rice. Remove the pot from the heat. Let it sit undisturbed with the lid on for 10 minutes to allow the moisture to redistribute.
- Fluff and serve. Remove the lid and gently lift the grains with a fork or paddle until they appear light and airy.
Chef's Tip: If you want an even deeper flavor, toast the dry rice in the oil for 60 seconds before adding the water. This creates a nutty, popcorn like aroma that is absolutely intoxicating.
Solving Your Cooking Hurdles
Even with the best intentions, things can go wrong. Maybe the heat was too high, or the lid wasn't as tight as you thought. The good news is that most rice mistakes are fixable if you catch them early enough.
The most common issue people face is the dreaded "crunchy center," which usually happens when the steam escapes too quickly.
Why Your Rice is Crunchy
If your rice is still hard after the 18 minutes, it likely didn't have enough steam. This happens if the lid isn't tight or if you were tempted to peek. Don't panic. Simply add 2 tablespoons of boiling water, put the lid back on, and let it sit on the lowest heat for another 5 minutes.
Why Your Rice is Mushy
Mushy rice is usually the result of too much water or over stirring. When you stir rice, you break the grains and release even more starch, which turns the water into a thick glue. If it’s already mushy, there isn't a way to make the grains separate again, but you can repurpose it!
It makes an excellent base for a quick congee or a rice pudding.
| Problem | Root Cause | Solution |
|---|---|---|
| Burnt Bottom | Heat too high or thin pot | Use a heat diffuser or a heavier saucepan next time. |
| Watery Top | Uneven heating | Let it rest for the full 10 minutes to redistribute moisture. |
| Gummy Texture | Not enough rinsing | Wash the rice until the water is clear, not just cloudy. |
Common Mistakes Checklist:
- ✓ Always use a timer; guessing leads to inconsistent hydration.
- ✓ Never stir the rice after you have lowered the heat to a simmer.
- ✓ Ensure the lid fits snugly; use a foil seal if the lid is loose.
- ✓ Let the rice rest! This is the most skipped, yet most important step.
- ✓ Pat the rice down gently before simmering so it’s in an even layer.
Creative Ways to Serve
Once you have mastered the base, the variations are endless. You can treat this recipe as a blank canvas for cultural exploration. For a Mediterranean twist, stir in some lemon zest, minced parsley, and a drizzle of extra virgin olive oil after fluffing. The acidity of the lemon cuts through the starch beautifully.
If you are looking for something more vibrant, try a Golden Rice variation. Add a half teaspoon of turmeric to the water before boiling. Not only does it give the rice a stunning yellow hue, but it also adds a subtle earthy flavor that pairs perfectly with roasted vegetables or grilled meats.
For a grain free "volume" hack, you can even mix this cooked rice with sautéed cauliflower rice to increase the bulk of your meal while keeping the authentic texture of real grain.
Scaling the Recipe
Adjusting the yield of rice requires a bit more than just basic math. When you double the recipe, you don't necessarily double the water exactly, because the amount of evaporation stays relatively similar if you use the same size pot.
- To Scale Down (1/2 batch): Use a smaller pot so the water level is deep enough to cover the grains. Reduce the cook time by about 2-3 minutes, as the smaller volume heats up faster.
- To Scale Up (2x batch): Use a wider pot to ensure the rice isn't packed too deeply. Increase the salt and oil to 1.5x rather than a full double to avoid over seasoning. You may need to add 2-3 minutes to the simmer time.
| Servings | Rice Amount | Water Amount | Pot Size |
|---|---|---|---|
| 2 People | 0.5 cup | 0.75 cup | 1 quart |
| 4 People | 1 cup | 1.5 cups | 2 quart |
| 8 People | 2 cups | 2.75 cups | 4 quart |
Dispelling Kitchen Myths
There is a popular myth that you should never salt rice water because it toughens the grains. This is simply not true. Salt is essential for bringing out the natural sweetness of the rice. Without it, the grain tastes flat and one dimensional.
The small amount of salt used here won't affect the cooking time or the texture in a negative way.
Another common misconception is that "the finger method" (measuring water by the first knuckle of your index finger) is the only "authentic" way to cook rice. While it’s a great skill to have in a pinch, it’s not precise because everyone’s fingers and pots are different sizes.
For consistent, repeatable results that work every time, using a measuring cup is the way to go.
Storage and Reducing Waste
Cooked rice is one of the most versatile leftovers in your kitchen. To store it safely, spread it out on a baking sheet to cool quickly before putting it in an airtight container. This prevents the growth of bacteria that can thrive in warm, moist environments. It will stay fresh in the fridge for up to 4 days.
For long term storage, rice freezes surprisingly well. Place 1 cup portions in freezer bags and flatten them out. They will last for up to 3 months. When you're ready to eat, you can pop the frozen block directly into a pan with a splash of water and a lid, and it will steam back to life in minutes.
To reduce waste, don't throw away the slightly dried out rice from the back of the fridge; that is actually the secret ingredient for the best fried rice, as the drier grains won't clump together in the wok.
Global Traditions and Pairings
This rice is the ultimate companion for a wide array of dishes that nourish the soul and celebrate diversity. In many Asian cultures, a meal isn't complete without a bowl of "fan" (rice). It serves as the cooling counterpoint to spicy curries and the soaking agent for rich, savory stews.
Try serving this as a base for a colorful Buddha bowl topped with roasted sweet potatoes, black beans, and a creamy tahini dressing. Or, keep it classic by pairing it with a simple stir fry of ginger, garlic, and seasonal greens.
Because this recipe uses grass fed butter or oil, it has a luxurious mouthfeel that complements even the simplest of meals. It's about bringing people together around a bowl of something warm, simple, and perfectly executed.

Recipe FAQs
What is the correct way of cooking rice?
Rinse the grains until the water runs clear. Combine 1 cup rice, 1.5 cups water, 0.5 tsp salt, and 1 tsp oil in a heavy bottomed pan, boil, then cover and cook on the lowest heat for 28 minutes. Always let it sit undisturbed for 10 minutes before fluffing.
Is 2 cups of water for 1 cup of rice the right ratio?
No, 1.5 cups of water is the correct ratio for this method. Using 2 cups often leads to mushy or overcooked grains, whereas 1.5 cups ensures each grain remains distinct and fluffy.
How to cook rice for diabetic patients?
Cool the cooked rice in the refrigerator for at least 12 hours before eating. This process creates resistant starch, which helps lower the glycemic response compared to eating it piping hot. If you enjoy experimenting with texture and cooling techniques, see how we apply similar precision to flavoring sushi rice.
What is the best rice for diabetics?
Choose high fiber, unrefined options like brown, black, or red rice. These varieties digest more slowly than standard white long grain rice, resulting in a more gradual impact on blood glucose levels.
Is it true I should stir the rice while it simmers?
No, this is a common misconception. Stirring during the simmering process releases excess starch and causes the grains to become gummy or stick to the bottom of the pot.
How to store leftover rice to keep it fresh?
Spread the cooked grains onto a baking sheet to cool rapidly before transferring to an airtight container. This quick cooling prevents bacterial growth, and the rice will remain safe in the refrigerator for up to 4 days.
Can I freeze cooked rice for later use?
Yes, freeze it in flattened 1-cup portions inside airtight freezer bags. This method allows you to store the rice for up to 3 months and makes it easy to reheat directly in a pan with a splash of water.
How To Cook Rice
Ingredients:
Instructions:
Nutrition Facts:
| Calories | 179 kcal |
|---|---|
| Protein | 3.3 g |
| Fat | 1.4 g |
| Carbs | 37 g |
| Fiber | 0.6 g |
| Sugar | 0.1 g |
| Sodium | 288 mg |
