How to Boil Eggs: Perfectly Creamy and Easy to Peel
- Time: Active 2 minutes, Passive 23 minutes, Total 25 minutes
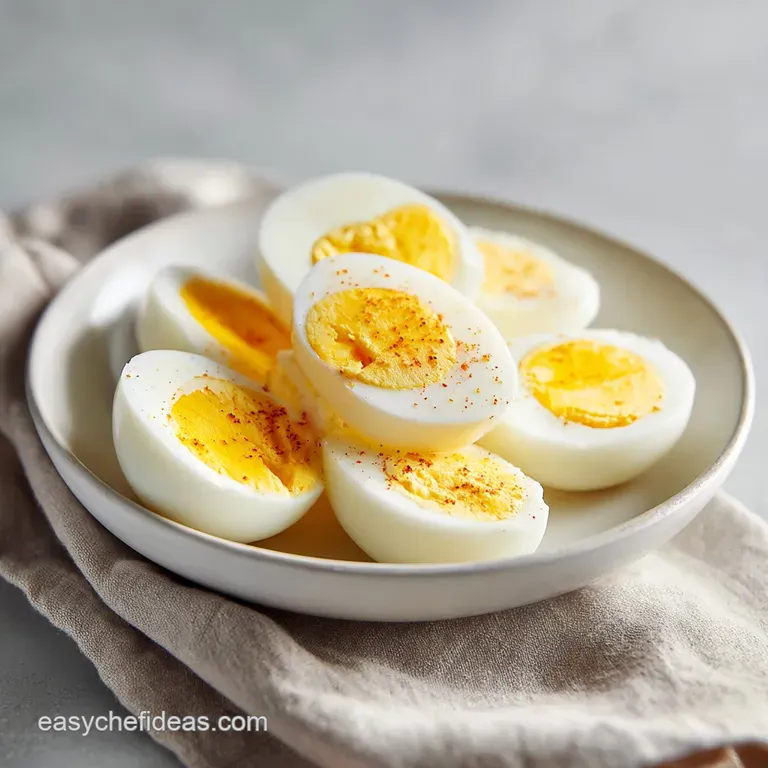
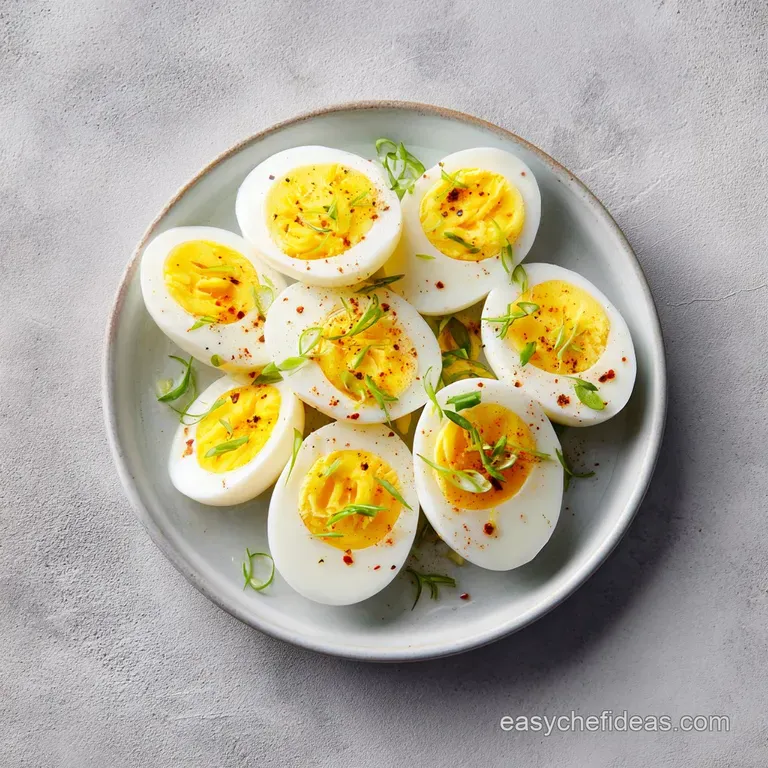
- Flavor/Texture Hook: Silky, firm whites with a velvety, sunset orange yolk
- Perfect for: High protein meal prep or cultural staples like ramen and niçoise salads
Mastering How to Boil Eggs
Have you ever noticed how the simple aroma of a boiling egg can transport you back to a specific memory? For me, it is my grandmother’s kitchen, where the gentle clinking of shells against a tin pot was the soundtrack to our Sunday mornings. It is a smell that is earthy and clean, the scent of pure nourishment.
But have you ever wondered why some eggs smell like sulfur while others smell like a fresh morning? The answer lies in the precision of the boil.
We often think of this as a basic kitchen chore, but in many cultures, the egg is a symbol of life and community. Whether it is a marbled tea egg in a bustling street market or a precisely timed egg atop a steaming bowl of noodles, the technique matters.
We are not just making a snack; we are preparing a foundational ingredient that bridges the gap between a simple bite and a complex, nourishing meal.
I used to start my eggs in cold water because that is what I was told was "safe." But after peeling away chunks of white and ending up with mangled, pitted eggs, I realized that tradition isn't always right. We want that shell to slide off in two big pieces, leaving a smooth, porcelain like surface underneath.
Trust me, once you see how a boiling start changes the game, you will never go back to the old way.
Why the Hot Start Works
Understanding the "why" behind the water temperature helps us respect the process. It is about how the proteins react to sudden heat rather than a slow climb.
- Thermal Membrane Shock: Dropping a cold egg into boiling water causes the internal membrane to shrink away from the shell instantly. This creates a physical gap that makes peeling effortless.
- Protein Coagulation Control: A consistent boiling temperature allows for a predictable rate of cooking from the outside in, preventing the whites from becoming rubbery before the yolk sets.
- Gas Expansion: The air pocket at the bottom of the egg expands rapidly in hot water, often pushing the egg into a more symmetrical shape as it sets.
| Method | Time | Texture | Best For |
|---|---|---|---|
| Stovetop Boil | 25 minutes | Traditional, firm whites | Deviled eggs and salads |
| Air Fryer | 15 minutes | Slightly toasted flavor | Quick batches without water |
| Instant Pot | 18 minutes | Very consistent, soft shells | Bulk meal prep for the week |
While the stovetop is our focus today for its cultural reliability, these other methods offer unique trade offs. The air fryer, for example, can sometimes result in "beauty marks" on the shell from the hot air, but it bypasses the need for 8 cups of water entirely.
Timing and Precision Specs
The beauty of a boiled egg is that it is a self contained unit of nutrition, but its internal state is hidden from us. We have to rely on the clock and the thermometer to know what is happening inside that shell. For this recipe, we are targeting a firm but not dry result.
- For a jammy, liquid center
- Simmer for exactly 6 minutes.
- For a "custard" yolk
- Simmer for 8 minutes until the center is tacky.
- For a firm, grateable yolk
- Follow our 11 to 12 minute simmer rule.
| Component | Science Role | Pro Secret |
|---|---|---|
| Large Eggs | Protein structure | Use eggs that are at least a week old for a higher pH level. |
| Sea Salt | Coagulation aid | If a shell cracks, salt helps the white solidify faster to plug the leak. |
| Ice Bath | Kinetic energy arrest | The ice stops the carryover heat from turning the yolk sulfur green. |
A common mistake is using eggs straight from the nesting box. While fresh is usually better, a slightly older egg has a higher pH, which naturally weakens the bond between the membrane and the shell.
Selecting Quality Ingredients
To nourish our community and ourselves, we start with the best we can find. While we are using 12 large chicken eggs for this batch, the quality of the egg changes the vibrance of the yolk.
- 12 Large Chicken Eggs: Cold from the fridge. Why this? The thermal shock only works if the egg starts cold and the water is hot.
- 8 Cups Water: Filtered is best. Why this? Enough volume ensures the water temperature doesn't drop too much when eggs are added.
- 1 Tsp Salt: Any fine salt. Why this? It raises the boiling point slightly and aids in easy peeling.
- 2 Cups Ice Cubes: For the "shock" station. Why this? It provides the immediate temperature drop needed to stop the cooking process.
While we are making a hard boiled version today, you might find yourself craving something a bit more delicate. For those mornings, I usually look to my perfectly soft boiled eggs method which uses a shorter simmer time to keep things runny.
Tools for Better Boiling
You don't need a lab, but a few specific items make this 25 minute process seamless. The medium saucepan should be heavy bottomed to distribute heat evenly.
The most overlooked tool is the slotted spoon. It isn't just for taking eggs out; it is your insurance policy against cracked shells when you lower the eggs into the water. Dropping them in by hand usually results in a "clink" and a spider web crack that ruins the shape.
You will also need a large bowl for the ice bath, preferably glass or metal, as these hold the cold better than plastic.
| Choice | Fresh Farm Egg | Supermarket Shortcut |
|---|---|---|
| Flavor | Deep, rich, nutty | Mild, clean, standard |
| Yolk Color | Vibrant orange | Pale yellow |
| Peel Ease | Can be difficult | Usually very easy |
The trade off here is clear: fresh eggs offer superior flavor and nourishment but require more precision with the thermal shock to peel well. Supermarket eggs are more "forgiving" for beginners.
The Path to Perfect Peeling
- Pour 8 cups of water into your saucepan and add 1 tsp of salt.
- Bring the water to a rolling boil over high heat until large bubbles break the surface.
- Place your cold eggs onto a slotted spoon and gently lower them into the boiling water. Note: Work in batches of 3 or 4 so you don't drop the water temperature.
- Lower the heat immediately to a simmer until the water is no longer turbulent.
- Set your timer for 11 to 12 minutes.
- Fill a large bowl with 2 cups of ice and cold water while you wait.
- Check for the aroma of clean steam; if it starts to smell "eggy," your heat might be too high.
- Remove eggs with the spoon and plunge them into the ice bath until they feel cold to the touch.
- Let them rest in the ice for at least 10 minutes.
- Crack the shell gently all over and peel under a thin stream of cool water.
Preventing Boiled Egg Disasters
The most heartbreaking part of cooking is when a simple ingredient goes wrong. Most people struggle with the "Green Ring of Shame," which is actually just a chemical reaction between iron in the yolk and sulfur in the white.
The Sulfury Green Yolk
This happens when the egg is cooked for too long or at too high a temperature. The heat forces the sulfur to react with the iron. The solution is the ice bath. It pulls the heat away from the center before that reaction can finish. If you find your eggs are consistently green, reduce your simmer time by 60 seconds.
The Impossible to Peel Shell
If the shell is sticking, the membrane hasn't detached. This usually happens if you start the eggs in cold water. If you're struggling mid peel, try peeling them in the bowl of water. The water gets under the membrane and helps "float" the shell off the white. If you find yourself frequently failing at the peel, it might be worth reviewing a more detailed ultimate guide to hard boiling to see where the timing might be slipping.
| Problem | Root Cause | Solution |
|---|---|---|
| Rubber like whites | Water was boiling too hard | Keep heat at a low simmer, not a boil. |
| Flat bottomed eggs | Air pocket didn't move | Store eggs on their side for 24 hours before boiling. |
| Exploding shells | Thermal shock was too violent | Ensure eggs don't have tiny hairline cracks before adding. |
Common Mistakes Checklist
- ✓ Never skip the ice bath; it is the only way to ensure a creamy texture.
- ✓ Don't overcrowd the pot; eggs need room for the water to circulate.
- ✓ Use a timer, never "eye ball" the duration.
- ✓ Peeling while warm is a recipe for disaster; wait the full 10 minutes.
- ✓ Add the salt to the water first to help with any potential leaks.
Flavor Twists and Swaps
Once you have mastered the basic boil, you can start to think about the diversity of flavors found in global cuisines. In Chinese culture, "Tea Eggs" are a beautiful way to nourish the family. You simply crack the shells after boiling and soak them in a mixture of black tea, star anise, and soy sauce.
| Original Ingredient | Substitute | Why It Works |
|---|---|---|
| Water (8 cups) | Vegetable Stock | Infuses the whites with a savory, earthy aroma. |
| Table Salt | Soy Sauce (1/4 cup) | Provides salt plus a rich umami depth to the shell. |
| Large Eggs | Duck Eggs | Larger, richer yolk. Note: Add 3 minutes to simmer time. |
For a Japanese inspired ramen egg (Ajitsuke Tamago), you would peel the eggs and marinate them in a mix of soy sauce and mirin for 4 hours. This adds a salty sweet complexity that reflects the care of a professional kitchen.
Keeping Your Eggs Fresh
Boiled eggs are the ultimate prep food for a busy community. You can keep them in the refrigerator for up to 7 days. I find it best to keep them in their shells until you are ready to eat them; the shell acts as a natural protective barrier against other smells in the fridge.
If you have already peeled them, store them in a sealed container with a damp paper towel to keep them from drying out. For a zero waste approach, don't throw away those shells! If you crush them up, they are a fantastic, calcium rich addition to your garden compost or can even be used to deter pests around your leafy greens.
Note that hard boiled eggs do not freeze well; the whites become tough and watery upon thawing, so it is better to eat them fresh.
Nourishing Ways to Serve
An egg is more than just a breakfast side; it is a way to nourish our bodies with clean protein and healthy fats. In many Mediterranean cultures, a hard boiled egg is sliced over a bed of fresh greens, tomatoes, and olives, tied together with a drizzle of extra virgin olive oil.
You can also mash them with a bit of Greek yogurt and mustard for a lighter take on the classic egg salad. The aroma of fresh dill or chives chopped on top adds a layer of sophistication to a humble dish.
Whether you are sharing a platter of deviled eggs at a community potluck or enjoying a quiet moment with a salt sprinkled egg, remember that the best food is the kind made with patience and a little bit of science.

Recipe FAQs
Do you put eggs in water before or after it's boiling?
Add eggs after the water reaches a rolling boil. Dropping cold eggs into already boiling water creates a thermal shock that helps the shell membrane detach, ensuring an easy peel every time.
What is the correct way to boil an egg?
Submerge eggs in a rolling boil, then immediately reduce to a simmer for 11-12 minutes. Once finished, transfer the eggs to an ice bath for at least 10 minutes to stop the cooking process and prevent overcooked, grey yolks.
Are boiled eggs ok for diabetics?
Yes, they are an excellent, high protein choice. Eggs contain zero carbohydrates, making them a blood sugar-friendly staple that fits into a balanced dietary plan.
How many minutes to boil an egg?
Boil for 11 to 12 minutes at a low simmer. This specific timing guarantees a fully set white and a velvety, sunset orange yolk without any chalky texture.
Is it true I must start with cold water to prevent cracking?
No, this is a common misconception. You can prevent cracking by gently lowering the eggs into the water with a slotted spoon and immediately reducing the heat to a low simmer so the eggs don't bounce against the pot.
How can I make the shells easier to peel?
Use a deep ice bath immediately after the timer sounds. This abrupt change in temperature causes the egg to contract slightly inside the shell, which creates the perfect gap for clean, effortless peeling.
Are these eggs suitable for other recipes?
Yes, these are perfect for adding protein to various dishes. If you mastered this technique of controlling texture through precise heat, see how we use the same principle to achieve a perfectly soft cooked element in our easy homemade ramen.
How To Boil Eggs Perfectly

Ingredients:
Instructions:
Nutrition Facts:
| Calories | 72 kcal |
|---|---|
| Protein | 6.3 g |
| Fat | 4.8 g |
| Carbs | 0.4 g |
| Fiber | 0 g |
| Sugar | 0.2 g |
| Sodium | 95 mg |
