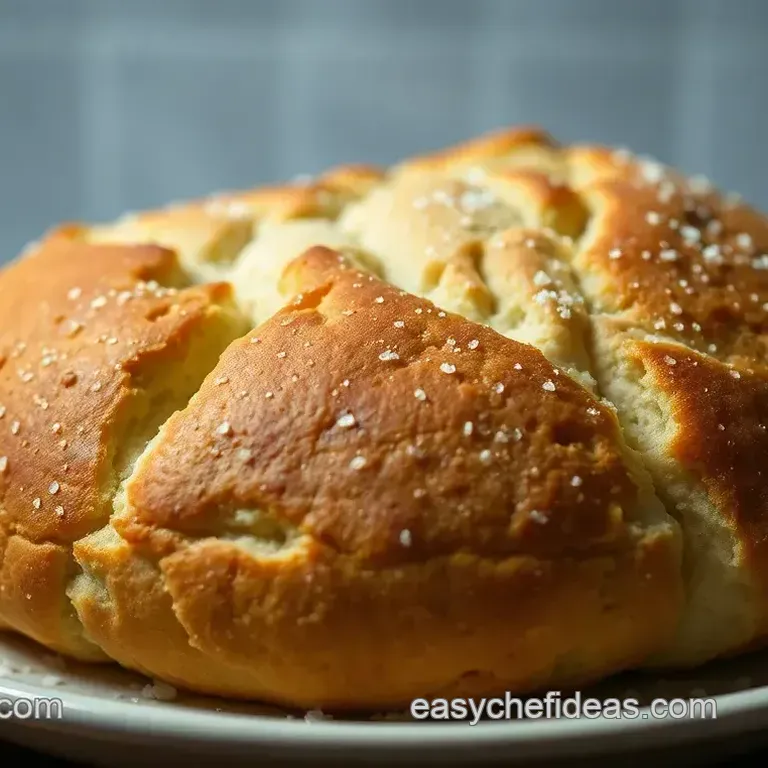
Heavenly Homemade Yeast Bread: a Simple Guide to Baking Bliss
- The Warmth of Homemade Bread
- A Taste of History
- Health Benefits and More
- Why Choose Homemade?
- Your Essential Ingredients Guide to Homemade Bread
- Unleashing the Art of Professional Cooking: Your Guide to Homemade Bread Mastery
- Additional Recipe Information: All You Need for Homemade Bread with Yeast
- Frequently Asked Questions
- 📝 Recipe Card
The Warmth of Homemade Bread
Ever had that moment when the smell of freshly baked bread wraps around you like a warm, cozy blanket? i remember the first time i tried making a homemade bread with yeast recipe .
It was one of those rainy sundays. i was feeling all kinds of nostalgic, thinking about my grandma’s kitchen buzzing with energy and that heavenly scent wafting through the house.
Honestly, who doesn’t crave a slice of grandma's homemade bread ?
Baking bread isn’t just about the final product; it’s an experience. it's like breathing life into your kitchen. trust me on this one, when you take that first bite, you’ll understand the magic.
Plus, the satisfaction of saying, "i made this," is unbeatable.
A Taste of History
Bread making goes way back. like, seriously… we’re talking ancient civilizations here! the processes have changed, but the love and creativity remain the same.
Who knew that kneading a ball of dough could connect us to families from ages ago? fast forward to today, and bread is a staple in our diets.
Whether you’re munching on a slice with butter or using it for your next epic sandwich, homemade bread is undeniably popular.
With just a few hours and some basic ingredients, you’re on your way to baking bliss! timewise, don’t sweat it too much.
You’ll be investing about 1 hour and 15 minutes in total, and most of that time is just the dough chilling out while it rises.
Plus, it made 10-12 slices , which is perfect for devouring throughout the week.
Health Benefits and More
Now, let’s talk benefits. bread often gets a bad rap, but it can be pretty awesome! this homemade bread with yeast recipe is made with wholesome ingredients: flour, yeast, salt, and a touch of sugar.
It's a great source of energy and fills your belly nicely.
But hey, it’s not just for everyday meals! you can bake this beauty for family gatherings, holiday dinners, or just to impress your besties.
Imagine pulling up to a potluck with the best crusty bread recipe on the table. eat your heart out, right? trust me; folks will be asking for seconds.
Why Choose Homemade?
Let’s be real: store-bought bread doesn’t hold a candle to homemade. this bread is free of preservatives and artificial stuff! plus, you can customize it however you want.
Want to throw in some herbs or nuts? go for it!
If you’re feeling adventurous, you could even explore non yeast bread options like yeast free dutch oven bread . but for now, focusing on this classic yeast bread recipe rustic will get you started in the right direction.
With this recipe, you'll see why people fall in love with easy delicious bread recipes .
Simple Yet Rewarding
In today’s fast paced world, cooking has become somewhat of a lost art. But baking bread…it’s like therapy! The kneading, the waiting, the scent filling your home it all just feels right.
So why not dive in? it’s time to gather your ingredients and get that dough rising. be prepared for a warm embrace of flavors and memories that will have your taste buds dancing.
Before you know it, you’ll be saying, “forget the takeaway; i’m all about baking my own bread now!”
Ready to get your hands floury? Let’s check out the ingredients you’ll need to whip up your very own homemade bread with yeast !
Your Essential Ingredients Guide to Homemade Bread
Baking bread is like a cozy hug from your grandma that warms you up from the inside out. it’s just magic, folks! whether you’re diving into a homemade bread with yeast recipe or trying out yeast free dutch oven bread , knowing the right ingredients is a game changer.
So, let's break down the essentials, shall we?
Premium Core Components
Measurements matter: you gotta get your measurements right! for starters, you'll need 3 ½ cups (440g) of all-purpose flour. if you're feeling metric, that's about 440 grams.
Don't forget about the active dry yeast, too around 2 ¼ teaspoons or 7g . sprinkle it right and watch it work its magic!
Quality Indicators: Always check the expiration date on your yeast. If it’s outdated, it’s a no-go. Fresh yeast gives that fluffy rise we’re all dreaming of!
Storage tips: keep your flour in a cool, dark place, like a cupboard, and your yeast in the refrigerator once opened.
If stored properly, it lasts a few months. and here’s a little nugget: always check your flour for any weird smells if it smells off, toss it!
Freshness criterion: when picking herbs or spices for your bread, like rosemary or thyme, look for vibrant colors and fragrant smells.
Dried spices should not be clumpy; if they are, toss those out, too!
Signature Seasoning Blend
Now onto the good stuff the flavor! Your signature seasoning blend can transform standard bread into something heavenly.
Essential Combos: Try pairing garlic powder, dried oregano, and basil for an aromatic twist. It’s like Italy in your kitchen, right? And if you're a spice lover, throw in some crushed red pepper for pizzazz!
Herb Selections: Basil, thyme, and rosemary are legendary for enhancing yeast bread. Each has its unique aroma that can elevate your bread to gourmet status!
Flavor Enhancers: Consider adding a touch of honey or maple syrup to your dough. Not only does it sweeten things up, but it also boosts browning for that perfect, crusty top.
Smart Substitutions
Maybe you're out of a few ingredients? No sweat! That’s where smart substitutions come in handy.
Common Alternatives: Don't have bread flour? All-purpose flour works just fine. Want to skip the yeast? Check out Easy Bake Bread No Yeast recipes they can be delicious too!
Dietary Modifications: Need a gluten-free option? Swap that all-purpose flour for a gluten-free blend. It might not rise as much, but hey, it’ll still taste great!
Emergency Replacements: Running low on sugar? Honey or agave syrup will swoop in to save the day. Just adjust your liquid ingredients to make it work.
Kitchen Equipment Essentials
What good is a recipe without the right tools ? Here’s a short list of what you need:
Must Have Tools: A large mixing bowl and measuring cups are your bread baking besties. You’ll also want a wooden spoon for mixing, and a kitchen towel for covering your dough while it rises.
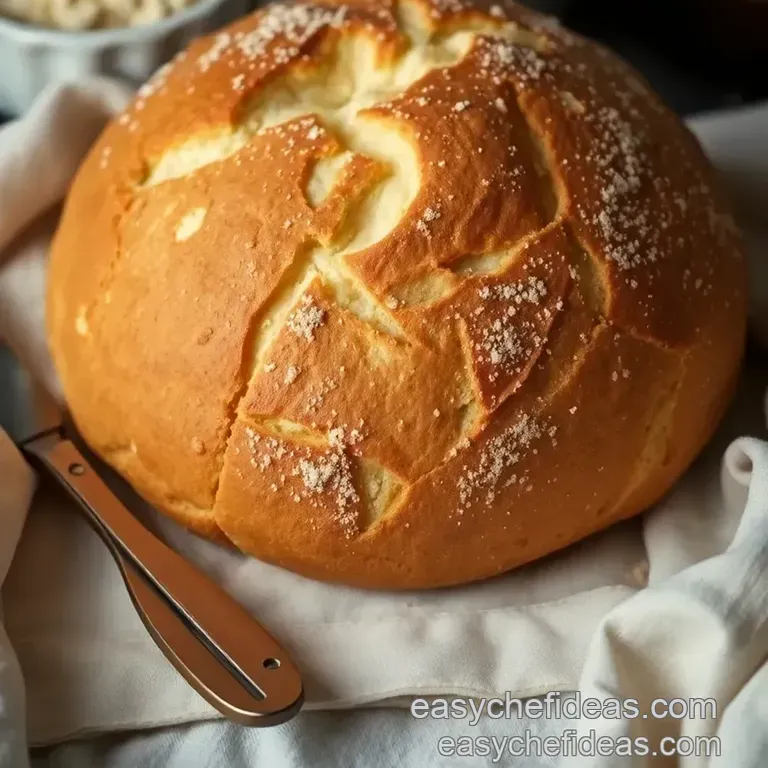
Alternative Equipment: If you don’t have a loaf pan, a baking sheet will do wonders. Just shape your dough into a rustic loaf trust me, it’ll make for Instagram worthy shots!
Preparation and storage tips: clean up before you start; no one wants flour covered chaos! and once your bread is baked, let it cool on a wire rack to keep it from getting soggy.
Wrapping It Up
So there you have it, friends! with this essential ingredients guide , you're well on your way to mastering bread baking like a pro.
Whether you pick a classic homemade yeast bread or get adventurous with a no yeast sweet bread , knowing your ingredients will take your baking game to the next level.
Don't let anything hold you back grab that flour and let's get to baking! up next, we’ll dive into the actual instructions for your bread making journey.
It’s going to be epic, i promise! happy baking!
Unleashing the Art of Professional Cooking: Your Guide to Homemade Bread Mastery
Alright, so you’re diving into the world of baking and not just any baking, but crafting that homemade bread with yeast recipe that’ll have your friends singing your praises.
Spoiler alert: it’s not as scary as it sounds! so, grab your apron, and let’s roll up those sleeves.
Essential Preparation Steps
First things first: let’s talk mise en place . this fancy french term is all about organizing your ingredients before you start.
Grab everything you need: flour, yeast, water, and all that jazz. measure out your 3 ½ cups (440g) of all-purpose flour and you’re already winning.
Time management is essential. if you’ve got the yeast blooming, you can start measuring other ingredients. this makes your life a ton easier.
Oh, and don’t forget to set a timer! a well timed recipe is a happy recipe.
Staying organized is key. keep one bowl for dry ingredients and another for wet ones. honestly, it’s like being a chef in your own mini restaurant.
And remember, safety first. if you're using any sharp tools or hot surfaces, stay focused, my friend! nobody wants a baking mishap.
step-by-step Process
Here’s where the magic happens. Follow these clear, numbered instructions for some bread baking bliss:
Activate your yeast: mix 1 ¼ cups (300ml) of warm water (about 110° f/ 43° c ) with 1 teaspoon of sugar and your packet of yeast.
Let it froth for 5- 10 minutes like a science experiment gone right.
Combine Your Dry Goods: Whisk your flour and salt in a large bowl. Just like mixing the ingredients for your grandma’s secret pancake recipe; you’ve got this!
Mix it Up: Make a well in the center, then pour in your yeast mixture. Stir until it becomes a shaggy dough.
It’s Kneading Time: Hit that dough with some muscle! Knead for about 8- 10 minutes until you have a smooth ball of joy.
First rise: toss that baby in a greased bowl, cover with a damp cloth, and wait for about 1 hour until it’s doubled in size.
Take a nap or watch your favorite show; you’ve earned it!
Shape It Up: Punch it down (take out any frustrations!), and shape it into your desired loaf.
Second Rise: Lay your shaped dough in a greased loaf pan and let it rise again for 30- 45 minutes .
Bake It: Preheat your oven to 375° F ( 190° C) . Bake for 30- 35 minutes until it turns golden brown and sounds hollow when you tap it.
Cooling Down: Let it cool on a wire rack before slicing. Patience, my friend!
Expert Techniques
Now, let’s level up! Here are some pro tips:
Quality Checkpoints: Make sure your dough is elastic but not sticky. If it sticks to your fingers like your favorite gum, add a pinch more flour.
Troubleshooting Tips: If your dough doesn’t rise enough, check if your yeast is active. Old yeast is like stale popcorn a total bummer.
Success Strategies
Let’s avoid some classic mistakes:
Don’t rush those rises. They are like the dough's beauty sleep. A well risen dough means a fluffier bread.
Quality assurance is key. An internal temperature of 190° F ( 88° C) means your bread is perfect. Use a thermometer if you need to!
Planning to bake in advance? Go for make-ahead options! Prepare the dough the night before and pop it in the fridge overnight. It’s like making future you very happy.
Additional Information...
The world of baking might seem vast, filled with yeast free dutch oven bread and easy bake bread no yeast options.
But let’s be honest: nothing beats the aroma of your very own homemade bread dough recipe wafting through your kitchen.
If you ever want to switch it up, try some non-yeast bread varieties too! there are endless paths from quick no-rise bread to no yeast sweet bread .
Happy baking, and may your homemade bread journey be filled with joyous experimentation and, of course, delicious results!
Additional Recipe Information: All You Need for Homemade Bread with Yeast
Oh my gosh, have you ever stepped into a kitchen where fresh bread is baking? it’s like a warm hug on a chilly day.
Today we’re diving into my favorite subject: homemade bread with yeast recipe . let’s sprinkle in some pro tips, smart storage ideas, and creative variations so you can flex your baking muscles!
Pro Tips & Secrets
Baking bread might feel a bit daunting, but don’t sweat it! Here are some chef approved insights just for you.
Start with Warm Water: Activate that yeast! Warm, not hot, water is key. It wakes the yeast up like you wake up to your favorite coffee.
Time Saving Techniques: Use a stand mixer with a dough hook if you wanna skip the workout of kneading. It saves time and gives you a perfect dough every time!
Flavor Enhancement: Feel free to jazz things up. Toss in some herbs or garlic for a rustic flavor trust me, your kitchen will smell heavenly.
Presentation Advice: A sprinkle of flour or some seeds on top right before you pop it in the oven can make your bread look like it came straight from a bakery.
Perfect Presentation
Let’s talk about making that loaf look as enticing as it smells.
Plating Techniques: Use a cutting board for serving. Slice it right in front of your friends or family. It’s all about that “wow” factor!
Garnish Ideas: Fresh herbs or a drizzle of olive oil can elevate your bread game. Plus, it just looks fancy, doesn’t it?
Color Combinations: A golden brown crust with a fluffy white inside is what you want. But try adding some whole grains or seeds for color and texture go rustic!
Visual Appeal Tips: Slice it up and arrange on a platter with soft butter and jam. It turns your homemade feast into a spread like your grandma used to set up!
Storage & make-ahead
Now let's get to the nitty gritty of keeping that delicious bread fresh!
Storage Guidelines: Keep it wrapped in a clean kitchen towel or in an airtight container. This helps maintain that lovely crust while keeping the insides soft.
Preservation Methods: You can freeze sliced bread! Just let it cool completely before plopping it in an airtight bag. It’ll save your future self from a bakery trip!
Reheating Instructions: Pop slices in the toaster or wrap the whole loaf in foil and heat in a 350° F oven for about 10- 15 minutes. Your kitchen will smell divine again!
Freshness Duration: Homemade bread is best enjoyed fresh but will stay good for about 3-4 days at room temperature. After that, it’s all about toasting.
Creative Variations
Don’t let the word “recipe” box you in. Let’s explore some fun twists!
Flavor Adaptations: Mix it up with herbs, spices, or even cheese! A little cheddar or rosemary elevates your traditional yeast bread to new heights.
Dietary Modifications: Go for whole wheat or gluten-free flour. And if you're curious about quick no rise bread , give it a whirl! It’s a game changer for last minute bread cravings.
Seasonal Twists: Think pumpkin spice in the fall or lemon zest in the summer. Using seasonal ingredients keeps things fresh and exciting!
Regional Variations: Explore the world! Italian focaccia, French baguettes, and Irish soda bread there are tons of options, each with its own unique flair.
Complete Nutrition Guide
Now, let’s not forget the number game. Here’s a basic breakdown for our homemade bread dough recipe .
Calories per Slice: About 120 calories, depending on your ingredients. It’s pretty guilt free if you ask me!
Health Benefits: This bread can be a great source of carbohydrates and provides essential vitamins from enrichment.
Dietary Considerations: If you're keeping an eye on your salt, cut back a bit! And for heartiness, adding whole grains can make a real difference.
Portion Guidance: Aim for 1-2 slices per serving, based on your meal plan. Plus, remember that delicious bread can often lead to “just another slice,” so be mindful!
Encouraging Conclusion
So, there you have it! armed with these tips, tricks, and variations, you’re all set to dive into making your very own homemade bread with yeast recipe ! don’t worry if it doesn’t turn out perfect at first.
Baking is all about patience, practice, and, most importantly, having fun .
Remember, when life gives you old milk, it’s not just about recipes using old milk ; turn it into a no yeast sweet bread or any variation you fancy.
Just get in the kitchen and experiment a bit. happy baking, friend! you got this!
Frequently Asked Questions
How long does it take to make homemade bread with yeast?
The entire process takes about 1 hour and 15 minutes from start to finish, plus an additional 1-2 hours for resting and proofing the dough. Make sure to be patient during the rising times, as they are crucial for developing that lovely texture.
What should I do if my yeast doesn't activate?
If your yeast doesn't froth after about 10 minutes, it might be outdated. Always check the expiration date on your yeast packet! For a fresh start, try using warm (not boiling) water with a sprinkle of sugar to kickstart the activation process.
Can I make substitutions in the homemade bread with yeast recipe?
Absolutely! You can swap half of the all-purpose flour for whole wheat flour for a heartier loaf. Additionally, if you're out of unsalted butter, olive oil works just as well. Don't hesitate to experiment with your favourite herbs or spices for added flavour!
What is the best way to store homemade bread?
Store your bread in a bread box or wrapped in a clean kitchen towel at room temperature to keep it fresh. For longer storage, you can freeze slices in a freezer bag and toast them straight from the freezer. Just like how you’d enjoy a quick fix of toast topped with your favourite jam!
How can I know when my bread is fully baked?
The best way to check if your bread is done baking is to tap the bottom; it should sound hollow. Using a thermometer, the internal temperature should be around 190°F (88°C). Trust us, there’s nothing like the sound of a freshly baked loaf ready to be sliced!
Can I add ingredients like nuts or dried fruit to the dough?
Yes! Feel free to fold in ingredients like walnuts or dried cranberries during the kneading step. Just remember to keep an eye on the moisture levels, as these additions can affect the dough consistency. A delightful way to elevate your loaf!
Heavenly Homemade Yeast Bread A Simple Guide To
Ingredients:
Instructions:
Nutrition Facts:
| Calories | 120 |
|---|---|
| Protein | 4g |
| Fat | 1g |
| Carbs | 22g |
| Fiber | 1g |
| Sugar | 0g |
| Sodium | 150mg |
