Sourdough Starter: a Fermented Baking Guide
- Time: Active 35 minutes, Passive 6 days 23 hours 25 mins, Total 7 days
- Flavor/Texture Hook: Tangy, frothy, and wild
- Perfect for: Patient home bakers looking to master artisan bread from scratch
- Crafting a Tangy Sourdough Starter
- Why This Microbe Culture Works
- Flour and Water Component Analysis
- The Required Tools for Success
- Seven Day Step by Step
- Troubleshooting Your Fermentation Issues
- Personalizing Your Flavor Profile
- Maintenance and Long Term Storage
- Creative Serving and Discard Ideas
- Recipe FAQs
- 📝 Recipe Card
Crafting a Tangy Sourdough Starter
Have you ever walked into a kitchen and smelled that sharp, fruity, almost vinegary tang hanging in the air? It is the scent of a living thing. The first time I tried to make sourdough starter, I felt like a mad scientist.
I stood over a glass jar filled with what looked like beige sludge, wondering how on earth this could ever turn into a loaf of bread. But then, on day four, I saw it: a single, perfect bubble resting on the surface. Within an hour, three more appeared.
By day seven, the mixture was a frothy, heaving mass of life that smelled like a crisp Granny Smith apple mixed with earthy yeast.
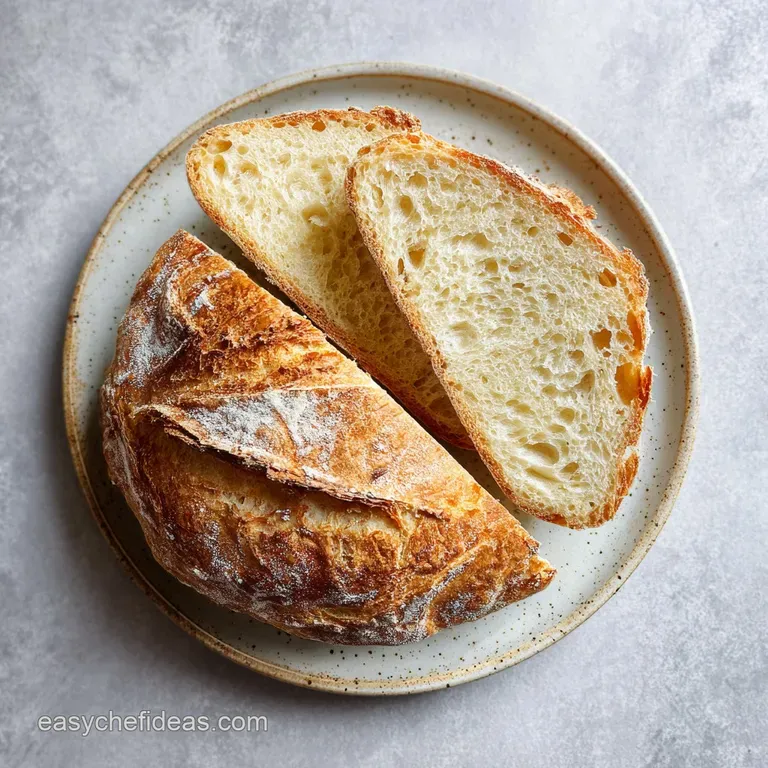
This process is about more than just flour and water; it is about slowing down. We live in a world of instant yeast and 60 minute rolls, but there is a specific kind of magic in waiting an entire week for a culture to mature. When you finally use it to bake, the crust doesn't just crunch; it shatters.
The crumb isn't just soft; it is velvety and laced with those iconic, irregular holes that catch pools of salted butter.
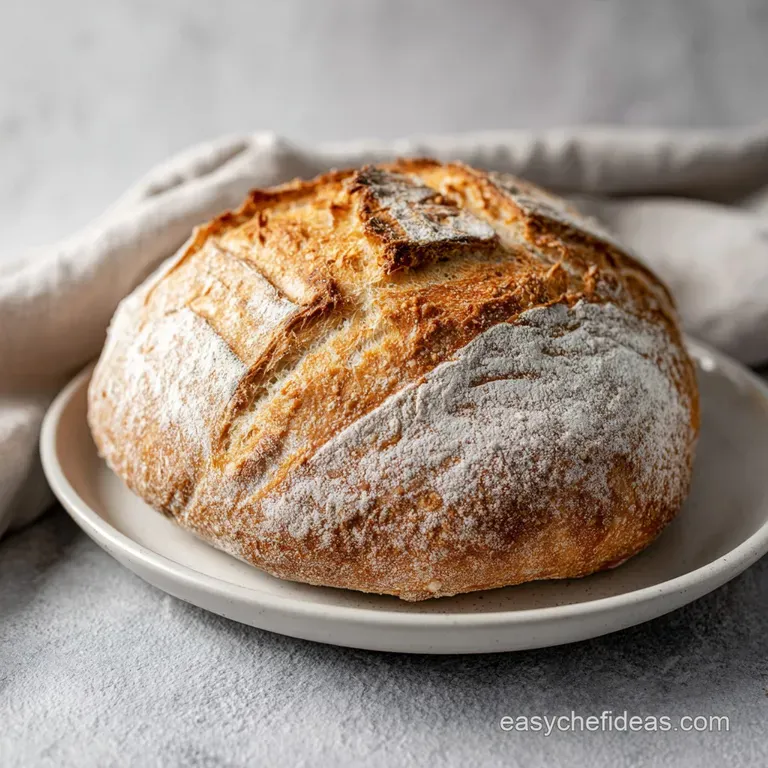
Starting your own culture is a rite of passage for any home cook. You aren't just following a recipe; you are inviting wild microorganisms into your home and giving them a place to thrive. Once you have a strong, active leaven, you can transition into making a stunning artisan sourdough bread that rivals any high end bakery. It takes patience, a little bit of warmth, and a lot of observation, but I promise the first time you hear a fresh loaf "sing" as it cools, you will be hooked forever.
Why This Microbe Culture Works
Making a sourdough starter is essentially creating a miniature ecosystem within a jar. We aren't adding commercial yeast; instead, we are waking up the dormant spores already present in the flour and in the air of your kitchen.
- Enzymatic Breakdown: Amylase enzymes in the flour break down complex starches into simple sugars, which serves as the primary food source for the yeast.
- Lactic Acid Fermentation: Lactobacillus bacteria work alongside the yeast to produce lactic and acetic acids, which give the bread its signature sour tang and improve the shelf life.
- Carbon Dioxide Capture: As the yeast consumes sugars, it releases CO2. The gluten network in the flour traps these gases, causing the mixture to expand and become frothy.
- pH Regulation: Over the seven day period, the acidity of the starter increases, which naturally kills off "bad" bacteria while allowing the hardy wild yeast to dominate.
| Method | Time | Texture | Best For |
|---|---|---|---|
| Traditional AP Flour | 7 days | Light and airy | Classic white boules and baguettes |
| Rye Boosted | 5 days | Dense and bubbly | Hearty loaves with a deep, earthy tang |
| Whole Wheat Base | 7 days | Strong and vigorous | Beginners who want a very active start |
Selecting the right method depends on how much time you have and what kind of flavor profile you want to develop in your finished bread. While all methods eventually result in a functional culture, the initial grain choice sets the stage for the bacterial diversity in your jar.
Flour and Water Component Analysis
To successfully make sourdough starter, you have to understand that every ingredient plays a structural and biological role. Even the "simple" addition of water can make or break the fermentation if it contains too many chemicals.
| Ingredient | Science Role | Pro Secret |
|---|---|---|
| Whole Wheat Flour | Provides minerals and enzymes | Use this for the first 24 hours to "kickstart" the yeast colony. |
| Unbleached AP Flour | Builds a stable gluten structure | Choose unbleached to ensure the natural microbes haven't been killed by chemicals. |
| Filtered Water | Hydrates proteins and moves nutrients | Heat water to exactly 75°F to keep the microbes in their optimal "active zone." |
Using filtered water is non negotiable in many areas because chlorine is designed to kill bacteria exactly the opposite of what we want here. If you don't have a filter, let your tap water sit out on the counter uncovered for 24 hours to let the chlorine dissipate before you begin.
The Required Tools for Success
You don't need a lab, but you do need a few specific items to ensure your sourdough starter for beginners journey goes smoothly. I used to use a plastic bowl, but I quickly realized that seeing through the container is vital for tracking progress.
- Glass Jar: A wide mouth Mason jar or a Weck jar is ideal. You want something that holds at least 1 quart so the starter has room to double or triple without overflowing.
- Digital Scale: Volumetric measurements (cups) are notoriously inaccurate for flour. Weighing in grams is the only way to ensure the 1:1 ratio.
- Rubber Band: This is your best friend. Place it around the jar at the level of the starter right after feeding so you can visually see how much it has risen.
- Silicone Spatula: Perfect for scraping down the sides of the jar, which prevents dried flour from molding.
Chef's Tip: Freeze your flour for 24 hours before you start if you live in a very humid environment. This kills any potential pests without affecting the wild yeast spores we need for the culture.
Seven Day step-by-step
This process takes 7 days from start to finish. Do not rush the fermentation; the microbes need this time to stabilize and balance their acidity levels.
- Initialize the culture. Weigh 50g whole wheat flour and 50g filtered water (75°F) into your jar. Note: Whole wheat has more nutrients to wake up the yeast.
- Mix vigorously. Stir until no dry flour remains and the mixture looks like a thick paste.
- Wait 24 hours. Cover loosely and let sit in a warm spot (70–75°F) until you see a few tiny bubbles on the surface.
- Begin Day 2 feeding. Discard half of the mixture (about 50g), then add 50g unbleached all purpose flour and 50g filtered water.
- Mark your progress. Stir well, scrape the sides, and place a rubber band at the current height of the starter.
- Monitor Day 3. Repeat the Day 2 feeding until the aroma starts to shift from "raw flour" to "mildly sour".
- Enter the maintenance phase. From Day 4 to Day 7, repeat the 1:1:1 feeding every 24 hours (50g starter, 50g flour, 50g water).
- Check for readiness. On Day 7, the starter is ready when it consistently doubles in size within 4-6 hours of feeding.
If you find that your kitchen is particularly cold, you can keep the jar inside an oven that is turned off, with only the oven light on. The light provides a gentle, consistent warmth that keeps the fermentation moving. If you find yourself with extra discard, you might enjoy making a batch of tangy sourdough donuts as a treat for your patience.
Troubleshooting Your Fermentation Issues
It is very common to feel like something is wrong around Day 3. Usually, the starter goes through a "quiet phase" where it looks dead. Don't throw it out! It is just the pH levels shifting.
Solving the "Hooch" Layer
If you see a dark, watery liquid sitting on top of your starter, don't panic. This is called "hooch," and it is simply a sign that your starter is hungry. It is an alcohol byproduct of fermentation. You can either pour it off for a milder flavor or stir it back in for a more aggressive tang.
| Problem | Root Cause | Solution |
|---|---|---|
| No Bubbles Day 4 | Cold environment | Move to a warmer spot (75°F) or use slightly warmer water. |
| Smells Like Vinegar | Underfed culture | Increase feedings to twice a day or use a higher flour to starter ratio. |
| Fuzzy Growth | Mold contamination | Discard immediately. Sanitize your jar and start over with fresh flour. |
Reviving a Sluggish Starter
If your starter is bubbly but refuses to double in size, it might need a "strength training" session. Instead of the usual 1:1:1 feeding, try a 1:2:2 ratio (25g starter, 50g flour, 50g water). This gives the yeast more food relative to the acidity, encouraging them to multiply faster and build more lifting power.
Common Mistakes Checklist
- ✓ Using water straight from the tap (the chlorine can stunt the growth of young yeast colonies).
- ✓ Closing the lid airtight (fermentation produces gas that needs to escape, or the jar might crack).
- ✓ Forgetting the discard (if you don't discard, the acidity builds up too much and kills the yeast).
- ✓ Using bleached flour (the bleaching process removes the very microbes you are trying to grow).
Personalizing Your Flavor Profile
Once you know to make sourdough starter, you can start tweaking it to fit your personal palate. Some people prefer a very mild, creamy leaven, while others want that mouthwatering, sharp bite found in San Francisco style breads.
If you want a more complex, nutty flavor, you can swap out 20% of the all purpose flour for rye flour during your daily feedings. Rye contains more fermentable sugars and different types of yeast, which usually results in a more vigorous fermentation and a deeper aroma.
Alternatively, if you prefer a "sweet" starter for enriched breads like brioche, you can add a teaspoon of sugar to your feeding, though this requires more frequent monitoring as the yeast will process the sugar very quickly.
| Premium | Budget | Flavor Impact | Savings |
|---|---|---|---|
| Stone Ground Rye | All Purpose Flour | AP is milder; Rye is earthier | Save $3-5 per bag |
| Volcanic Spring Water | Filtered Tap Water | Negligible in the final loaf | Save $2 per gallon |
| Organic Heirloom Wheat | Standard Unbleached AP | AP has less "grassy" notes | Save $6 per bag |
Using a budget friendly unbleached AP flour is perfectly fine for maintaining a starter. You can always save the expensive, high protein specialty flours for the actual dough making stage. This keeps your daily maintenance costs low while still producing professional quality bread.
Maintenance and Long Term Storage
You’ve done the hard work of the 7 days of fermentation, so now you need to decide how to keep this living culture alive. You don't have to feed it every day for the rest of your life unless you are baking every day!
If you bake once a week or less, the refrigerator is your best friend. After your starter is mature (Day 7+), give it a full feeding, let it sit on the counter for 1 hour to wake up, and then pop it in the fridge. The cold temperature slows the yeast down into a state of hibernation.
You only need to take it out and feed it once a week to keep it healthy. When you are ready to bake, take it out 24 hours in advance and give it two "activation feedings" to get it bubbly and strong again.
For zero waste, never throw your discard down the drain (it can clog pipes like cement!). Instead, keep a "discard jar" in the fridge. Use those leftovers for pancakes, waffles, or crackers. The spent flour still has all that fermented flavor, even if it doesn't have the bubbles needed to lift a heavy loaf.
Creative Serving and Discard Ideas
The visual appeal of a bubbly starter is enough to make any baker reach for their camera. To highlight the photography potential of your culture, try these three levels of presentation when showing off your progress to friends or on social media.
Simple Plating
Keep it rustic. A simple glass jar with a hand written label and a messy rubber band shows the "real" side of home baking. This is the look of a working kitchen where magic happens daily.
Polished Presentation
Transfer your active starter to a clean, tall Weck jar. Use a gold or silver permanent marker to indicate the "fed" line. Place the jar on a wooden cutting board next to a small bowl of the flour you used. This creates a clean, intentional look that emphasizes the quality of your ingredients.
Restaurant Level
Place your starter in a small ceramic crock. Use a small sifter to dust a tiny bit of flour over the bubbles on top, then garnish the side of the tray with a fresh sprig of rosemary or a few dried wheat stalks. This turns a simple fermentation project into a piece of culinary art.
| Level | Vessel | Marker | Accessory |
|---|---|---|---|
| Simple | Mason Jar | Rubber Band | Wooden Spoon |
| Polished | Weck Jar | Glass Pen | Linen Towel |
| Restaurant | Ceramic Crock | Chalkboard Label | Wheat Stalks |
Whether you are just starting your sourdough starter 101 journey or you are a seasoned pro, the goal is the same: to create something delicious from almost nothing. This simple sourdough starter instructions guide is just the beginning. Once you have your culture, the world of wild yeast baking is wide open.
You'll find that simple sourdough starter instructions lead to a lifetime of better bread, tastier snacks, and a much deeper connection to the food on your table. Trust the process, watch the bubbles, and don't forget to smell the jar every single day it is the best way to learn how your starter is feeling!

Recipe FAQs
How do you start a sourdough starter from scratch?
Combine 50g of whole wheat flour and 50g of filtered water in a glass jar, stirring until no dry flour remains. Cover loosely and keep it in a warm spot between 70 75°F for 24 hours to initiate the fermentation process.
What is the biggest mistake beginners make with sourdough bread?
Discarding the starter during the "quiet phase" on Day 3 is the most common error. Beginners often mistake this lack of activity for a dead culture, but it is simply the pH levels shifting keep feeding it as scheduled and it will recover.
Is sourdough bread better for diabetics?
Yes, the long fermentation process significantly modifies the starch structure. This results in a lower glycemic index compared to standard commercial breads, which can lead to a more gradual rise in blood sugar levels.
What is the secret to a good sourdough starter?
Consistency in your 1:1:1 feeding ratio is the primary secret to success. If you enjoyed learning to manage this active culture, you can apply the same commitment to precision when mastering our Artisan Bread techniques.
Is it true my starter is ruined if it does not double on day two?
No, this is a common misconception. It typically takes until Day 7 for a starter to consistently double within 4-6 hours, so stay patient and continue your daily feedings.
How to maintain the starter once it is active?
Discard all but 50g of starter, then add 50g of unbleached all-purpose flour and 50g of filtered water. Continue this daily routine to keep your wild yeast culture healthy and ready for baking.
Should I use tap water instead of filtered water?
No, stick with filtered water. Chlorine and other chemicals often found in tap water can inhibit the growth of the wild yeast and bacteria necessary for a strong, active starter.
Easy Sourdough Starter

Ingredients:
Instructions:
Nutrition Facts:
| Calories | 27 calories |
|---|---|
| Protein | 0.8 g |
| Fat | 0.1 g |
| Carbs | 5.7 g |
| Fiber | 0.2 g |
| Sugar | 0.1 g |
| Sodium | 1 mg |
