The Bakers Best Country Loaf Slowfermented Crispycrusted Artisan Bread
- Unlocking the Secrets to Authentic Home-Baked Artisan Bread
- Why This No-Knead Method Redefines Home Baking
- The Essential Components for Your Perfect Dough
- Step-by-Step Journey to Crumb Perfection
- Building Structure: The Bulk Fermentation Phase
- Troubleshooting Common Artisan Bread Challenges
- Recipe FAQs
- 📝 Recipe Card
Unlocking the Secrets to Authentic Home Baked Artisan Bread
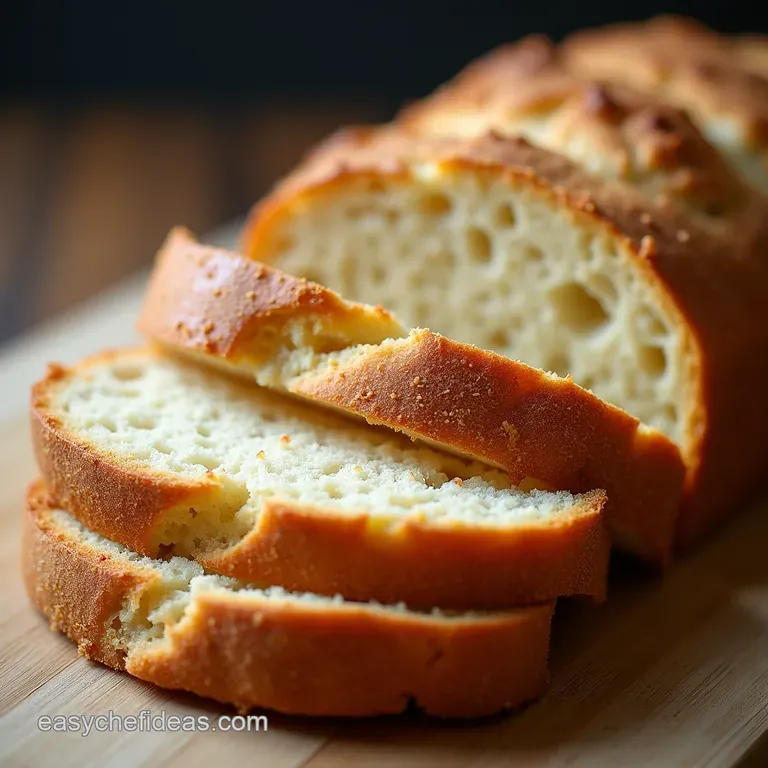
There is something profoundly satisfying about pulling a beautifully risen, crackling loaf of Artisan Bread from your own oven. Forget the perfectly symmetrical, bland loaves from the supermarket shelf; we are aiming for rustic perfection a loaf boasting a shatteringly crisp crust and a wildly open, airy interior, known as the crumb.
Crafting this masterpiece, which we’ll call "The Baker's Best Country Loaf," is less about intensive labour and more about respectful timing. This recipe champions the magic of slow fermentation, using a high hydration dough that requires minimal hands-on effort but maximum patience.
It’s the perfect centrepiece for a Sunday roast or just brilliant slathered with proper salted butter.
Why This No-Knead Method Redefines Home Baking
Many people are intimidated by traditional sourdough or long kneading processes, believing that great bread requires Herculean arm strength. This Artisan Bread Recipe Easy approach flips that script entirely.
By relying on time and simple folding techniques instead of vigorous kneading, we allow enzymes in the flour to naturally break down starches and develop gluten structure. This method makes achieving a home-made Artisan Bread that rivals professional bakeries surprisingly accessible, especially for those starting out.
The Alchemy of Flour: Introducing the Country Loaf's Character
For our Country Loaf, we are using a blend of flours to achieve depth of flavour and texture. The foundation involves 3 cups plus 2 tablespoons (400g) of high protein Bread Flour , which provides the necessary strength to hold those large gas bubbles.
To complement this, we incorporate 1 cup (120g) of Whole Wheat Flour . This addition is vital; it introduces subtle nutty notes and helps nurture the yeast, lending that slight tang characteristic of European country loaves.
When you weigh these components precisely, you set the stage for exceptional results.
Patience Rewarded: The Magic of Slow Fermentation Explained
The most crucial element in this Artisan Loaf Bread Recipe is the long, cold bulk fermentation. We use a mere 1/4 teaspoon (1g) of Instant Dry Yeast . Why so little? Because we are training the yeast to work slowly over many hours in a cold environment.
This extended rest period, typically 12 to 18 hours in the refrigerator, allows organic acids to develop. These acids are responsible for the complex, layered flavour profile that separates truly great bread from the ordinary. It’s a period of quiet waiting that yields incredible returns.
Beyond store-bought: What Makes This Loaf Superior?
The primary difference between this artisan loaf and standard sandwich bread lies in hydration and steam. This recipe utilizes a high water content ( 1 3/4 cups or 415g of Cool Tap Water ). This high hydration is what creates the signature open, irregular holes within the crumb.
On top of that,, by baking inside a preheated Artisan Bread Dutch Oven , we trap the moisture escaping the dough. This steam keeps the crust pliable initially, allowing the loaf to achieve its maximum volume (oven spring) before the shell hardens into that beautiful, dark, shatteringly crisp exterior we crave.
The Essential Components for Your Perfect Dough
To successfully embark on this Artisan Bread Recipe , you must treat the ingredients not as mere measurements, but as collaborators in a chemical process. Precision matters, but understanding the function of each element matters more.
This formula is designed to be robust yet rewarding.
Selecting the Right Grains for Peak Flavor Profile
As mentioned, we are using a blend. When sourcing your Artisan Bread Flour , look for labels indicating higher protein content (ideally 12% or more). This high protein content is essential for gluten development, which provides the chewiness and structure needed to support an open crumb.
Don't skip the whole wheat component entirely; while you could technically use 100% white flour, that 120g of whole wheat is the secret weapon providing deeper, earthy undertones.
Hydration Ratios: Mastering Water Content in Artisan Bread
For this recipe, we are working at approximately 78% hydration (the weight of the water relative to the weight of the flour). This is quite wet! When you first mix the water into the flours, the mixture will appear shaggy, loose, and sticky resist the urge to add more flour to "fix" it.
This high water content is intentional; it prevents the gluten network from becoming too tight, encouraging large, airy pockets during the final bake.
The Role of Salt and Yeast in This Basic Formula
Salt is not just for flavour; it's a structural regulator. We use 2 teaspoons (10g) of Fine Sea Salt . Salt tightens the gluten network slightly and controls the rate of yeast activity. Too little salt, and your dough might overproof rapidly; too much, and the rise will be stunted.
As for yeast, remember we are relying on time more than chemical leavening. A tiny amount just 1/4 teaspoon (1g) of Instant Dry Yeast —is enough to kickstart the process before we slow it down drastically in the cold proof.
Related Recipes Worth Trying
- Authentic Concha Pan Recipe Making Soft Mexican Sweet Bread — Finally master the classic Concha Pan This foolproof recipe delivers beautifully soft Mexican sweet breads topped with that signature buttery streusel crown...
- The CloudLike Concha Authentic Mexican Sweet Bread Recipe — Bake truly fluffy Mexican Conchas at home These sweet bread rolls feature a signature crumbly topping Perfect for your Mexican breakfast ideas Get the recipe
- The Ultimate Conchas Bread Recipe for Truly Authentic Mexican Sweet Rolls — Forget soggy supermarket loaves This foolproof Conchas Bread Recipe delivers incredibly soft Mexican Sweet Breads with the perfect crumbly shell topping Get...
step-by-step Journey to Crumb Perfection
This process involves a short initial mixing session followed by long periods of rest, punctuated by gentle shaping techniques. Remember, this is intended to be a relatively First Time Bread Recipe friendly method, provided you respect the resting times.
Building Structure: The Bulk Fermentation Phase
The bulk fermentation phase is where 90% of the dough's character is established. It begins right after the initial mix and lasts overnight in the cold.
Initial Mixing: Just Combining, Not Kneading
After whisking your dry components, add the water and mix until no dry streaks of flour remain. You are not kneading; you are simply incorporating. Cover the bowl and let it rest for 30 minutes.
This initial rest, sometimes called an autolyse, allows the flour to fully hydrate before we begin developing strength.
The Stretch and Fold Technique: Developing Strength Gently
Over the next 90 minutes, you will perform three sets of gentle stretch and folds, spaced 30 minutes apart. To do this, lightly wet your hand, reach under one side of the dough mass, stretch it upwards gently until you feel resistance, and fold it over the centre.
Rotate the bowl 90 degrees and repeat three more times. This process coaxes the gluten strands into alignment without tearing the delicate structure. After the third set, cover the dough tightly and slide it into the refrigerator for its long, flavour building rest.
Proofing Times: Recognizing When Your Dough is Ready
Once the dough has rested overnight (12– 18 hours), it should have noticeably increased in volume, perhaps 50-75%, and look slightly bubbly on the surface. After turning it out for shaping, allow it a 20-minute 'bench rest' before the final shape, allowing the gluten to relax.
The final proof at room temperature usually takes 45 to 60 minutes; the dough should be puffy and spring back slowly when gently poked.
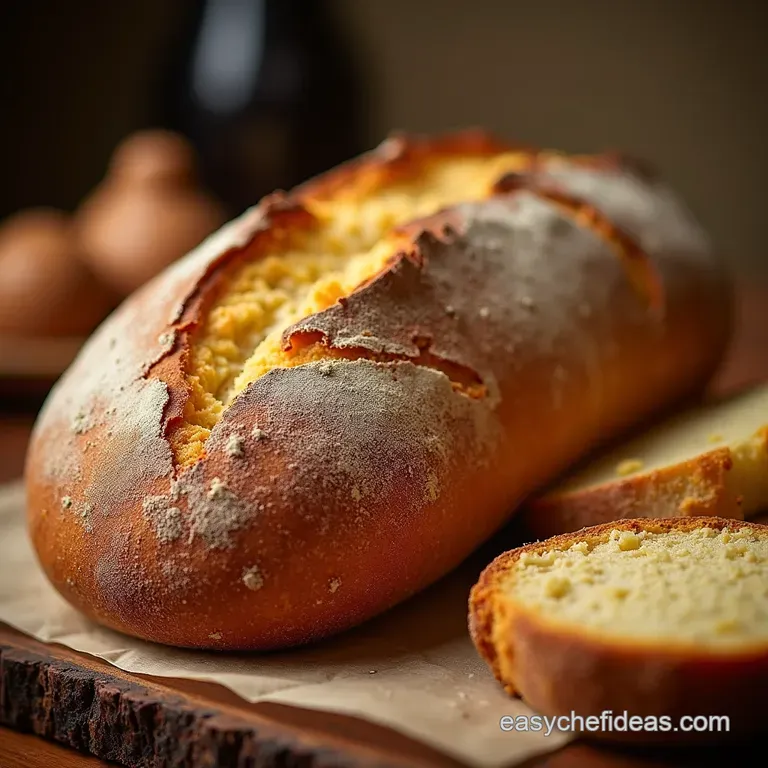
The High Heat Bake: Achieving That Signature Crust
Preheating is non-negotiable. Your oven and Artisan Bread Dutch Oven must reach 475° F ( 245° C). Once the dough is scored confidently with a sharp blade, place it into the hot pot using the parchment paper as a sling.
Bake covered for 25 minutes to trap maximum steam. Then, remove the lid, drop the temperature slightly to 450° F ( 230° C), and bake for another 20– 25 minutes.
The final result should be a deep, mahogany brown don't be afraid of the colour; that dark crust is flavour!
Troubleshooting Common Artisan Bread Challenges
Even with the best Artisan Bread Recipe , setbacks happen. Understanding the science behind common issues helps you correct course for the next bake.
Decoding Dough: What to Do If Your Rise Falls Flat
If your dough barely increased during the bulk fermentation, it likely means the yeast was sluggish, often due to water that was too cold or not enough time allowed. If the dough deflates completely during shaping, it was likely over proofed before it went into the cold it lost all its structural integrity.
For future bakes, use slightly warmer water for the initial mix or check your fridge temperature.
From Fridge to Oven: Cold Proofing Strategies
Cold proofing (retarding) is fantastic for flavour but can slow down the final rise slightly. If you want a loaf that bakes up taller, pull the shaped dough out of the fridge 90 minutes before baking instead of just 45 minutes.
However, for those looking for a very consistent bake using All Purpose Bread Flour substitutions, keeping the cold proof time shorter (around 12 hours) can help maintain structure.
Incorporating Inclusions: Seeds, Nuts, and More
If you decide to enrich your All Purpose Bread Recipe with inclusions like seeds or nuts, ensure they are added after the initial mix but before the first set of stretch and folds.
If adding flavourful items like dried herbs or cheese, add them during the final shaping stage so they don't interfere with the initial gluten development during the bulk fermentation.
Preserving Freshness: Storing Your Finished Masterpiece
The greatest challenge with any great artisan loaf is resisting the urge to eat it immediately. However, slicing it hot results in a gummy texture. Once cooled completely (at least two hours!), store the loaf cut-side down on a wooden cutting board or in a paper bag.
Avoid plastic bags, which trap moisture and will soften that wonderful, hard earned crust.

Recipe FAQs
Why does my Artisan Bread not have that big, airy hole structure I see online?
That beautiful open crumb usually comes down to two things: hydration and handling. Ensure you’re using a high protein bread flour and that your water measurement is accurate, as this recipe is quite wet.
Also, be gentle during the shaping phase; overworking the dough after its long proof will knock out the gas bubbles you worked so hard to create.
My dough didn't seem to rise much during the final proof is that okay for this Artisan Bread recipe?
If you followed the 12 18 hour cold fermentation, the bulk proof is doing most of the heavy lifting for flavour development. For the final proof (Step 9), aim for volume increase rather than doubling.
If it feels slightly jiggly and passes the 'poke test' meaning a gentle poke leaves a dent that slowly springs back it’s ready to bake, even if it doesn't look enormous.
How should I store my freshly baked loaf to keep that crispy crust?
This is a tough one, as the crust is destined to soften eventually it’s just the nature of cooling bread! For the first day, store it cut-side down on a wooden cutting board at room temperature, avoiding plastic bags which trap moisture.
For longer storage (up to 3 days), slice it up and freeze what you won't eat immediately; it toasts brilliantly straight from the freezer.
Can I skip the Dutch oven, or is it really that essential for this loaf?
Honestly, for that shatteringly crisp crust and maximum oven spring, the Dutch oven is your secret weapon it traps the steam released by the dough, mimicking professional bakery conditions.
If you absolutely must skip it, place a shallow tray of hot water on the bottom rack of your oven for the first 20 minutes to generate steam, but the results won't be quite as authentic.
I’m new to baking; what’s the most common mistake people make with this type of bread?
The biggest rookie error is cutting into the bread before it’s completely cooled down, usually within an hour of coming out of the oven. This releases all the internal steam, leaving the crumb gummy and dense, which is a real shame after all that effort.
Patience, old chap let it rest on a wire rack for a good two hours!
Easy Artisan Dutch Oven Bread

Instructions:
Nutrition Facts:
| Calories | 220kcal |
|---|---|
| Fat | 1g |
| Fiber | 3g |
