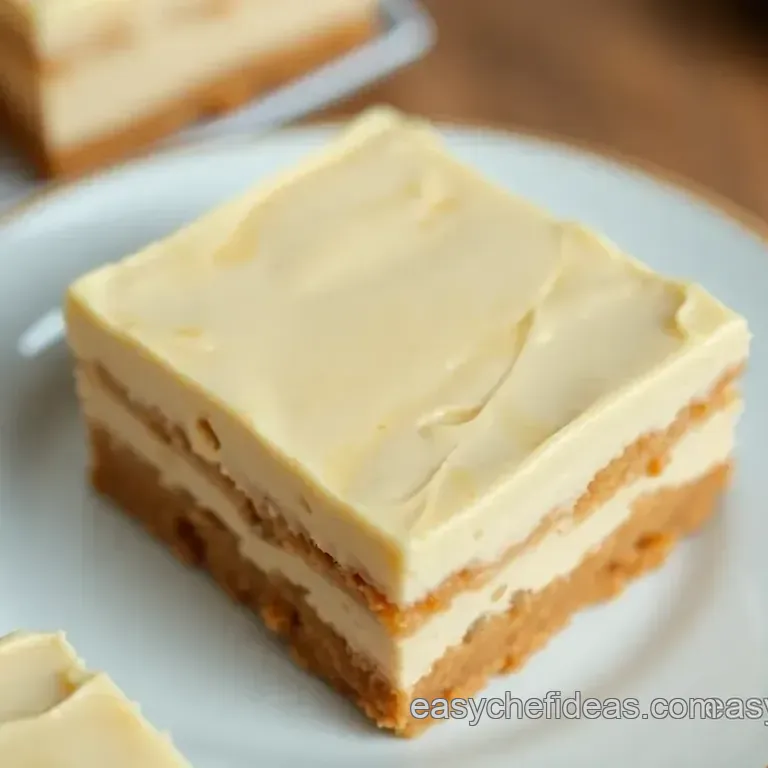
No-Bake Peanut Butter Cheesecake Bars
- A Sweet Memory and a No-Bake Delight
- A Slice of History: Recipe Overview
- Why You’ll Love These Bars: Key Benefits
- What You’ll Need for the Perfect Bars
- Essential Ingredients Guide: Your Go-To for Delectable Desserts
- Cooking Like a Pro: Mastering the Basics
- Step-by-Step to Cheesecake Heaven
- Pro Tips & Secrets for No-Bake Peanut Butter Cheesecake Bars
- Perfect Presentation for Stunning Dessert
- Storage & Make-Ahead Magic
- Creative Variations to Try
- Complete Nutrition Guide
- Expert FAQ Solutions
- 📝 Recipe Card
A Sweet Memory and a No-Bake Delight
Oh my gosh, do you ever have one of those dishes that just takes you back? for me, it’s no-bake peanut butter cheesecake bars .
I still remember the first time i tried making them. my best friend from college was in town, and we wanted something sweet after a long day of thrift shopping.
We whipped up these creamy cheesecake bars in no time, and let’s just say the calories were totally worth it! it felt like a late night kitchen party as we indulged in rich bites while listening to our favorite tunes.
There's just something about peanut butter, don’t you think? i mean, mixing it with cream cheese creates this rich and creamy texture that's simply irresistible.
And the best part? you don’t even need to turn on the oven! these easy cheesecake bars will have you swooning, and they’ll be the star of your next gathering.
Ready to give it a shot?
A Slice of History: Recipe Overview
The beauty of the no-bake peanut butter cheesecake bars lies in their history. cheesecake has roots dating back to ancient greece, but no-bake versions really took off in the 20th century.
Thank goodness for creamy delights that skip the oven, especially during those scorching summer months when turning on the oven feels like torture.
These bars have become a popular summer dessert idea , perfect for bbqs, picnics, or just because… you know you deserve it!
Now, don’t sweat the details! this recipe is easy peasy . it only takes about 45 minutes total , including chilling time.
With 15 minutes of actual prep , you’ll have plenty of time to kick back and grab your favorite drink while they set.
Cost wise, these bars won't break the bank either think pantry staples that you might already have on hand. bonus points: they yield about 9-12 bars , depending on how thick you like them.
Why You’ll Love These Bars: Key Benefits
Not convinced yet? let me hit you with some key benefits . first off, they’re packed with peanut butter, which provides protein, and we all love a little energy boost! these bars are also a family friendly dessert that kids (and kids at heart) will go nuts for.
You can even make them gluten-free by using gf graham crackers a total win for those who have dietary restrictions!
And let’s be real, they’re beautiful enough for special occasions, too. birthdays, summer potlucks, or just to impress the in-laws.
You’ll be the hero of any dessert table without even breaking a sweat. compared to other no-bake dessert recipes , these cheesecake bars stand out for their creamy, dreamy filling and crunchy crust.
They’re distinctly different from the typical peanut butter bars you might find elsewhere.
Just picture it: a gathering with friends, dishes set out, and you present these beautiful homemade cheesecake bars . everyone will be raving and begging for the recipe.
Seriously, who could say no to that?
Feeling inspired? Let’s jump into what you’ll need to recreate this deliciousness.
What You’ll Need for the Perfect Bars
To whip up these no-bake peanut butter cheesecake bars , you'll want the following ingredients: for the crust, grab some graham cracker crumbs, sugar, and butter.
For the creamy filling, you’ll need cream cheese, peanut butter (the star of the show!), powdered sugar, vanilla, and whipped topping.
It’s all super simple no electric mixers needed, just some energy and an exciting spirit.
Get ready to dive into these incredible bars; your taste buds are in for a treat!
Essential Ingredients Guide: Your Go-To for Delectable Desserts
Hey there, dessert lovers! are you ready to whip up some incredible treats? let's dive into the essential ingredients guide .
This isn’t just about cooking; it's about making your kitchen your happy place. whether you’re channeling your inner chef for some no-bake peanut butter cheesecake bars or any other sweet creation, you’ll want to know the ins and outs of your ingredients.
Trust me; i've learned the hard way!
Premium Core Components
To create those dreamy, rich and creamy cheesecakes , you need to have the basics down. Here’s your cheat sheet:
- Detailed Measurements : Get 1 and ½ cups (150g) of graham cracker crumbs and 16 oz (450g) of softened cream cheese. For all you metric folks, that’s about 3.5 deciliters and 450 grams, respectively.
- Quality Indicators : When picking peanut butter, go for creamy or natural kinds with no added sugars. That extra sweetness in your bars? Save it for that powdered sugar !
- Storage Guidelines : Most of these ingredients last a while, but always check those dates! Cream cheese can last in the fridge for up to 2 weeks once opened, while graham crackers can hang around for months, as long as they stay sealed.
- Freshness Tips : When selecting your ingredients, look for vibrant colors and smooth textures. Room temp cream cheese whips up way better!
Signature Seasoning Blend
Now, let’s sprinkle in some flavor!
- Essential Spice Combinations : Keep it simple. For your peanut butter cheesecake, you might just need a pinch of salt to really make those flavors pop.
- Herb Selections : Okay, we aren’t using herbs here, but if you were, fresh mint would be a go-to for other desserts. In the peanut butter dessert world, let’s keep it nutty and chocolatey!
- Flavor Enhancers : A splash of vanilla extract does wonders.
- Regional Variations : Southern style desserts love that cream cheese, while Northern folks may go a bit heavier on chocolate. You can mix and match!
Smart Substitutions
Sometimes things don’t go as planned, and that’s fine! Here’s how to pivot:
- Common Alternatives : No graham crackers? Go for crushed digestive biscuits. They hold up pretty well.
- Dietary Modifications : Have gluten-free friends? Use gluten-free crackers for your crust. Voila, everyone can join the fun!
- Emergency Replacements : If you’re out of peanut butter, try sunflower seed butter for a nut-free spin on your dessert.
- Seasonal Options : Berries are in season during summer. Toss some fresh strawberries on those bars when serving!
Kitchen Equipment Essentials
Let’s chat about what you actually need versus what you think you need.
- Must Have Tools : An 8x8 inch square baking pan is key for those homemade cheesecake bars . Don’t skip on the spatula either; you want to get that filling nice and smooth!
- Alternative Equipment Options : If you don’t have an electric mixer, no worries! A good ol' whisk and a little arm workout will do the trick.
- Preparation Tips : Always line your baking pan with parchment paper. That way, your bars slide right out. Trust me it's a game changer!
- Storage Solutions : Keep your bars in an airtight container in the fridge. They’ll last about a week if they even last that long!
So whether you're planning a summer gathering or just a relaxed evening at home, you'll be fully equipped to whip up those simple dessert recipes like the no-bake peanut butter cheesecake bars or other delightful treats.
Let's get cooking and get these delicious desserts going! ready? let’s jump into those juicy instructions next!
Cooking Like a Pro: Mastering the Basics
Okay, so you want to whip up something delicious, right? let’s talk about some essential preparation steps that can make a huge difference in your kitchen game.
Think of it as the secret sauce to professional cooking. we're diving into everything from your mise en place to safety tips because no one wants to get burned or cut while making those no-bake peanut butter cheesecake bars !
Get Organized: The Mise en Place Way
First off, let’s break down mise en place . it’s french for “everything in its place,” and trust me, it’s more than just a fancy term.
Before you start cooking, gather all your ingredients and tools. for our easy cheesecake recipe , this means lining up your graham cracker crumbs, peanut butter, and cream cheese in one spot.
It saves you from that mad scramble for the measuring cups!
Time Management Tips That Work
Now, time management is your best friend in the kitchen. make a game plan. remember, while it takes 15 minutes to prep and about 30 minutes to chill for our cheesecake bars, having everything ready before you start is key.
Set a timer when you’re mixing or melting. you can even use your phone for that!
Staying Safe While Cooking
Safety is no joke, folks. make sure to wash your hands, and keep sharp knives away from the kids. you don’t want anyone getting cut while you’re trying to become a kitchen ninja.
Always use oven mitts when handling anything out of the oven even if it’s just that butter you melted in the microwave!
step-by-step to Cheesecake Heaven
Alright, you’ve gotten organized, and your area looks like a pro setup. Let’s tackle this step-by-step process .
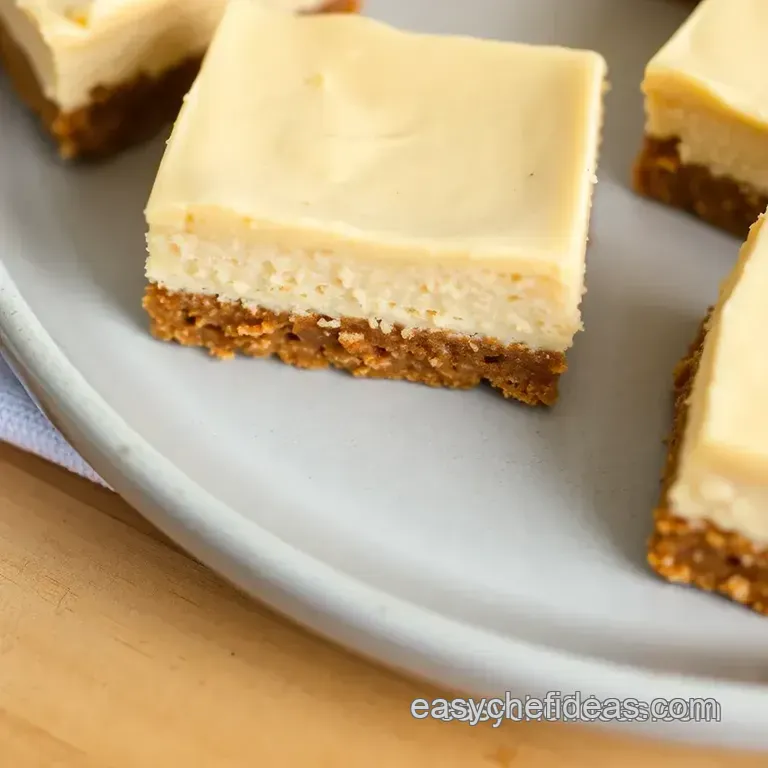
Prepare the baking pan: grab an 8x8 inch baking pan and line it with parchment paper. this little trick makes it easier to lift out those creamy cheesecake bars later.
Seriously, it’s like magic.
Make the crust: mix 1.5 cups of graham cracker crumbs with 0.5 cups of sugar and your ⅓ cup melted butter .
Press this sweet mixture into the bottom of your pan. you want it dense but even!
Filling time: in a bowl, beat 16 oz of cream cheese until it’s smooth. add 1 cup of peanut butter , ¾ cup powdered sugar , and 1 tsp of vanilla .
Mix until it’s dreamy and creamy. lastly, fold in 1 cup of whipped topping . this step is key for making this rich and creamy cheesecake so delightful.
Layering magic: spread this luscious filling on top of the crust. take a little time to smooth it out, then pop it in the fridge.
Chill for at least 4 hours . patience is a virtue, right?
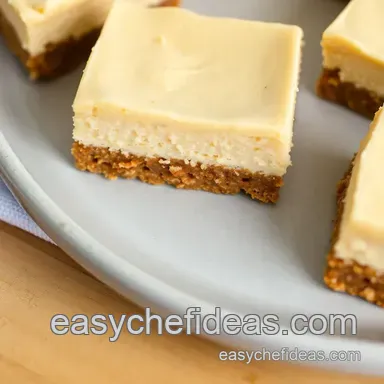
Serving Up: When it’s time to serve, lift out the bars using the parchment paper, cut them into squares, and watch as everyone’s eyes widen with joy!
Expert Techniques for Success
Now, let’s talk about a few expert techniques that can elevate your dessert game.
- Quality Checkpoints: Always taste your filling before it sets. If it needs more peanut butter or sweetness, now’s the time to adjust!
- Troubleshooting Tips: If your filling seems too thin, a bit more whipped topping can help - it’ll add fluffiness and firmness as it chills.
Avoiding Common Pitfalls
Finally, let’s cover some success strategies to ensure you nail it every time. avoid overmixing your filling; you want a smooth texture, not a break down.
If you’re working with cream cheese, make sure it’s at room temp that makes a world of difference . and hey, consider making these in advance.
They actually taste better after a long chill in the fridge!
So there you have it, my friends! with these tips, your no-bake peanut butter cheesecake bars will be a sensational hit at any gathering.
Plus, they fall into the realm of no-bake dessert recipes that are perfect for those hot summer days.
Ready for some more awesome kitchen insights? Let’s check out the additional information about variations or substitutions you might want to try!
Pro Tips & Secrets for No-Bake Peanut Butter Cheesecake Bars
Oh my gosh, the no-bake peanut butter cheesecake bars are seriously some of the easiest and yummiest treats you can whip up! when you’re diving into this creamy peanut butter dessert, keep these little secrets in mind.
First up, time saving techniques ! chill your mixing bowls and beaters in the freezer while you prep the ingredients. it’ll help the cream cheese whip up faster.
Trust me, you don’t want to be elbow deep in cream cheese and still have it lumpy.
Now, if you want to kick that flavor up a notch, don’t skip the vanilla extract . a splash goes a long way in enhancing the taste.
Also, if you have some sea salt or chopped peanuts handy, sprinkle some on top. it gives that gorgeous sweet and salty contrast that is just divine! for a little extra color, think about using crushed chocolate or caramel candies as a topping.
Perfect Presentation for Stunning Dessert
Alright, let’s talk about making your bars look as good as they taste. plating techniques? simple! use a sharp knife to slice them cleanly.
I like to dip the knife in hot water for a couple of seconds before cutting. wipe it off after every slice for perfect corners.
Garnishing is where the magic happens! a drizzle of chocolate sauce or a sprinkle of crushed peanuts can turn an everyday dessert into something special.
Use vibrant fruits like strawberries or blueberries on the side hello, visual appeal ! oh, and feel free to use colorful dessert plates when serving these classic cheesecake bars.
It makes all the difference.
Storage & make-ahead Magic
If you’re like me and love to prepare ahead, you can totally make these chilled dessert recipes a day or two early.
Just be sure to cover them tightly with plastic wrap. they generally hold up for about 4-5 days in the fridge.
For storage guidelines , slice them before putting them in an airtight container so you can grab a bar anytime.
If you need to store them longer, consider wrapping them individually in plastic wrap who doesn’t love a quick sweet treat straight from the freezer?
When it comes time to enjoy, simply reheat them slightly at room temperature. You can even pop them in the microwave for a minute, but be careful not to overdo it; we want them creamy, not oozy!
Creative Variations to Try
One of the best things about cooking is the freedom to play! feeling adventurous? mix it up with some flavor adaptations .
Try a chocolate swirl by swirling in some melted chocolate before you spread the peanut butter filling.
Seasonal twists are also super fun! toss in some crushed peppermint candies around the holidays or sprinkle in some pumpkin spice for fall vibes.
And if you’re catering to a crowd with dietary restrictions, swap the peanut butter for sunflower seed butter for a nut-free version i’ve done it, and it’s still a hit!
Complete Nutrition Guide
Now, let’s chat about the nutrition side of things. each bar rolls in at around 250 calories . not too shabby for a peanut butter dessert, right? these bars are a good source of protein thanks to the cream cheese and peanut butter, but just be mindful those sugars can sneak up on you, especially if you're customizing.
This easy cheesecake recipe is definitely on the higher end with its creamy texture and all. if you’re looking for lower sugar dessert options , consider using sugar-free sweeteners.
Always great to have options for a guilt free treat!
Expert FAQ Solutions
Finally, if you have questions, you’re not alone! a lot of folks wonder why their bars fell apart. the secret? proper chilling is key.
Let them set for at least four hours before slicing.
For those times you’re like, “what the heck did i do wrong?” just remember: mixing well but not over mixing the filling is vital.
Too much air can make them puff up in the fridge and then collapse when they settle.
So there you have it, the ultimate guide to your no-bake peanut butter cheesecake bars ! they’re perfect for summer dessert ideas, family friendly gatherings, or just because you want something sweet after a long day.
Whatever the occasion, you can’t go wrong with these creamy cheesecake bars. happy cooking, and don’t forget to share with friends.
.. if you want to! 😉
No Bake Peanut Butter Cheesecake Bars
Ingredients:
Instructions:
Nutrition Facts:
| Calories | 250 kcal |
|---|---|
| Protein | 5g |
| Fat | 18g |
| Carbs | 18g |
| Fiber | 1g |
| Sugar | 10g |
| Sodium | 180mg |
