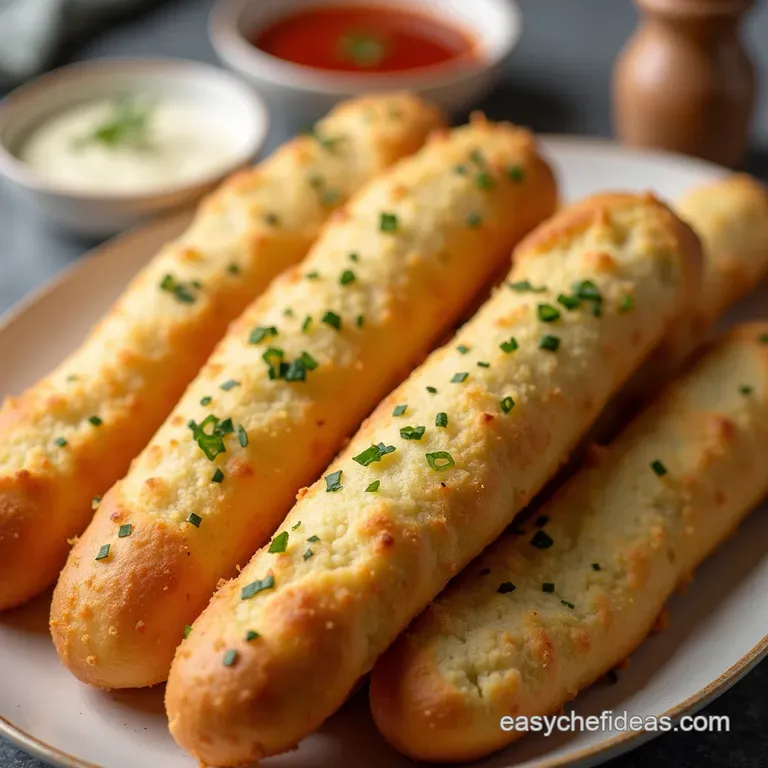
The Golden Crumb Signature Garlic Butter Breadsticks
- Beyond the Takeout: Unlocking Truly Magnificent Homemade Breadsticks
- Why This Recipe Conquers All Other Doughy Attempts
- Assembling the Arsenal: Essential Components for Perfect Dough
- The Dough Journey: From Simple Mix to Elastic Masterpiece
- Shaping and Baking: Achieving Golden Perfection
- Mastering the Make-Ahead: Storage and Refreshing Tips
- Recipe FAQs
- 📝 Recipe Card
Beyond the Takeout: Unlocking Truly Magnificent Homemade Breadsticks
There are certain culinary benchmarks that instantly transport us back to favorite Italian American restaurants: the crisp salad, the hearty lasagna, and, most importantly, those impossibly soft, garlicky breadsticks that disappear before the main course even arrives.
For years, achieving that level of fluffy perfection at home felt like a closely guarded secret. Not anymore. We are diving deep into the methods and mastering the chemistry required to bake Homemade Breadsticks that are leagues beyond anything you can get delivered.
Forget settling for dry, brittle imposters; this Homemade Breadsticks Recipe is your blueprint for creating the Best Homemade Breadsticks imaginable.
Why This Recipe Conquers All Other Doughy Attempts
The real magic in these sticks isn't just in the final buttery coating; it starts deep within the dough structure itself. We’ve fine tuned the hydration levels and mixing process to guarantee an interior texture that practically melts in your mouth, while the exterior achieves a beautiful, slight resistance before yielding to chewiness.
This is what separates the good from the truly unforgettable Soft Garlic Breadsticks .
The Softness Secret: Achieving That Irresistible Chewy Interior
The secret lies in a combination of warm water activation for the yeast and the precise use of fat olive oil within the dough which shortens gluten strands just enough to maintain softness without inhibiting the rise.
When combined with the subsequent bath in flavourful fat, the resulting breadsticks achieve that coveted, slightly under baked look internally that screams fresh and tender.
A Culinary Promise: Better Than Any Restaurant Chain
When you make these Easy Homemade Breadsticks from scratch, you control every element. You can use superior quality flour, fresh garlic that hasn't been sitting around, and high-quality butter.
This level of quality control is why these often rival or surpass the famous Homemade Breadsticks Olive Garden Style —you get the texture, the unmistakable aroma, and the satisfaction of making it yourself, often faster than waiting for delivery.
In fact, with the right focus, you can have these ready in under two hours, making them one of the best One Hour Breadsticks projects when you account for active time.
Setting the Stage for Your Ultimate Italian American Night
Think beyond just a side dish. These breadsticks are the vehicle for dipping, the mop for every last drop of sauce, and the perfect appetizer to keep everyone happily occupied. They are foundational to the feast, and once you master this technique, you’ll realize that truly Quick Homemade Breadsticks don't require cutting corners; they require smart technique.
Assembling the Arsenal: Essential Components for Perfect Dough
Before we mix a single thing, understanding the components ensures success. We need the structure from the flour, the lift from the yeast, and the flavour foundation that sets us up for that glorious topping later.
Mapping Out Your Pantry: Exact Measurements for Success
To achieve our goal of about two dozen substantial sticks, we require 1 cup of warm water (aiming for 105° F– 115° F) paired with one standard packet of active dry yeast (2 ¼ teaspoons) and 1 tablespoon of sugar to feed that yeast immediately.
For the structure, we rely on 3 cups of all-purpose flour and 1 teaspoon of fine sea salt to control the rise and enhance flavour. Finally, 2 tablespoons of light olive oil lend tenderness to the final product.
Tools of the Trade: Must Have Equipment Checklist
While a stand mixer with a dough hook speeds up the process considerably, this dough is forgiving enough to be mixed entirely by hand. Essential gear includes a large mixing bowl, a reliable way to measure ingredients, parchment paper to prevent sticking, and a pizza cutter or sharp knife for uniform shaping.
Two baking sheets are highly recommended to ensure proper airflow and browning for the entire batch.
Flour Finesse: Choosing the Right Foundation
All-purpose flour is the workhorse here. It provides enough protein to develop a satisfying gluten network which gives the breadsticks their characteristic chew without being too heavy like bread flour might be.
Resist the urge to add extra flour during kneading unless the dough is genuinely too sticky to handle; too much flour results in dry, crumbly sticks rather than the soft texture we are chasing.
The Role of Yeast: Activating Flavor and Lift
The most critical early step is proofing the yeast, or making sure it's alive and active. Combining the yeast with the sugar and lukewarm water allows the yeast to consume the sugar and release carbon dioxide. This results in a foamy layer on top within about five to ten minutes.
If it foams, you know your yeast is ready to do its job of creating air pockets and volume.
Related Recipes Worth Trying
- The Ultimate Fluffy Garlic Butter Breadsticks Recipe — Stop ordering takeaway sticks Make these easy homemade Garlic Butter Breadsticks fluffy inside and drenched in Parmesan crunch Perfect side dish
- The Best Homemade Chicken Dumplings Recipe with Fluffy Biscuits — Forget watery soup This authentic Chicken and Dumplings Recipe delivers tender meat in a rich velvety broth crowned with soft herb dumplings Learn the...
- Authentic Crisp Homemade Matzah Recipe Unleavened Bread — Finally master homemade Matzah This easy unleavened bread recipe uses 4 simple ingredients to achieve that perfect brittle crunch for your Seder meal Get baking
The Dough Journey: From Simple Mix to Elastic Masterpiece
This is where transformation begins, moving from simple pantry staples into a pliant, workable dough ready for its flavour infusion.
Mixing Magic: Combining Wet and Dry Ingredients
Start by combining the dry ingredients (flour and salt) in your mixing vessel. Separately, confirm your yeast mixture is blooming nicely. Pour the liquid yeast mixture and the olive oil into the dry ingredients.
Mix initially with a spoon or the dough hook on the lowest setting until everything is just incorporated into a shaggy mass. This prevents over mixing before the gluten has a chance to start developing.
The Kneading Revelation: Developing Gluten Structure
Kneading is non-negotiable for structure. If using a mixer, use the dough hook and knead on medium low speed for about 5 to 7 minutes. If kneading by hand, turn the dough out onto a lightly floured surface and knead vigorously, pushing down and folding over for about 8 to 10 minutes.
The dough should transition from shaggy and sticky to smooth, elastic, and slightly tacky to the touch.
Proofing Protocol: Patience for Peak Volume
Place the kneaded dough into a bowl lightly brushed with olive oil, turning it once to coat the surface. Cover the bowl tightly, ideally with plastic wrap or a damp tea towel, and place it somewhere warm, free from drafts.
This first rise requires patience; allow 60 to 90 minutes, or until the dough has visibly doubled in size. This extended rest allows the yeast to fully develop complex flavours and ensures a light, airy final texture.
Shaping and Baking: Achieving Golden Perfection
With the dough risen and the oven warming, we move to shaping and the all-important flavour bath preparation.
Transforming Logs into Sticks: Cutting and Glazing Techniques
Gently deflate the risen dough and divide it into two equal portions. Work with one half at a time on a lightly floured surface. Roll each piece into a thin rectangle, aiming for about 1/4 inch thickness any thicker and they won't achieve the perfect exterior crispness.
Using a pizza cutter or a very sharp knife, slice the dough into uniform strips, roughly 1 inch wide. Lay these strips onto baking sheets lined with parchment paper, leaving a slight space between each one for even expansion.
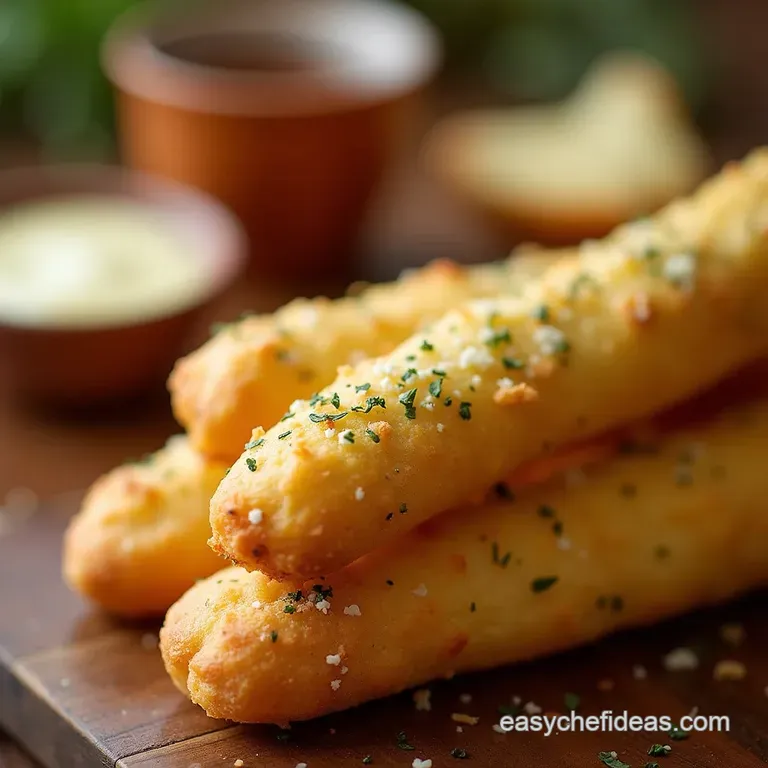
The Garlic Butter Bath: Elevating Your Homemade Breadsticks
While the dough rests or bakes initially, create your signature topping. Melt ½ cup of unsalted butter. While warm, stir in 4 finely minced cloves of fresh garlic (grating on a microplane yields the best flavour distribution), 2 tablespoons of fresh parsley, and 1 teaspoon of dried oregano.
This fragrant mixture is the core of what makes these superior.
Baking and Buttering Sequence
Preheat your oven to 400° F ( 200° C). Bake the raw sticks for 8 to 10 minutes until they puff up and just begin to show pale gold spots.
Immediately pull the tray out and, using a pastry brush, aggressively coat the tops and sides of the breadsticks with the garlic butter mixture. If you desire Homemade Breadsticks with Cheese , this is the moment to sprinkle ¼ cup of grated Parmesan over the top.
Return them to the oven for a final 3 to 5 minutes until they achieve a rich, deep golden hue and the garlic is fragrant but not burnt.
Mastering the make-ahead: Storage and Refreshing Tips
The best part about yeast doughs is their flexibility. You don't have to eat them all right away, though the temptation will be strong!
Reviving Day-Old Breadsticks: The Crispness Comeback
If your sticks have gone slightly stale or soft overnight, the oven is your best friend for revitalization. Lay them directly on the rack (no need for a pan) and bake at 350° F ( 175° C) for just 4 to 6 minutes.
This low, dry heat evaporates trapped moisture, re-crisping the exterior while the inside softens beautifully once more.
Freezing Fundamentals: Preserving Freshness for Later
You can freeze these sticks at two stages. For the best results, freeze them after the initial bake (Step 8), but before the garlic butter bath. Once cooled, place them in an airtight freezer bag for up to two months.
When ready to eat, thaw slightly, brush with the raw garlic butter, and bake until golden. Alternatively, you can freeze fully baked sticks; just ensure they are cooled completely before bagging.
Parmesan Dust & Herb Infusions: Next Level Flavor Profiles
To truly customize, consider infusing the butter before use. Gently warm the butter with a few sprigs of fresh rosemary or thyme for ten minutes, then strain out the herbs before brushing onto the sticks.
For a spicy edge, consider adding a pinch of cayenne or red pepper flakes to the butter mixture to elevate the flavour profile considerably.
Perfect Pairings: What Dishes Demand These Garlic Wonders?
These sticks are inherently versatile. Naturally, they scream for a hearty bowl of homemade Marinara sauce for dipping. However, they are also excellent used as croutons tossed over a Caesar salad, served alongside French Onion Soup (replacing the traditional baguette slice), or used to scoop up rich, cheesy dips like spinach and artichoke.

Recipe FAQs
Homemade breadsticks quick
For truly quick results, you can substitute instant yeast for active dry yeast and skip the proofing step entirely, allowing you to shape and bake much sooner. Ensure your oven is fully preheated to 400°F (200°C) before they go in to guarantee that desirable crisp exterior.
These are best eaten the day they are baked, but leftovers can be briefly reheated in the oven to revive their texture.
Homemade breadsticks without yeast
For yeast free breadsticks, you'll need a chemical leavener like baking powder in place of the yeast, typically paired with a yogurt or buttermilk base to provide necessary acidity for lift. Expect a slightly denser, more biscuit like texture compared to yeasted doughs.
Store cooled, unbuttered sticks in an airtight container at room temperature for up to three days for the best flavor.
Homemade breadsticks from scratch
For the softest texture, ensure your yeast water is precisely between 105F and 115F too hot will kill the yeast. If you prefer a deeper garlic flavor, roast the minced garlic lightly in the butter before brushing it on the baked sticks.
These breadsticks are best enjoyed the day they are made, but leftovers can be refreshed by warming them briefly in a 350F oven for about five minutes.
Easy homemade breadsticks
For achieving those irresistibly soft homemade breadsticks, ensure your water temperature is precisely between 105F and 115F to properly activate the yeast. These are best enjoyed the day they are baked, but leftovers can be gently reheated in a 350F oven for about five minutes to refresh their buttery texture.
If fresh garlic is unavailable, you can substitute with 1 teaspoon of garlic powder in the melted butter mixture, though fresh is always recommended for superior flavor.
Can you make breadsticks at home?
Absolutely, crafting stellar homemade breadsticks is entirely achievable and deeply rewarding. For the best texture, ensure your yeast water is the correct temperature between 105F and 115F to properly activate the dough.
Once baked, they are best enjoyed the day they are made, but leftovers can be briefly reheated in a low oven to restore some of their initial softness.
Is pizza dough the same as bread stick dough?
While the base ingredients are very similar, pizza dough often has a slightly higher hydration level and may be enriched with more oil for a chewier, crispier crust. For breadsticks, you might prefer a slightly firmer dough to allow for better shaping and prevent excessive spreading during baking.
If you use pizza dough, consider adding a touch less water or letting the breadstick dough proof slightly longer to achieve that perfect fluffy interior.
Garlic Butter Breadsticks Recipe

Ingredients:
Instructions:
Nutrition Facts:
| Calories | 270 kcal |
|---|---|
| Protein | 4.1 g |
| Fat | 5.7 g |
| Carbs | 17.3 g |
| Fiber | 4.4 g |
| Sodium | 3114 mg |
