Best Self-Leveling Sugar Cookie Icing
- Effort/Time: 10 minutes active prep / 24 hours total curing
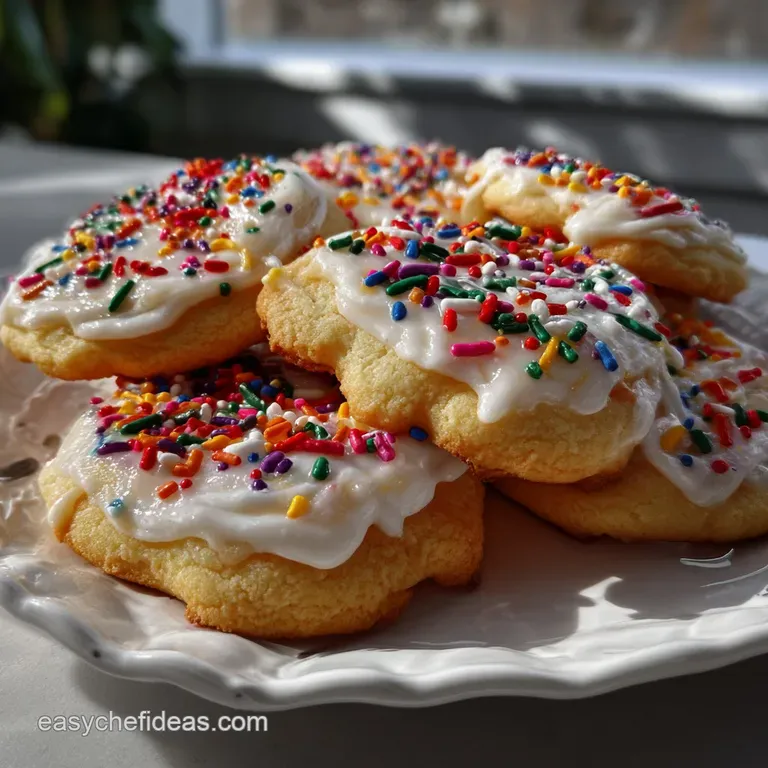
- Flavor Hook: Silky vanilla-almond base with a bright, citrus-balanced finish
- Perfect for: Holiday-gifting, bake-sales, and high-end dessert-photography
- Harnessing Surface Tension: The Science Behind the Set
- Critical Ratios and Precise Timing for Seasonal Decorating
- The Alchemy of Sweetness: Selecting Your Purity Elements
- Professional Precision Tools for Intricate Seasonal Baking Photography
- The Four-Phase Protocol for Achieving High-Gloss Fluidity
- Correcting Flow Problems and Structural Stability Failures
- Flavor Architecture and Adaptations for Diverse Dietary Needs
- ⚗️ The Scaling Lab: The Physics of Quantity
- Preserving the Finish: Strategic Storage and Curing Protocols
- Occasion-Ready Aesthetics for Breathtaking Dessert Table Presentations
- Recipe FAQs
- 📝 Recipe Card
There is nothing more gut-wrenching than spending six hours meticulously hand cutting seasonal shapes only to watch your decoration slide off the edges or dry into a dull, graying mess.
I’ve seen beautiful batches of $40 organic butter cookies ruined by icing that never set, remaining tacky until the colors bled into a muddy blur. That technical failure isn't just a waste of expensive ingredients; it’s the loss of the emotional labor poured into your seasonal baking projects.
I'll be honest I once destroyed three dozen snowflake cookies for a high stakes holiday party because I thought "eyeballing" the milk would be fine. I ended up with a runny, translucent puddle that looked more like a kitchen accident than a professional sugar cookie icing recipe.
It was a humbling lesson in the chemistry of saturation and surface tension that changed how I approach every batch of easy sugar cookie icing.
The secret to a "shatter crisp" finish isn't just adding more sugar; it’s the precise use of glucose rich corn syrup to inhibit sugar crystallization. This creates a velvety, light reflective surface that stays pliable enough to bite but firm enough to stack for transport.
By controlling the hydration levels, we achieve a sugar cookie icing that captures the light in your photography while providing a satisfying, porcelain like snap.
Harnessing Surface Tension: The Science Behind the Set
- Interfering Agents: Corn syrup acts as an invert sugar, preventing the sucrose molecules in confectioners' sugar from bonding into large, gritty crystals.
- Acid Catalyzed Clarity: A hint of fresh lemon juice lowers the pH, which helps the sugar cookie icing maintain its brilliant white opacity while cutting through the cloying sweetness.
- Evaporation Mechanics: The high sugar-to-liquid ratio ensures rapid dehydration at the surface, forming a "crust" that locks in moisture below for a soft bite.
Critical Ratios and Precise Timing for Seasonal Decorating
| Factor | Specification | Outcome |
|---|---|---|
| Active Prep Time | 10 minutes | Ensures no premature crusting |
| Total Curing Time | 24 hours | Necessary for a stackable, hard finish |
| Working Temperature | 68°F - 72°F | Prevents humidity induced dullness |
| Viscosity Target | 10 second count | Perfect for both piping and flooding |
The Alchemy of Sweetness: Selecting Your Purity Elements
Achieving a professional grade sugar cookie icing requires ingredients that prioritize structural integrity and visual clarity. Using a high-quality C&H Confectioners' Sugar is non-negotiable because its ultra fine starch content ensures a smooth emulsion without the graininess found in budget brands.
- 4 cups (480g) C&H Confectioners' Sugar, sifted: Why this? Sifting prevents microscopic clumps from clogging fine #1 or #2 piping tips.
- 5 tablespoons (75ml) Whole Milk: Why this? Fat content in whole milk provides a richer mouthfeel than skim or water.
- 1/4 cup (60ml) Karo Light Corn Syrup: Why this? Provides the signature "mirror glaze" shine and prevents brittle cracking.
- 1 teaspoon (5ml) Nielsen Massey Clear Vanilla Extract: Why this? Essential for keeping the base a snowy, photographic white.
- 1/4 teaspoon (1.25ml) Almond Extract: Adds a complex, professional aroma.
- 1/4 teaspoon (1.25ml) Fresh Lemon Juice: Stabilizes the sugar and brightens the flavor profile.
- AmeriColor Gel Food Coloring: High pigment concentration that won't thin the consistency of your homemade sugar cookie frosting.
Professional Precision Tools for Intricate Seasonal Baking Photography
For the most stunning decorating sugar cookie icing results, I recommend using a KitchenAid Stand Mixer fitted with the paddle attachment on the lowest setting.
Unlike a whisk, which incorporates too much air and creates bubbles, the paddle gently folds the ingredients into a dense, glossy paste.
When you're ready to flood, skip the plastic sandwich bags. Invest in Ateco Disposable Piping Bags and Wilton #2 and #4 Round Tips. These provide the directional control needed for sharp angles. If you’re serious about your photography, a Turntable for Decorating allows you to rotate the cookie without touching the wet icing, ensuring the edges remain pristine. This technique is as essential here as it is when perfecting a Classic Chocolate Chip recipe where texture is king.
The Four Phase Protocol for Achieving High Gloss Fluidity
- Sift the C&H Confectioners' Sugar into a large glass bowl to remove all compacted lumps. Note: Prevents tip clogging.
- Whisk the 5 tablespoons (75ml) Whole Milk and 1/4 cup (60ml) Karo Light Corn Syrup together until the mixture is translucent and fully integrated. Note: Pre-emulsifying liquids ensures even hydration.
- Combine the liquid mixture with the sugar slowly, stirring until a thick, tacky paste forms. Note: Initial low-moisture mixing develops the sugar’s structure.
- Add the 1 teaspoon (5ml) Clear Vanilla Extract, 1/4 teaspoon (1.25ml) Almond Extract, and 1/4 teaspoon (1.25ml) Fresh Lemon Juice. Note: Aromatics are added late to preserve volatile flavor compounds.
- Beat on low speed for 2 minutes until the icing looks like liquid porcelain and falls in a thick ribbon.
- Perform the "10 Second Test" by dragging a knife through the icing and counting until the line completely disappears and the surface is flat again.
- Divide the sugar cookie icing into small bowls for coloring. Note: Smaller batches prevent the main bowl from drying out.
- Fold in the AmeriColor Gel Food Coloring one drop at a time until the hue is vibrant and slightly darker than your target.
- Transfer the mixture into piping bags until the bag is 2/3 full, then twist the top tightly to prevent air exposure.
- Pipe a border 1/8 inch from the cookie edge until a continuous, velvet smooth line is formed.
Correcting Flow Problems and Structural Stability Failures
If your sugar cookie hard icing is behaving unpredictably, it’s usually a matter of hydration or atmospheric interference. High humidity is the enemy of a glossy finish, often causing the icing to remain soft or develop a "pitted" look.
Why Your Icing Cracks or Pits
This usually happens due to over mixing or rapid temperature changes. If air is whipped into the sugar matrix, those bubbles expand and then collapse as the icing dries, leaving tiny craters. Using a scribe tool or a toothpick to "agitate" the icing once flooded can release these trapped gases before the surface sets.
| Problem | Root Cause | The Fix | Pro Protocol |
|---|---|---|---|
| Bubbles/Craters | Excessive air incorporation | Use a scribe tool to pop bubbles immediately | Tap the cookie gently on the counter to level |
| Color Bleeding | Icing too thin/wet | Add sifted sugar 1 tbsp at a time | Allow the base layer to dry for 2 hours before adding details |
| Dull Finish | High ambient humidity | Dry cookies near a dehumidifier or fan | Avoid refrigerating iced cookies; condensation kills shine |
Flavor Architecture and Adaptations for Diverse Dietary Needs
While this best cookie icing recipe is designed for a traditional palate, it is remarkably adaptable. When swapping ingredients, remember that the goal is to maintain the specific gravity of the mixture. If you love these textures, you might also enjoy the process of making a Safe Chocolate Covered recipe which also relies on a stable, set coating.
| Original Ingredient | Substitute | Why It Works |
|---|---|---|
| Whole Milk | Heavy Cream | Higher fat creates a more "fudge like" texture; dries slower |
| Light Corn Syrup | Agave Nectar | Provides shine but has a thinner viscosity; add more sugar |
| Almond Extract | Peppermint Extract | Stronger seasonal profile; use sparingly (1/8 tsp) |
The Role of Corn Syrup in Gloss and Elasticity
Corn syrup is the "magic" ingredient in royal icing for sugar cookies alternatives. It provides "stretch," meaning as the cookie naturally expands or contracts with temperature, the icing moves with it rather than shattering into shards.
This elasticity is what allows for the smooth, photographic finish that makes a simple cookie icing look professional.
⚗️ The Scaling Lab: The Physics of Quantity
When you are doubling this sugar cookie icing for a large seasonal event, you cannot simply multiply every ingredient by two.
- Flavor Saturation: Scale the vanilla and almond extracts to 1.5x only. Aromatics can become medicinal and overwhelming when doubled exactly in a high sugar environment.
- The Evaporation Paradox: Large batches in wide bowls have more surface area exposed to air. If you aren't working quickly, the icing will begin to "crust" in the bowl. Keep the bowl covered with a damp cloth at all times.
- Thermal Mass: Cold milk in a large quantity will keep the sugar from dissolving properly. Ensure all ingredients are at 70°F before mixing to maintain a consistent emulsion.
- Viscosity Consistency: Always perform the "10 second test" on the final large batch. The weight of the sugar in a double batch can actually compress the mixture, making it seem thicker than it is.
Preserving the Finish: Strategic Storage and Curing Protocols
Yes, sugar cookie icing can be stored for up to 2 weeks in the refrigerator when kept in an airtight container with a piece of plastic wrap pressed directly against the surface to prevent a crust from forming.
- Freezing: You can freeze the fully dried, iced cookies for up to 3 months. Place them in a single layer in a freezer safe container with parchment paper between layers.
- Thawing: This is the critical part. Never open the container until it has reached room temperature. If you open it while cold, condensation will form on the icing, causing the colors to bleed and the surface to become sticky.
- Re-Whipping: If stored icing separates (the corn syrup will eventually settle), do not use a mixer. Gently stir with a spatula to re-incorporate the layers without adding air bubbles.
Chef's Tip: To get that professional "ombré" look in your photography, divide your icing into four bowls and use the same gel color in varying drops (1, 3, 6, and 10). This creates a monochromatic seasonal palette that looks stunning on a dessert table.
Occasion Ready Aesthetics for Breathtaking Dessert Table Presentations
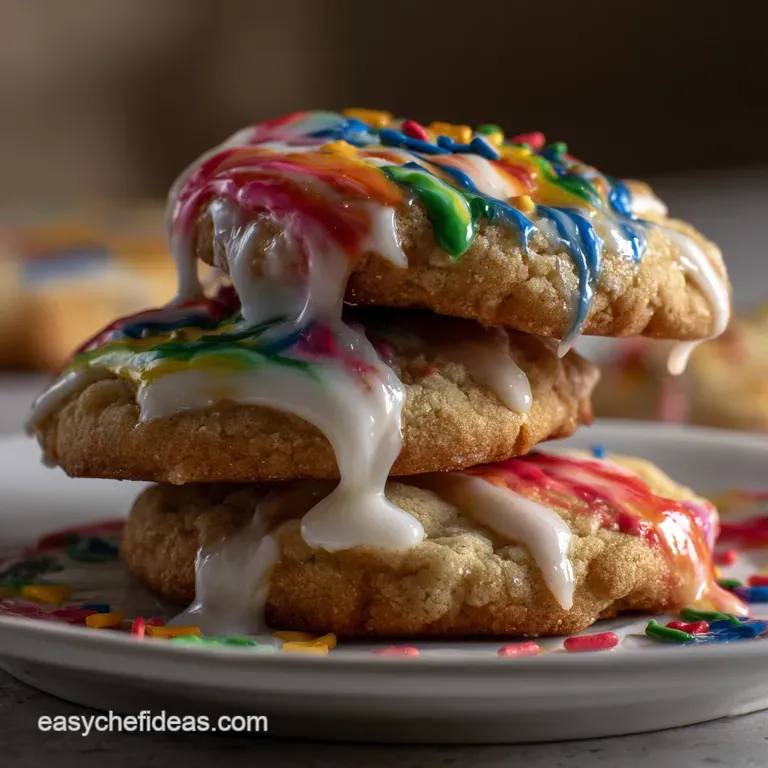
For a truly how to make cookie icing masterclass moment, focus on the "wet-on-wet" technique. By dropping a contrasting color into a freshly flooded base, you can create marble swirls or hearts that dry perfectly flat. This is the hallmark of high end bakery cookies.
Decision Shortcut: If you want a matte finish, omit the corn syrup and replace it with more milk (though it will be more brittle). If you want maximum shine, add an extra tablespoon of corn syrup and dry the cookies under a desk fan.
If you want crisp details, keep the icing thick (20 second count) for the borders and thin it out (5 second count) for the centers.
Comparison: Fresh vs. Shortcut Icing
| Feature | Homemade Icing | Canned/Tub Frosting |
|---|---|---|
| Set Strength | Hard, stackable finish | Remains soft and messy |
| Visual Appeal | High gloss, professional | Dull and grainy |
| Detail Capability | Sharp, intricate lines | Spreads and loses shape |
- Myth
- You need egg whites for a hard setting icing.
- Truth
- The corn syrup and high sugar-to-milk ratio in this sugar cookie icing create a set that is just as firm as royal icing but with a much better flavor.
- Myth
- Clear vanilla is just "fake" flavor.
- Truth
- Professional bakers use clear vanilla specifically to prevent the icing from turning an unappealing ivory or tan color.
💡 ZERO WASTE TIP: Don't throw away the leftover colorful icing! Transform: Squeeze small "dots" or "stars" onto parchment paper and let them dry for 24 hours. Science: These become homemade sprinkles (hard sugar drops) that can be stored in a jar for months to top future How to Bake recipe projects or cupcakes.
When you're ready to present, remember that sugar cookie icing is the star of the show. Use a neutral marble slab or a rustic wooden board to let the vibrant colors and the velvety finish of the sugar cookie icing pop in your photography.
Your friends won't believe these came from your home kitchen and honestly, with this level of technical precision, they practically didn't. Let's get to decorating!

Recipe FAQs
How long does it take for sugar cookie icing to fully harden?
24 hours for a stackable, hard finish. Rapid curing relies on low ambient humidity and controlled air movement. For best results on texture, follow the Four Phase Protocol closely.
Can I use water instead of milk in this icing recipe?
No, water results in a brittle, dull coating. Milk solids add necessary fat and protein density, creating a smoother emulsion that adheres better to the cookie surface.
If you enjoyed mastering emulsification here, see how the same principle works in our Mint Chocolate Chip Cookies: Ultimate Chewy Brown Butter Recipe for stable batter.
Why is my icing developing small craters or pits after it dries?
Excess trapped air causes surface collapse during dehydration. Whipping incorporates air, and rapid evaporation seals the surface before these gas pockets escape. Bubbles must be released immediately after flooding for a smooth top.
- Tap the cookie gently on the counter
- Use a toothpick or scribe tool
- Do not over mix the final flood consistency
Is royal icing the same as this high gloss sugar cookie icing?
Royal icing uses meringue powder or raw egg whites; this formula uses corn syrup. The syrup replaces albumen proteins to provide elasticity and shatter crispness without the chalkiness associated with pure meringue bases. This technique offers superior visual shine and a better bite.
Should I use salted butter if I omit the extra salt?
Unsalted butter is required for precision control. Salted brands vary widely (sometimes exceeding 200mg sodium per tablespoon), making standardization impossible when aiming for a balanced sweet profile. Unsalted butter lets you control sodium levels based on other additions.
What is the best extract to use if I want pure white icing?
Clear vanilla extract prevents a tan or ivory tint. Standard vanilla contains brown pigments that discolor high saturation white icing. Clear vanilla maintains optical purity while providing the necessary aromatic base, unlike imitation flavors.
Can I use powdered sugar straight from the bag without sifting?
Myth: You can skip sifting if you mix long enough. Reality: Unbroken sugar clumps will clog fine piping tips immediately, regardless of mixing time, leading to uneven flow and poor border definition. Sifting removes physical barriers to smooth application.
Best Sugar Cookie Icing Recipe
Ingredients:
Instructions:
Nutrition Facts:
| Calories | 90 calories |
|---|---|
| Protein | 0.1g |
| Fat | 0.1g |
| Carbs | 23g |
| Fiber | 0g |
| Sugar | 23g |
| Sodium | 1mg |
