Cloudlike Conchas the Essential Recipe for Traditional Mexican Sweet Bread
- The Sweet Majesty of Mexican Pan Dulce: Why Conchas Reign Supreme
- Unlocking the Magic: What Makes This Concha Pan Recipe Truly Authentic
- Assembling Your Toolkit: Essential Components for Perfect Concha Pan
- The Slow Art of Fermentation: Developing Deep Flavor in Your Concha Dough
- Shaping and Decorating: Creating the Signature Striped Surface
- Troubleshooting and Variations for Your Home Bakery Creations
- Recipe FAQs
- 📝 Recipe Card
The Sweet Majesty of Mexican Pan Dulce: Why Conchas Reign Supreme
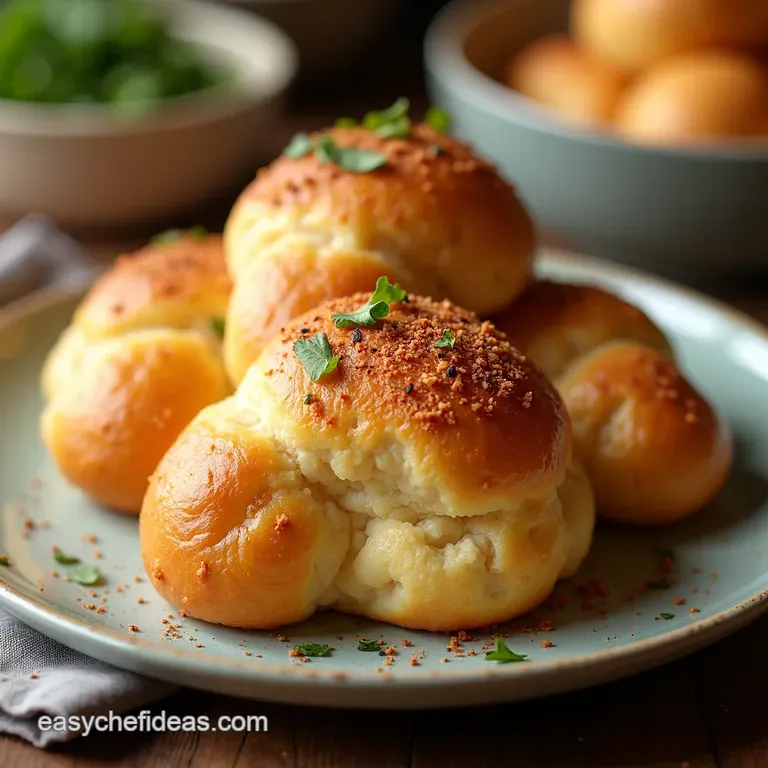
When you walk into an authentic panadería , the sight and smell are instantly transportive. Among the towering displays of sugary, crusty, and soft creations, one stands out for its sheer beauty and iconic status: the Concha Pan .
Translating literally to "shell bread," these Mexican sweet rolls embody the heart of pan dulce —a comforting, slightly enriched bread crowned with a distinctive, crumbly sugar crust.
They are far more than just a pastry; they are a cultural touchstone, a staple of breakfast tables, and a symbol of communal warmth. Understanding the Concha Pan Recipe is embarking on a journey into cherished baking traditions.
This isn't about quick fixes; it’s about patience, proper layering of flavors, and achieving that perfect contrast between a cloud like interior and a slightly crunchy, sweet exterior.
Unlocking the Magic: What Makes This Concha Pan Recipe Truly Authentic
To create truly memorable Homemade Conchas , we must appreciate the complexity hidden beneath the simple appearance. A genuinely Authentic Concha Recipe balances the richness of an egg-and-butter dough with a contrasting, meticulously prepared streusel topping.
This specific duality is what sets the best Pan Dulce Recipe apart from standard sweet rolls.
A Baker's Pilgrimage: Meeting the Iconic 'Shell' Bread
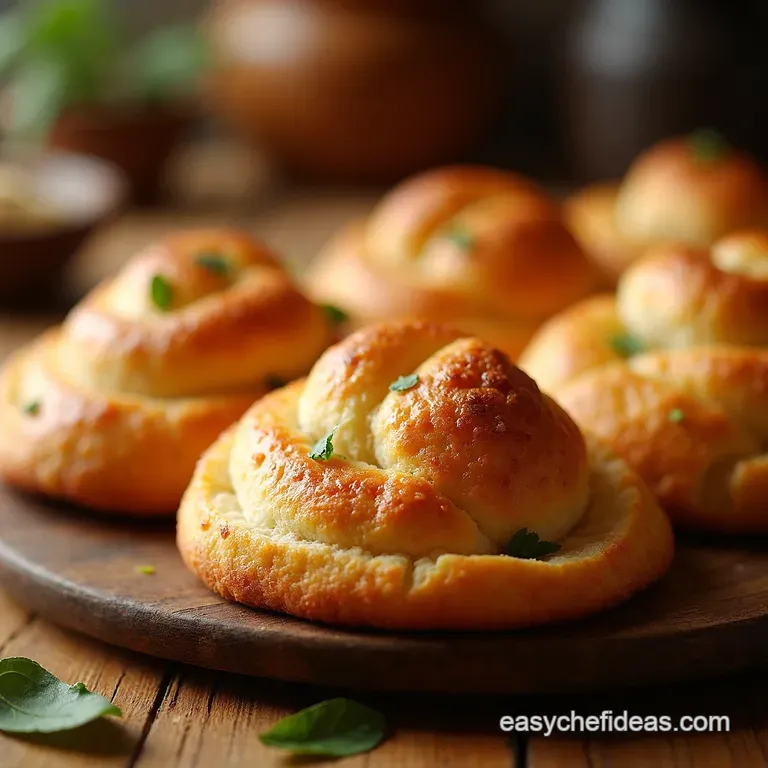
The term "Concha" comes from the visual resemblance of the scored topping to the ridges of a seashell. Achieving this look requires precision during the final stages of preparation.
The base dough must be tender enough to puff beautifully without bursting the topping, a delicate dance best managed with high-quality ingredients and attentive proofing times. These rolls are proof that simplicity, when executed flawlessly, results in something extraordinary.
Beyond the Ordinary: The Unique Charm of the Streusel Topping
What elevates the Concha Pan Dulce is undeniably the topping. Unlike a simple glaze, this streusel is a mixture of flour, sugar, and butter that is pre-formed and applied before the final rise.
It’s this unique preparation often coloured pink or yellow that bakes into a satisfying, crackly crown, providing textural excitement against the soft bread underneath. Getting the ratio right is the secret to success in any Mexican Bakery Bread masterpiece.
Why This Recipe Succeeds Where Others Fall Flat (The Tender Crumb Secret)
Many recipes fail because they treat the dough like a standard white bread. Our Conchas Recipe Homemade specifically calls for a high ratio of fat (butter) and eggs, making it an enriched dough. The trick lies in how these fats are incorporated.
We introduce the butter gradually after the initial gluten structure has begun to form. This technique ensures maximum dough elasticity while yielding an incredibly soft, almost brioche like interior the hallmark of the Best Concha Recipe .
Assembling Your Toolkit: Essential Components for Perfect Concha Pan
Baking this classic requires attention to both the foundation (the dough) and the cap (the streusel). Understanding the role of each ingredient is fundamental to mastering this Mexican Sweet Breads Recipe .
We are aiming for 12 standard sized delights, demanding both precise measurement and temperature control.
Mastering the Enriched Dough: Yeast Activation and Dairy Selection
The journey begins with the yeast activation. We use 2 1/4 teaspoons of active dry yeast, brought to life in 1 cup of warm milk (ideally heated to 105° F– 115° F) and a pinch of sugar. This gentle awakening ensures a vigorous rise later.
The dough relies heavily on richness, calling for 2 whole eggs plus 1 extra yolk, and half a cup of softened, unsalted butter. Using whole milk provides necessary fats that contribute significantly to the final soft crumb texture of the Concha Pan .
Crafting the Signature Streusel: Ratios for Optimal Crumb Structure
The topping requires a different touch: cold ingredients. For the crust, you will need 1 1/2 cups of flour, 1 cup of confectioners’ sugar, and 1/2 cup (one stick) of cold, cubed butter. The goal here is minimal mixing to keep the butter shards intact.
This mixture, once combined with a teaspoon of vanilla extract and optional colouring, forms the 'shell.' This ratio is calibrated to ensure the topping spreads thinly enough to score beautifully but remains thick enough to retain texture during baking.
Crucial Equipment Checklist for Flawless Shaping and Baking
While a stand mixer with a dough hook is highly recommended for managing the sticky, enriched dough, the remaining tools are simple but essential. You need large bowls for the proofing stages, parchment lined baking sheets to prevent sticking, and crucially, a sharp knife or bench scraper for scoring the delicate topping without disturbing the soft dough underneath.
Related Recipes Worth Trying
- The CloudLike Concha Authentic Mexican Sweet Bread Recipe — Bake truly fluffy Mexican Conchas at home These sweet bread rolls feature a signature crumbly topping Perfect for your Mexican breakfast ideas Get the recipe
- The Best Mexican Concha Recipe for Soft Sugary Rolls — Stop buying them This easy Mexican Concha Recipe delivers wonderfully soft bread with a crisp sugary crust Perfect dunking material for your morning cuppa
- The Ultimate Conchas Bread Recipe for Truly Authentic Mexican Sweet Rolls — Forget soggy supermarket loaves This foolproof Conchas Bread Recipe delivers incredibly soft Mexican Sweet Breads with the perfect crumbly shell topping Get...
The Slow Art of Fermentation: Developing Deep Flavor in Your Concha Dough
The true depth of flavour in any great Pan Dulce comes not from spices, but from time. This process demands two distinct resting periods. The initial proof allows the yeast to multiply and develop organic acids, creating a complex foundation.
After activating the yeast and mixing the 4 cups of flour with the wet ingredients, the dough requires kneading until it becomes smooth. Only then, once the softened butter is slowly incorporated, should it be left alone.
This first proof, typically lasting 1.5 to 2 hours until doubled, sets the stage for the softest possible result.
Shaping and Decorating: Creating the Signature Striped Surface
Once the dough has achieved its first rise, we move to dividing and shaping, preparing the canvas for the iconic topping.
Kneading Technique: Achieving the Windowpane Stage
Before the first rise, kneading must be thorough. You are looking for the windowpane stage —when a small piece of dough can be stretched thin enough to see light through it without tearing.
This indicates strong gluten development, which is necessary to support the heavy topping without collapsing. After division into 12 even balls, allow them a short rest before moving to the final stages.
The Gentle Second Proof: Patience Before the Oven's Heat
The second proof, usually 45 to 60 minutes, is critical. The dough balls should become visibly puffy and lighter, but should not fully double. Over proofing leads to a dough too fragile to handle the topping application.
Keep them loosely covered during this phase to prevent a skin from forming.
Applying the Streusel Paste and Scoring for the 'Shell' Effect
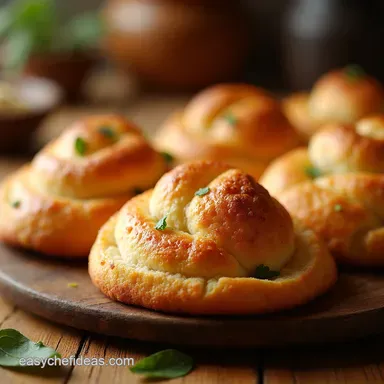
This is where the magic happens. Take the streusel mix which should resemble coarse, colourful crumbs and press it lightly together into 12 flat discs. Gently place one disc onto the top of each proofed dough ball.
With a sharp knife held almost parallel to the top of the roll, score the topping in a cross hatch pattern. This scoring controls where the topping cracks, creating the desired 'shell' look as the bread expands in the heat.
Baking Temperatures: Ensuring Golden Edges and Soft Centers
Preheat your oven to a moderate 375° F ( 190° C). Baking time is relatively quick, around 18 to 22 minutes. The goal is to achieve a golden brown colour on the bottom of the bread while the topping is set but not aggressively browned.
A slightly lower temperature prevents the sugary topping from burning before the interior is fully cooked.
Troubleshooting and Variations for Your Home Bakery Creations
Even with the best intentions, baking can present minor challenges. Knowing how to adjust mid-process or how to pivot the flavour profile ensures your Concha Pan experience remains positive.
Fixing Common Concha Flaws: From Dense Crumb to Cracking Topping
If your Concha Pan turns out dense, it usually points to under proofing or milk that was too hot, killing the yeast. If the topping crumbles off entirely during baking, the streusel mixture was likely too warm when applied, causing the butter to melt prematurely into the dough instead of forming a cohesive layer.
Remember: cold topping, warm dough.
Flavor Twists: Incorporating Citrus Zest or Spices into the Dough
While tradition favors vanilla, this recipe welcomes creativity. For an aromatic lift, incorporate the finely grated zest of one large orange into the dough alongside the flour. Alternatively, a tiny pinch of ground cinnamon in the streusel mixture adds a warming, complex layer that pairs beautifully with the sweetness.
The Traditional Pairing: Dipping Your Concha in Café de Olla
The ultimate way to enjoy this Pan Dulce is by pairing it with a hot, strong beverage. In Mexico, this often means Café de Olla —coffee brewed traditionally with cinnamon and piloncillo (unrefined whole cane sugar).
The softness of the Concha Pan is perfectly designed to soak up the aromatic liquid.
Shelf Life Secrets: Keeping Your Conchas Soft for Days
Because of the enriched dough, these rolls retain moisture well. However, to keep them at their peak softness, store them at room temperature in an airtight container for up to three days.
For longer storage, freezing works well; simply thaw at room temperature and refresh briefly in a warm oven before serving to recapture that fresh baked tenderness.

Recipe FAQs
My Concha Pan topping always cracks weirdly or runs into the dough while baking. What gives?
Ah, the classic streusel struggle! The key to a perfect "shell" is keeping that topping mixture cold. Make sure your butter for the topping is chilled, and handle the mixture as little as possible; warmth makes it melt instead of setting into a crust.
Also, ensure you are gently scoring the top after you’ve applied the topping to the proofed dough.
How do I get the dough for my Concha Pan incredibly soft, like the ones from the local bakery?
That pillowy texture comes from two things: enriching the dough properly and ensuring a good, long rise. Using whole milk and including an extra egg yolk (as this recipe does) adds necessary fat for softness.
Don't rush those two proofing stages; the longer, slower rise develops better flavour and a tender crumb, much like letting a sourdough starter get happy!
Can I make the Concha Pan dough ahead of time and leave it in the fridge overnight?
Absolutely, this dough is brilliant for a slow, cold proof! After the first rise, you can punch the dough down, divide it, shape the balls, and place them on the tray. Cover them tightly and pop them in the fridge overnight. The next morning, let them sit at room temperature for about an hour before topping and baking.
My topping is supposed to be pink and yellow how do I colour the streusel without making it too sticky?
You should divide your streusel mixture into separate bowls before adding colour. Use gel food colouring rather than liquid, as gels are much more concentrated, meaning you add less moisture to your flour/butter mix. Just a tiny toothpick dip of colour into each portion is usually enough!
How long do these homemade Concha Pan rolls keep fresh, and what’s the best way to store them?
These are best enjoyed the day they are baked, much like any brioche style bread. Store leftovers loosely covered at room temperature for up to two days; airtight containers can sometimes make the topping sweat and soften too much.
For longer storage, freeze them once completely cooled, wrapped tightly, and simply reheat them in a 300°F oven for a few minutes to revive that fresh baked texture.
Best Homemade Concha Pan Recipe
Instructions:
Nutrition Facts:
| Calories | 340 |
|---|---|
| Fat | 14g |
| Fiber | 1.5g |
