Bake Unicorn Bars: Colorful & Magical Treats
- Introduce Your New Favorite Treat: Bake Unicorn Bars
- Your Ultimate Essential Ingredients Guide
- Professional Cooking Method
- Pro Tips & Secrets to Make the Ultimate Unicorn Bars
- Perfect Presentation for Eye-Catching Treats
- Storage & Make-Ahead for Your Unicorn Bars
- Creative Variations to Get Funky!
- Complete Nutrition Guide
- Expert FAQ Solutions
- 📝 Recipe Card
Introduce Your New Favorite Treat: Bake Unicorn Bars
Okay, can i just say that sometimes, you need a little bit of magic in your kitchen? a few years ago, i found myself amidst some pretty boring dessert routines.
You know how it goes cookie here, brownie there. but then, a little light bulb went off in my head: bake unicorn bars: colorful & magical treats ! as soon as i whipped these up, my kitchen transformed into a vibrant wonderland.
Imagine serving these eye-catching, colorful desserts at your next shindig, and seeing everyone's faces light up. it's pure happiness!
Recipe Overview: The Rainbow Connection
Now, let’s take a quick detour through the history of these whimsical treats. this unicorn dessert recipe draws inspiration from that whole glittery, rainbow loving phase we all went through as kids.
These bars have become super popular lately, especially for birthday party desserts and celebrations because who doesn’t want a slice of colorful joy on their plate?
Don't sweat the details here; these are genuinely easy to make! you’ll need about 80 minutes total with a bit of cooling time.
The difficulty level is about medium, thanks to the layers and color mixing techniques . but trust me, it's more fun than intimidating.
And the cost? super budget friendly let’s just say you’ll have enough to share (unless you're like me and decide to hoard them).
Key Benefits: Why You'll Love These Magical Treats
First things first, let’s talk health benefits . while these are indulgent, you'll find they use butter dessert base and colorful, fruity layers, so at least we're getting some fruity flavor in there! plus, they’re perfect for gatherings, instantly brightening up your dessert table.
Imagine serving these at a family gathering or a festive holiday. they’re definitely a unique dessert for celebrations !
What’s even cooler? they’re super adaptable! you can use different colors, toppings, or even swap out the frosting. let your creativity shine with creative baking ideas .
What’s awesome about these is the joy they bring kids love them, and they’re a hit for family baking activities too.
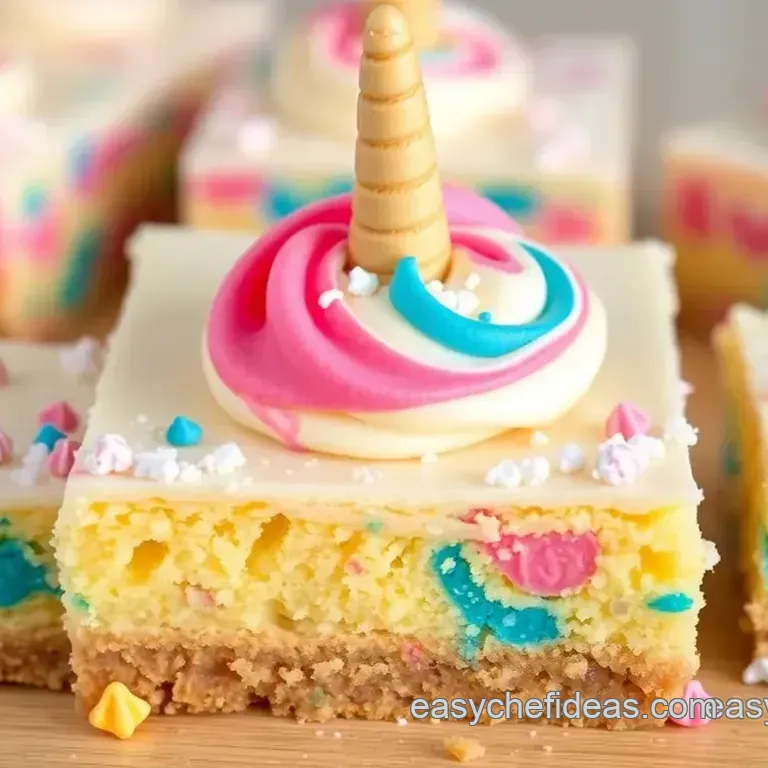
The ultimate unicorn bars come with that charming sprinkle of edible glitter, underscoring their magically whimsical appeal. It’s like a party in your mouth! Plus, who could resist those soft buttery bars topped with cream cheese frosting?
Some may call them delicious dessert bars , but to me, they are pure indulgence!
And let’s be real: no more boring desserts! when you bring out these bars, you’re serving up a tray of happiness.
They truly are sweet treats for parties , and they’ll have everyone raving about your baking skills.
Transition to Ingredients
Ready to dive into making your own batch of these stunning rainbow bars ? let’s take a look at the ingredients that will bring this magical vision to life.
Get your aprons on; the fun is about to get started!
Your Ultimate Essential Ingredients Guide
So, you’re ready to throw down in the kitchen, huh? whether you're about to bake unicorn bars: colorful & magical treats or whip up some other delicious dessert, knowing your ingredients inside and out is key.
Let’s dig into this essential ingredients guide!
Premium Core Components
First things first. measurements matter! if you’re in the u.s., grab a cup and a teaspoon. if you're rocking the metric system, i got you 1 cup equals about 227 grams .
This will make sure your desserts turn out just right!
Quality indicators ? look for bright colors in your ingredients. a good butter should be creamy and golden, not pale like it’s seen a ghost.
When you’re checking out your flour, make sure it’s fresh. nothing ruins a good bake like stale ingredients!
Now about storage : keep your ingredients sealed up tight. flour likes cool, dry places; sugar’s good too. but butter? it needs to chill in the fridge.
And speaking of shelf life , most baking items will hold up for a good while, but keep an eye on that expiration date.
You want your baked goods to shine, not taste like sadness from yesterday.
To make sure your stuff stays fresh, select wisely . go for vibrant produce. if you’re getting eggs, give ‘em a little jiggle.
If it feels like they’ve been through too many parties, skip it.
Signature Seasoning Blend
Alright, let’s talk seasonings ! you need the right spice combinations to make your treats pop. for those unicorn bars , a splash of vanilla and a hint of almond extract takes it to the next level.
Don’t forget your herbs . basil might not scream “dessert,” but each spice has its place!
And, oh gosh, region matters! you might want to swap that cinnamon for a sprinkle of cardamom some days, depending on where your taste buds are traveling.
Get creative with your flavor enhancers think orange zest just blended into your batter for that kick!
Smart Substitutions
We all forget to grab something at the grocery store. no worries; i've been there! keep a list of common alternatives handy in your kitchen.
If you’re out of eggs, applesauce or mashed banana can work wonders in most sweets. got a gluten issue? swap out regular flour for almond or oat flour!
Dietary modifications are a life saver. These days, folks are more conscious than ever, so if you're baking for friends who can't have dairy, go for coconut oil and almond milk instead.
In an emergency , if you’ve run out of brown sugar, just mix white sugar with a little bit of molasses or honey.
Boom! you’re back in business. and let’s not forget those seasonal options . skip the berries in winter; think dried fruits or even nuts!
Kitchen Equipment Essentials
What’s the point of excellent ingredients without the right tools? make sure you’ve got the must have kitchen equipment : a trusty mixing bowl, a solid whisk, and a spatula are just the start.
If you’re feeling fancy, a stand mixer is a game changer for smooth batters.
And, let’s be honest: sometimes you don’t need the fancy stuff. a good ol’ wooden spoon works wonders! just remember, preparation tips are essential gather everything beforehand.
Trust me, you’ll thank yourself later when things start flying together.
For long lasting enjoyment, use good storage solutions . Airtight containers can save the day!
There you have it, folks! With these essentials in tow, you’re prepped to master your kitchen. Next up, let’s dive into those step-by-step instructions for our vibrant and fun Unicorn Bars because who doesn’t want to add some magic to their dessert game?
Professional Cooking Method
Cooking can be a magical experience, just like crafting those stunning bake unicorn bars: colorful & magical treats . you know what they say, “good cooking is like magic!” but to pull off those dreamy dessert bars or any dish for that matter you gotta have a solid game plan.
So, let’s break down the professional cooking method step-by-step, shall we?
Essential Preparation Steps
Before you even think about turning the oven on, get that prep work underway. this is called mise en place french for “everything in its place.
” you need to measure and prepare your ingredients ahead of time. imagine trying to mix while running around like a headless chicken.
Not fun, right?
Time management also comes into play. set a timer for different tasks. for instance, give yourself 25 minutes to whip up the batter, and then 30 minutes of cooling time.
Trust me, when you have a plan, everything flows better. and don’t forget to stay organized! keep your workspace tidy; a cluttered counter is a recipe for disaster.
Safety is crucial too. Always remember to handle raw eggs and meats carefully. Wash your hands, folks! Cross contamination is the enemy of great home cooking.
step-by-step Process
Let’s get down to the nitty gritty. Here’s how you craft those ultimate unicorn bars in a clear and simple way.
- Preheat Oven: First things first, kickstart that oven at 350° F ( 175° C).
- Prepare Your Pan: Grab your trusty 9x13 inch pan. Grease it or line it with parchment paper - we don’t want things sticking!
- Make the Base: In a mixing bowl, cream together 1 cup of softened butter and 1 cup of sugar until light and fluffy. Important, you want that airy texture! Add in your 2 eggs and 1 teaspoon vanilla and mix until smooth.
- Dry Ingredients: In another bowl, whisk together 2 cups of flour , 1 teaspoon baking powder , and ¼ teaspoon salt . Gradually fold this mixture into the wet ingredients.
- Color Duty: Split your dough into separate bowls and add your vibrant food colorings get wild!
- Layering Magic: Spread your colored dough in layers, starting with one color, then another. Get creative!
- Add Sprinkles: Press those rainbow sprinkles into the top layer. Lift your spirits, right?
- Bake It Up: Slide the pan into the oven for about 25- 30 minutes . Keep an eye on it! A toothpick should come out clean golden edges mean it’s done!
Once baked, let it cool in the pan for 30 minutes before you flip it and frost it. Trust me, patience pays off.
Expert Techniques
Alright, let’s talk about some pro tips!
Firstly, quality checkpoints are essential. check your batter texture make it smooth before you layer. if your colors aren’t vibrant enough, add more food coloring until you’re happy.
Remember, little changes can have big impacts!
Now, if your bars don’t bake evenly, it might be the oven's temp. if it’s too hot, they'll burn on the outside but remain gooey inside.
Consistency is key! if you encounter a slump, don’t panic try adjusting the baking time.
Success Strategies
You wanna knock it out of the park, right? Here are some common mistakes to avoid :
- Skipping the cooling time . Seriously, it wrecks your presentation.
- Forgetting to preheat the oven. Who needs a slow start?
- Overdoing the frosting. Sure, it’s a cream cheese topping masterpiece, but moderation is key!
Now, let’s not overlook make-ahead options. you can prep the layers a day before, keep them in the fridge, and bake fresh the next day.
Trust me, your friends will be wowed when you roll out these colorful desserts at your next birthday party.
If you'd like to elevate your experience further, know that these bars are also great for family baking activities . Kids adore the colors and the fun of layering it’s like crafting a piece of edible art!
In a nutshell, mastering these techniques and planning ahead transforms the kitchen into a joyful adventure. Keep those tips in mind, and you’ll whip up delicious dessert bars that are both festive and flavorful!
Now, let's kick it off to some Additional Information , where we explore even more on how to make these enchanting treats your way!
Pro Tips & Secrets to Make the Ultimate Unicorn Bars
Oh my gosh, where do i even start? when it comes to baking these bake unicorn bars: colorful & magical treats , i’ve learned a thing or two along the way.
Trust me, you want the end product to be just as dreamy and delicious as it sounds! here are some of my pro tips to step up your rainbow bar game.
First, let me tell you about time saving techniques . prepping your ingredients ahead of time is a game changer. measure out your flour, sugar, and butter before even turning on the oven.
You’ll save time and avoid that frantic last minute scramble. bake bar life is all about steady hands and quick feet, you know?
For flavor enhancement , don’t shy away from creativity! experiment with extracts. a little almond or coconut extract can elevate the flavor profile and make your magical treats taste even better.
Also, feel free to mix in some citrus zest on occasion. it adds this zippy brightness think of it as a pop of sunshine on your dessert tray.
Now, let’s talk presentation . plating these colorful layers deserves some thought. use a sharp knife for even slices. after topping with frosting, consider adding little edible glitter decorations or extra sprinkles.
Kids will go wild for it, and hey, adults love these whimsical touches too. beautiful desserts always get the ‘oohs’ and ‘ahhs’ at parties, right?
Perfect Presentation for Eye-Catching Treats
When it comes to plating techniques , simplicity is key. a clean cut and a whimsical garnish make all the difference.
You can use a spatula to lift each slice and create space on the plate this artful presentation takes seconds and adds a professional touch.
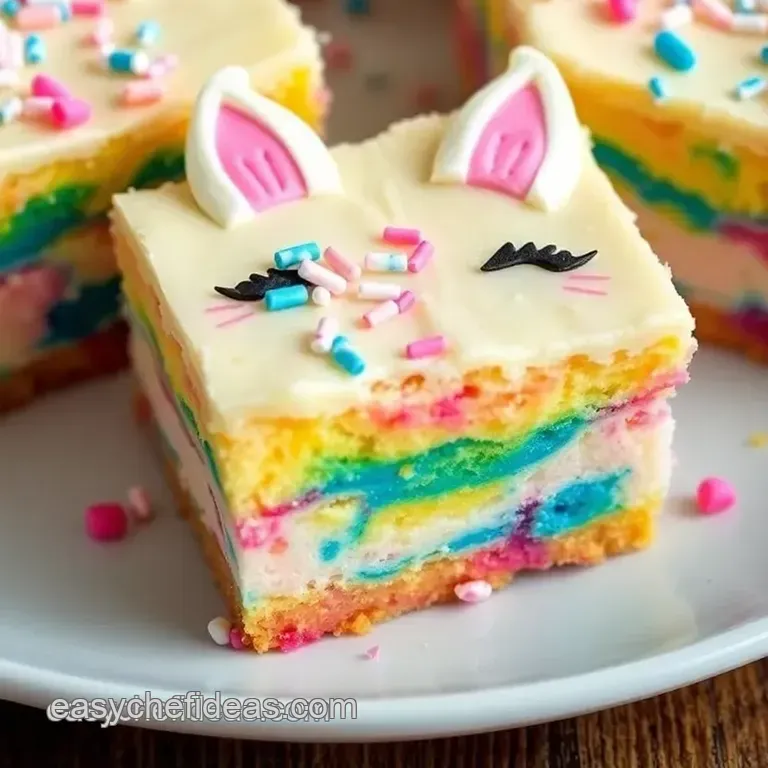
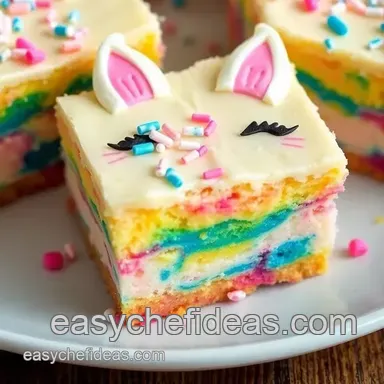
For the color combinations , sticking to a theme always looks fabulous. Think pastel shades for a soft and cute vibe or vibrant colors for that lively bash! Trust me, it transforms your baking from “meh” to “wow!”
And speaking of visuals, garnish ideas are endless. fresh berries or whipped cream can be a great option for a fruity touch alongside those colorful layers.
Honestly, the more eye-catching your treats, the better.
Storage & make-ahead for Your Unicorn Bars
You might want to make these magical treats in advance for your next gathering or special occasion. let’s get real about storage guidelines .
Once your bars are completely cooled, store them in an airtight container at room temperature. give them a go in the fridge if they last that long seriously, these disappear fast!
But here’s a freshness duration tip: they’re best enjoyed within three days. if you have leftovers, you can freeze the bars for up to three months.
Just wrap ‘em up tightly in plastic wrap, and you’re golden!
When it comes to reheating , if you pulled them out of the freezer, let them thaw in the fridge overnight.
Then, pop them in the microwave for about 15 seconds if you want them warm. soft, buttery bars are even more tempting when they’re fresh!
Creative Variations to Get Funky!
Let’s dive into some creative variations that keep things fresh! if you love fruity flavors, try mixing in a fruity flavored gel or syrup.
Think strawberry or mango! it takes the burst of color and adds that kick we all crave.
For those following dietary restrictions, making these layered dessert bars vegan is a piece of cake! just swap out butter for coconut oil and use flax eggs instead.
Trust me, they will still be delicious !
A fun addition during different seasons could be pumpkin spice in the fall or peppermint extract during the holiday season.
These magical treats can take on any theme, making birthday party desserts feel unique every time!
Complete Nutrition Guide
So, if you’re curious about what’s in your treats, i’ve broken down the nutrition for you. one of these vibrant beauties has roughly 180 calories with only 2 grams of protein .
It might not be a health food, but that’s okay for a special treat!
Oh, and for dietary considerations —if you’re laying off sugar, you can still enjoy these by using a sugar substitute. Remember, just keep it sweet and simple!
Expert FAQ Solutions
I’ve gotten plenty of questions over the years about my unicorn bars. So, here are some common questions and their answers.
- Why did my bars sink? This could be due to overmixing. Be gentle when you fold in color.
- How do I prevent sticking? Greasing the pan is crucial; don’t skip that step!
- What if I want more layers? Go for it! Just be sure to adjust baking time as needed.
With all these tips and variations, get ready for an adventurous time in the kitchen. the world of unicorn desserts is just waiting for your personal touch! so, gather your playful spirit and get ready to bake unicorn bars: colorful & magical treats .
You won't regret it, and neither will your friends and family. happy baking!
Bake Unicorn Bars Colorful Magical Treats
Ingredients:
Instructions:
Nutrition Facts:
| Calories | 180 |
|---|---|
| Protein | 2 g |
| Fat | 8 g |
| Carbs | 28 g |
| Fiber | 0 g |
| Sugar | 10 g |
| Sodium | 90 mg |
